Jobs
The Jobs page shows the information related to Jobs of the specific Step.
| Table of contents |
|---|
| Job list and details |
| Register Job |
| Edit Job |
| Delete Job |
| Masking tasks |
| Register Masking task |
| Edit Masking task |
| Delete Masking task |
| Assignments |
| Design assignments |
Job list and details
Jobs represent masking activities inside Step. They are performed in specific predefined order. Activities include table jobs and script jobs. Each step can have one or more jobs, but at least one is required.
All Jobs of the specific Step and their order are visible in the Jobs list. Details about the selected Job are displayed in the Details section:
Name - name of the selected Job
Note - description of the selected Job
Step - Step to which the selected Job belongs
Scope - data source, schema and table of the Job.
Jobs will be executed in a certain order, based on their place on list. Order of Jobs in the list can be changed by using drag & drop method.
All Masking tasks of the selected Job are displayed in the Masking tasks overview table.
 Figure 1: Jobs
Register Job
Job can be registered through Steps page or on this (View Job details) page.
To register new Job, select Register job button. New pop-up is displayed. It allows entering the information about the new Job:
Name - unique name of the Job.
Note - description of the Job. This field is optional.
Data source - information which Data source contains data that is going to be masked in that Job.
Schema - information which Schema contains data that is going to be masked in that Job. Only schemas that are in the intersection of all Environments of the Data source are displayed as option.
Table - information which Table contains data that is going to be masked in that Job. Only tables that are in the intersection of all Environments of the Data source are displayed as option.
Additional field is displayed if Advanced view is turned on:
Settings - optional field for inputting JSON. It is used for custom advanced configuration of masking process. Example:
 {
     "$type": "Ekobit.BizDataX.DataMasking.Interface.CompositeHandlerSettings, Ekobit.BizDataX.DataMasking.Interface",
     "Ekobit.BizDataX.DataMasking.Interface.BulkCopySettings, Ekobit.BizDataX.DataMasking.Interface": {
         "$type": "Ekobit.BizDataX.DataMasking.Interface.BulkCopySettings, Ekobit.BizDataX.DataMasking.Interface",
         "BatchSize": 200000,
         "TableLock": null,
         "KeepIdentity": null,
         "Timeout": 5400
     },
     "Ekobit.BizDataX.DataMasking.Interface.HandlerNamingSettings, Ekobit.BizDataX.DataMasking.Interface": {
         "$type": "Ekobit.BizDataX.DataMasking.Interface.HandlerNamingSettings, Ekobit.BizDataX.DataMasking.Interface",
         "Masking": "FirstName"
     }
 }
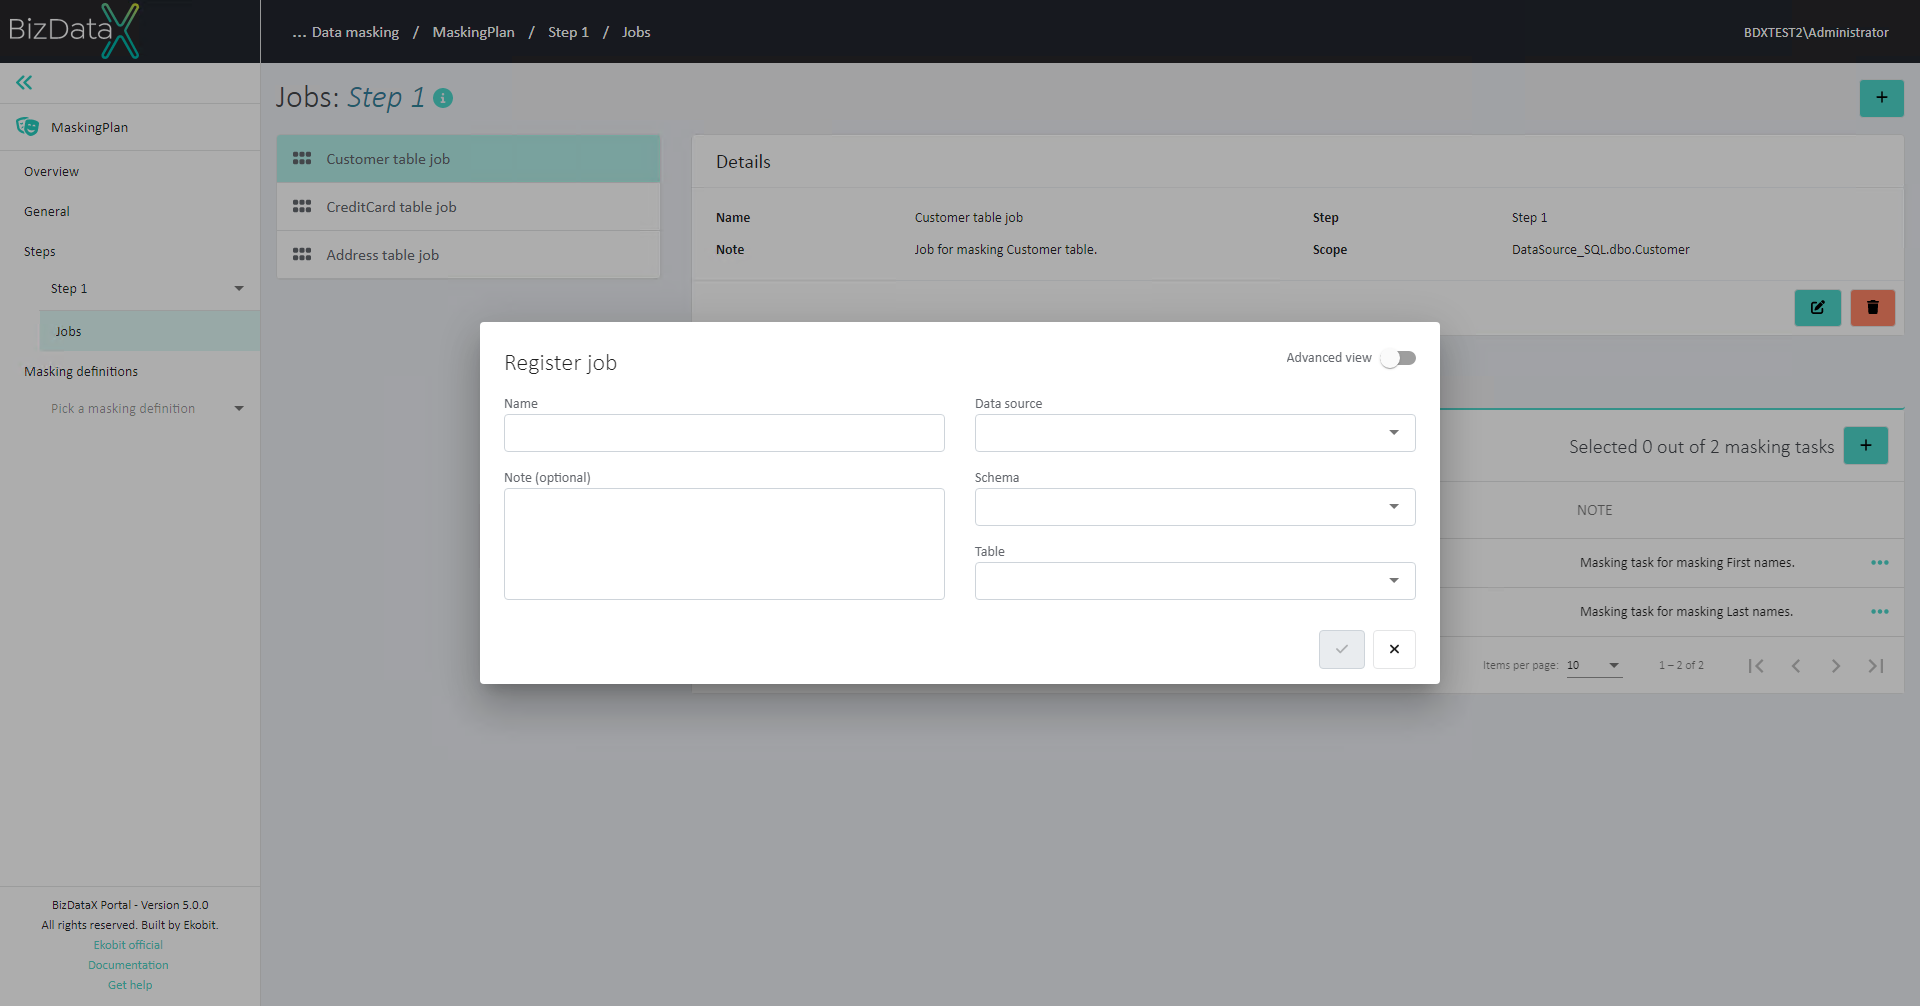 Figure 2: Register Job
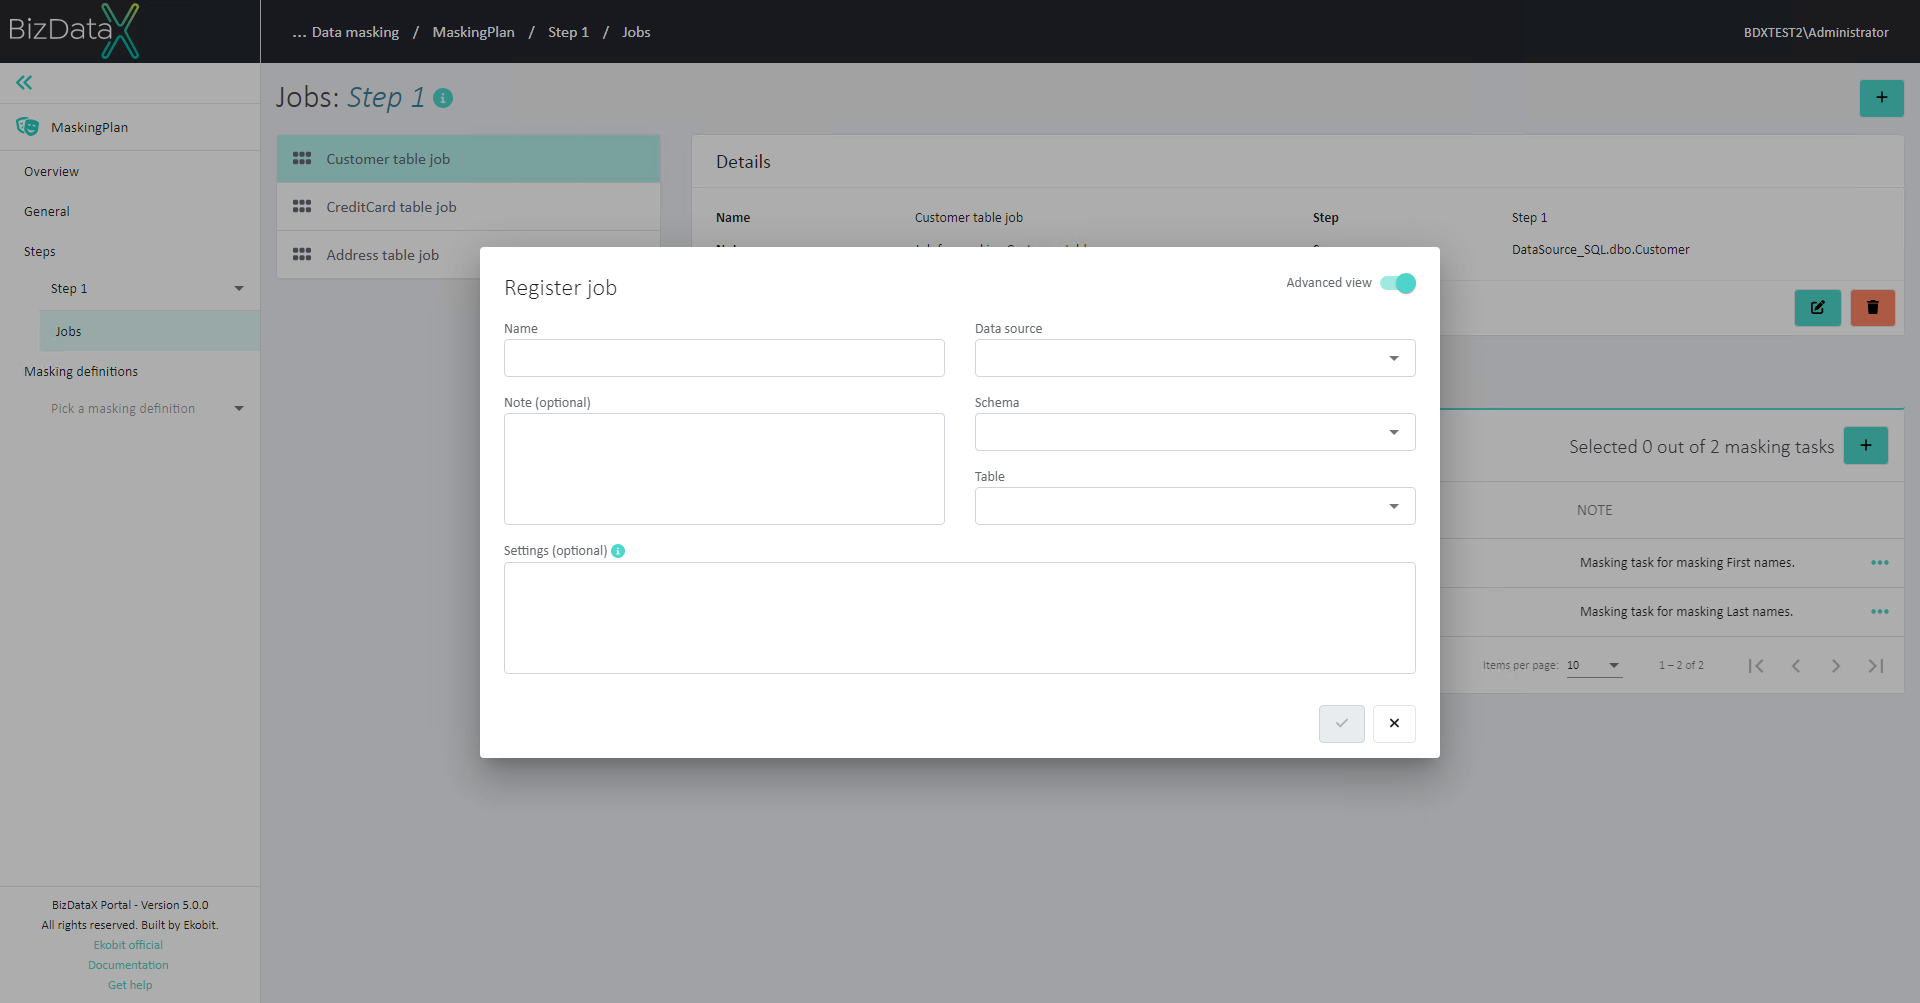 Figure 3: Register Job - Advanced view
Edit Job
Once the Job is registered, Name, Note and Settings of the Job can still be edited. Choose Edit job in the Details section and the pop-up will be displayed.
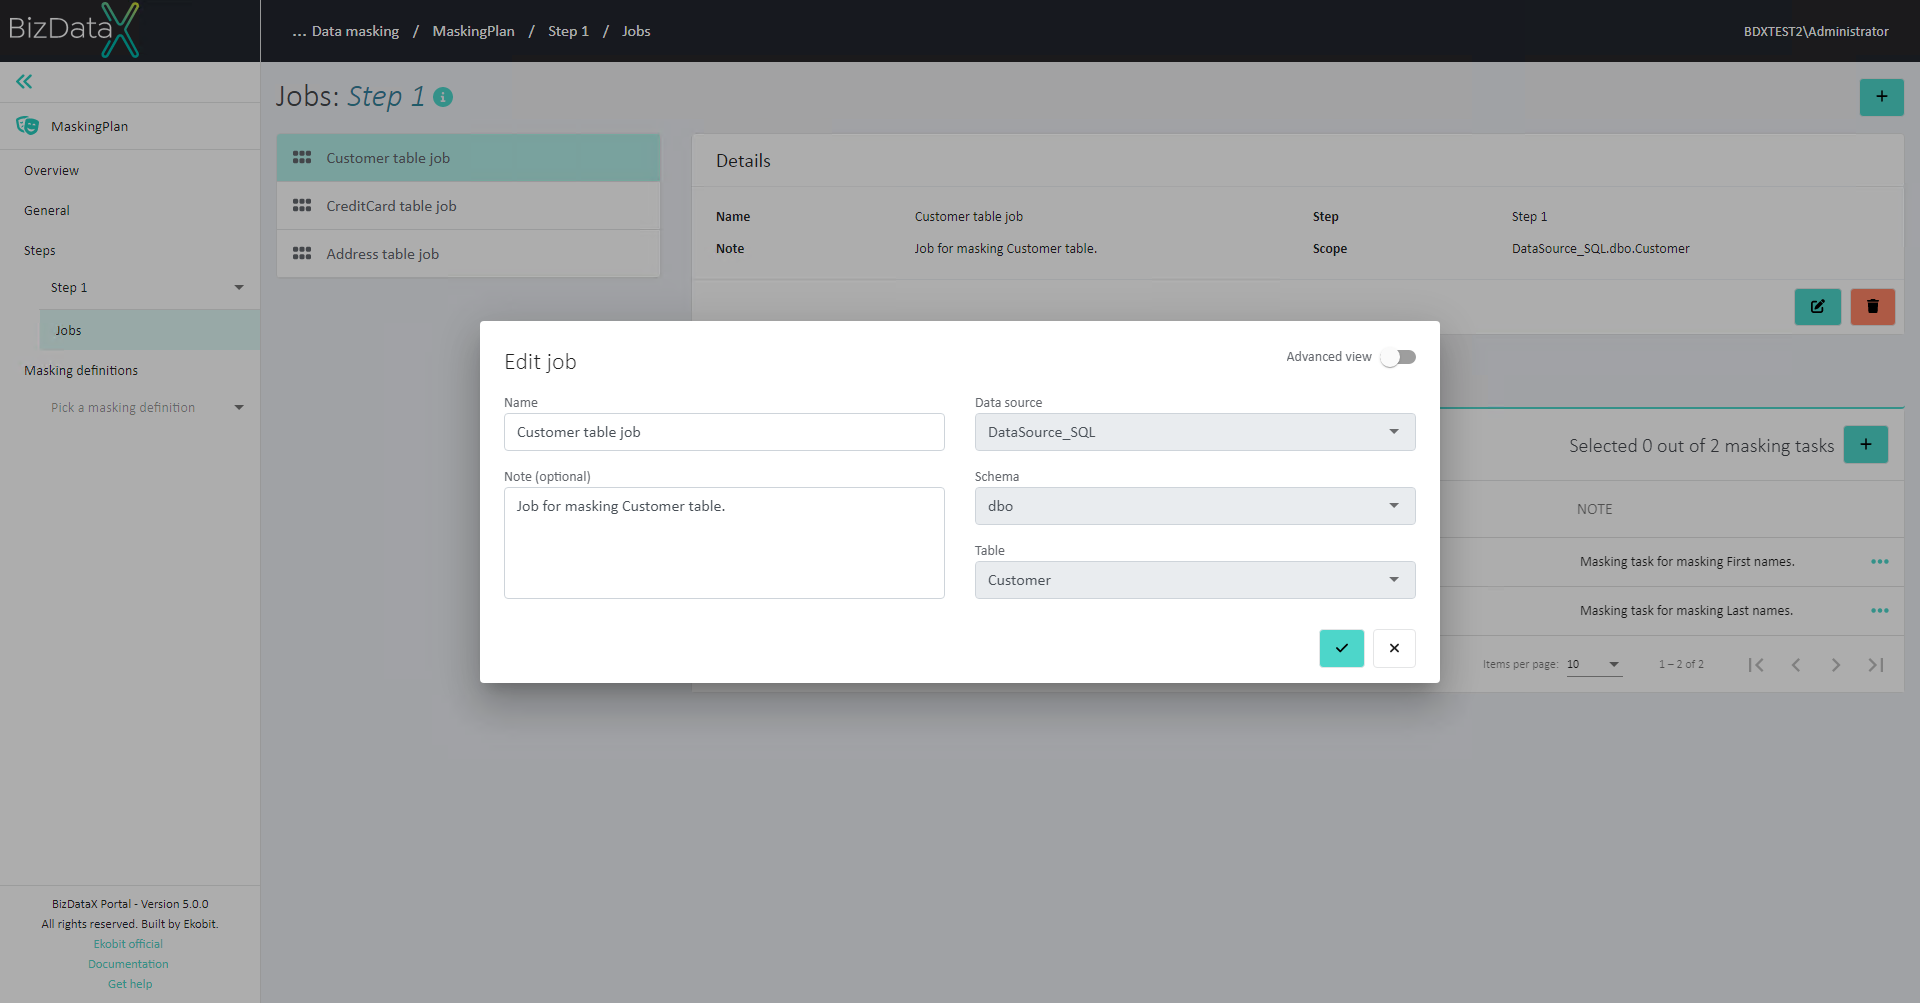 Figure 4: Edit Job
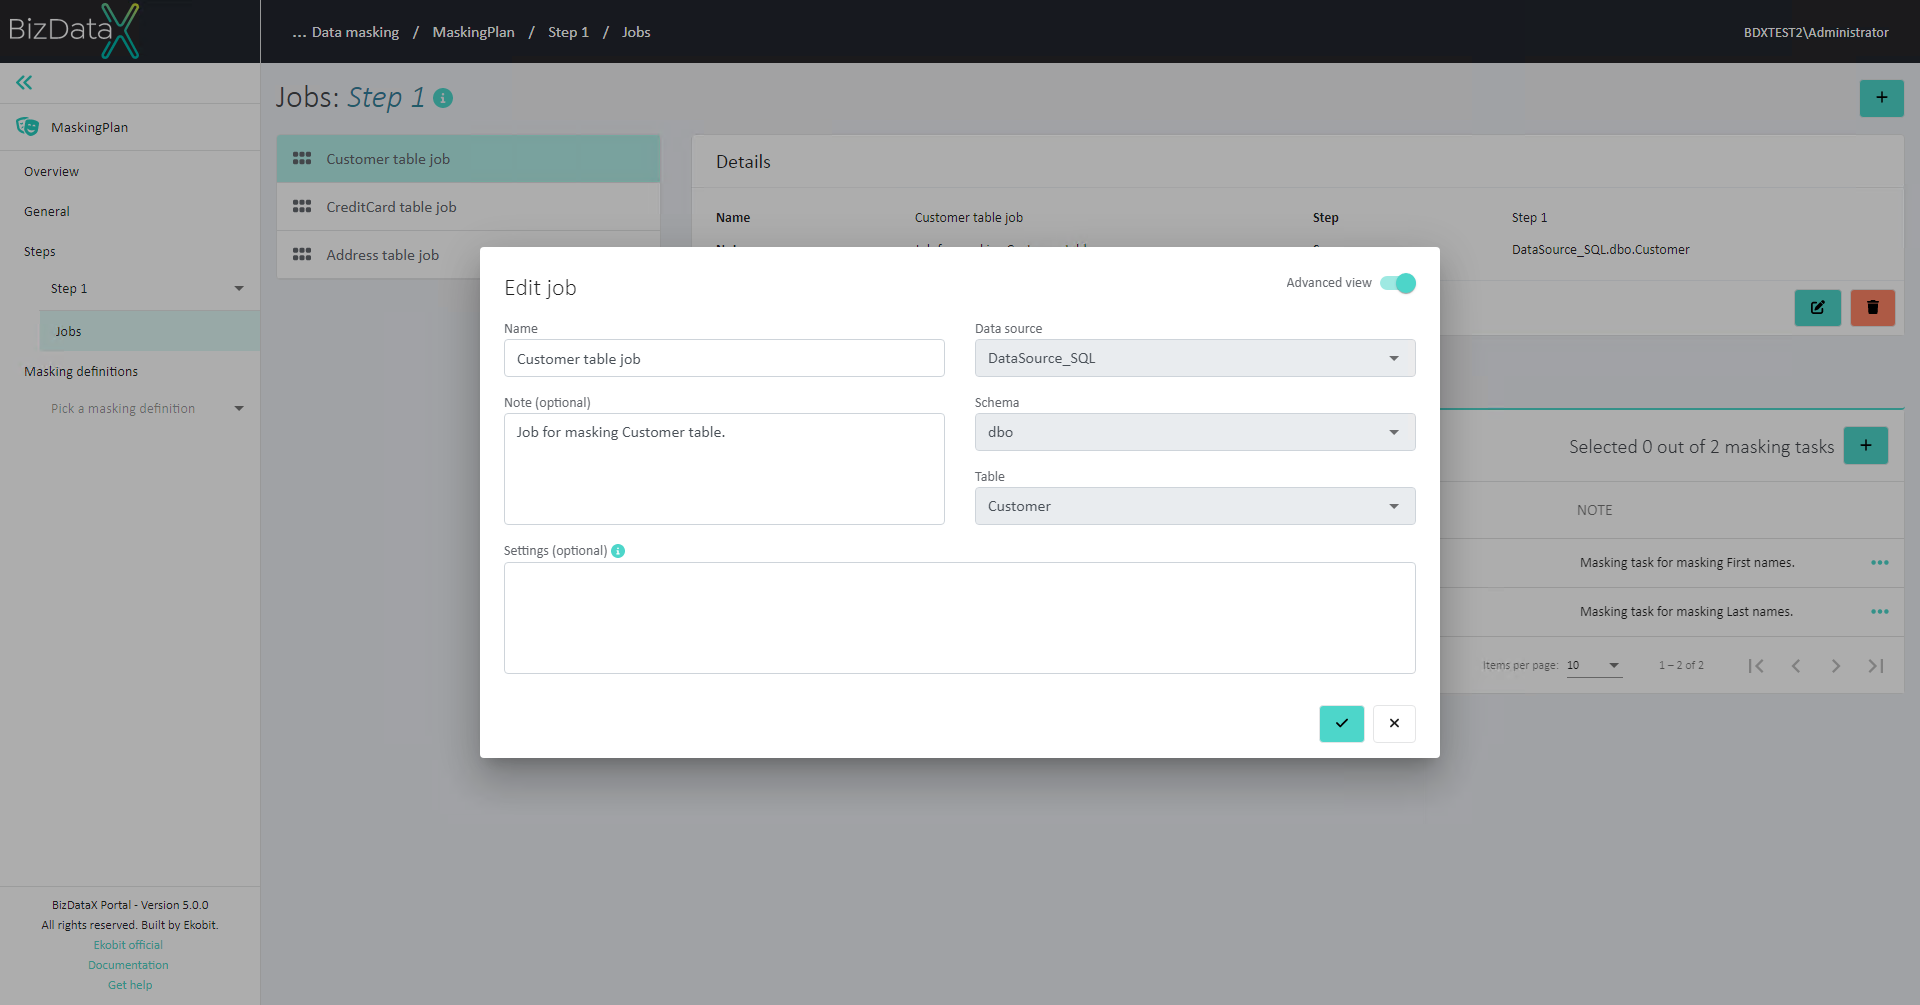 Figure 5: Edit Job - Advanced view
Delete Job
Registered Jobs can be deleted by selecting 'Delete job' in the Details section. The delete Job confirmation dialog will be displayed, and Job will be permanently deleted after confirming the dialog.
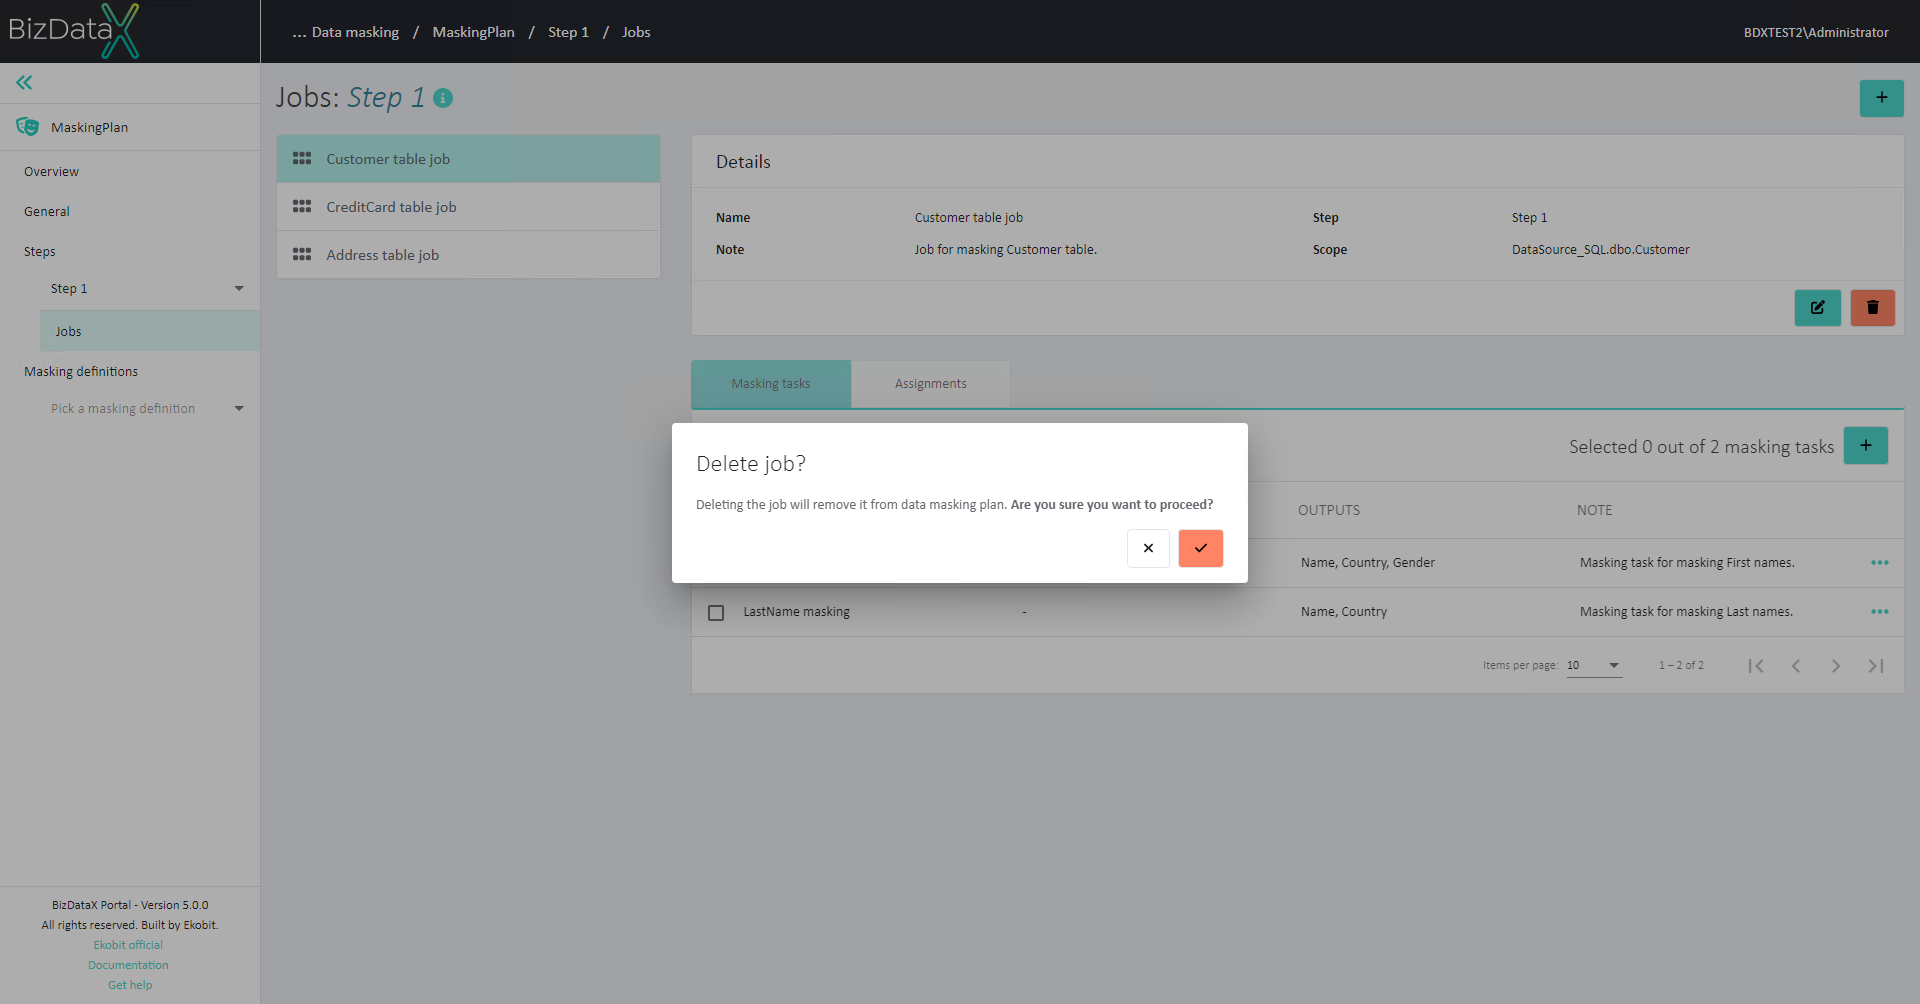 Figure 6: Delete Job
Masking tasks
Masking tasks are used for fetching data that was generated through Masking definitions or directly from Add-on generator. Masking tasks are an optional part of the table job.
All Masking tasks of the selected Job are displayed in the Masking task overview table. Information about Masking tasks are displayed:
Name - unique name of the Masking task.
Inputs - configured inputs of the Masking task.
Outputs - outputs of the Masking task.
Note - description of the Masking task.
On table menu, there are options to:
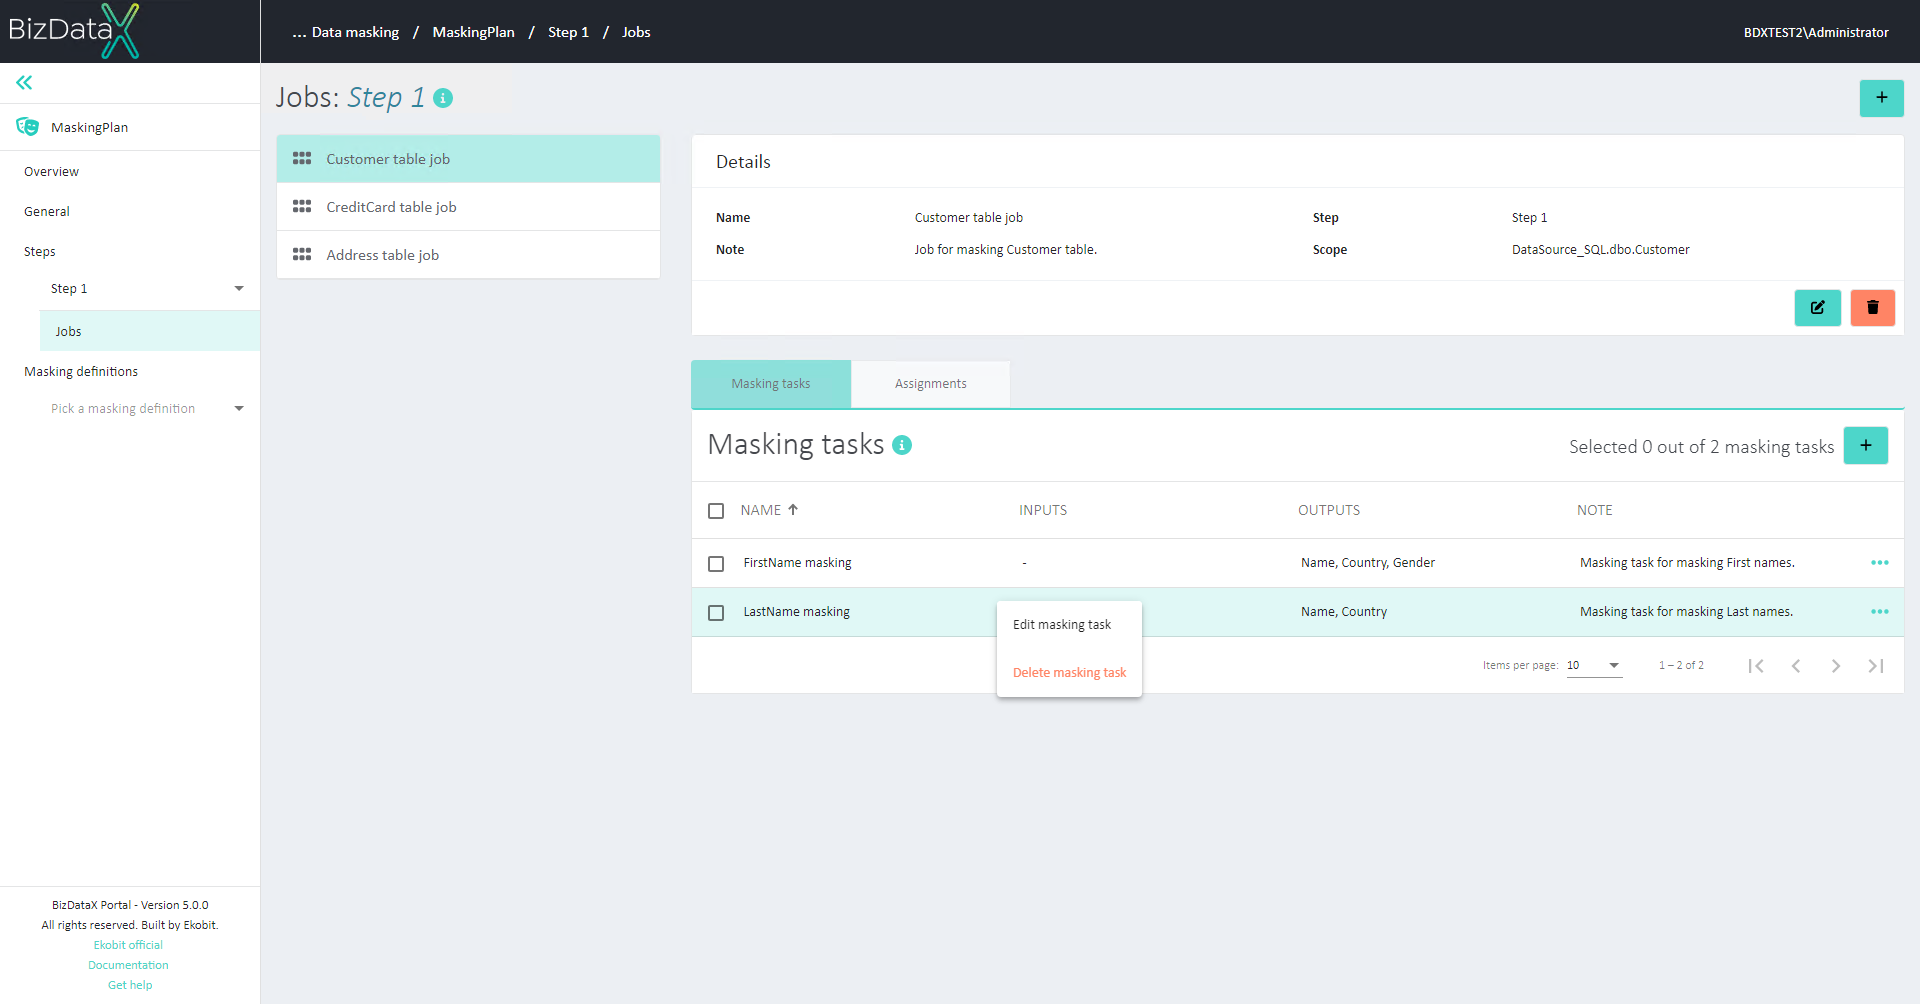 Figure 7: Masking tasks overview table
There is no specific order of Masking tasks.
Register Masking task
To register a new Masking task, click Register Masking task button. New pop-up is displayed. It allows entering information about the new Masking task:
Name - unique name of the Masking task.
Note - description of the Masking task.
Masking definition - Masking definition used as base for Masking task. In this field, user chooses between two options:
Existing Masking definitions - user chooses from all previously created Masking definitions
Add-on generators - user chooses from all imported Add-on generators and Masking definition will be automatically created based on that Add-on generator.
Inputs - inputs of the selected Masking definition/Add-on generator are displayed and can additionally be configured to be used in Masking definitions and Generators. See more about the options below.
Outputs - outputs of the selected Masking definition/Add-on generator are displayed as a read-only table. These outputs can be used in Assignments.
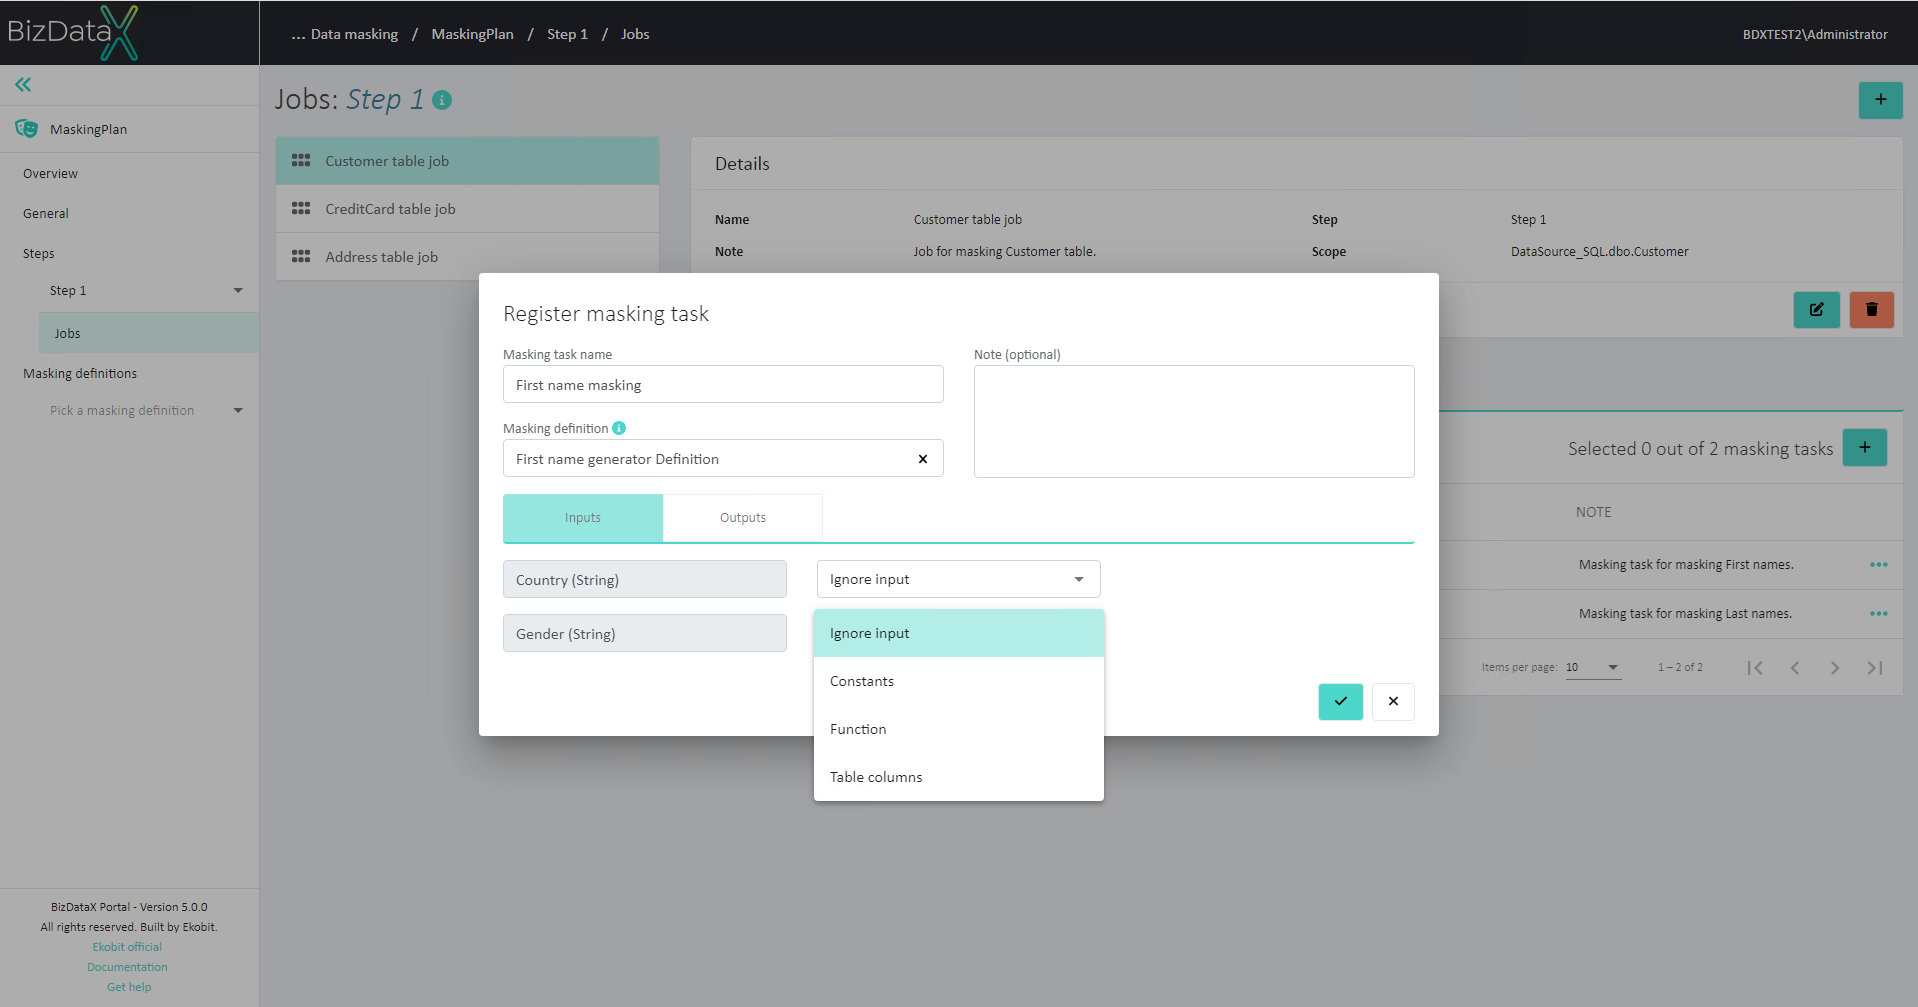 Figure 8: Register Masking task - Inputs
When additionally configuring inputs, various values can be assigned to them. Possible options are:
Ignore input - default value, leaves input unassigned and without any specific value.
Constants - options are "Null" and "Empty string".
Custom - allows user to input custom value (eg. "HR").
Table columns - user can choose between all columns of the Table chosen when creating Job. Values of that column will be used as inputs.
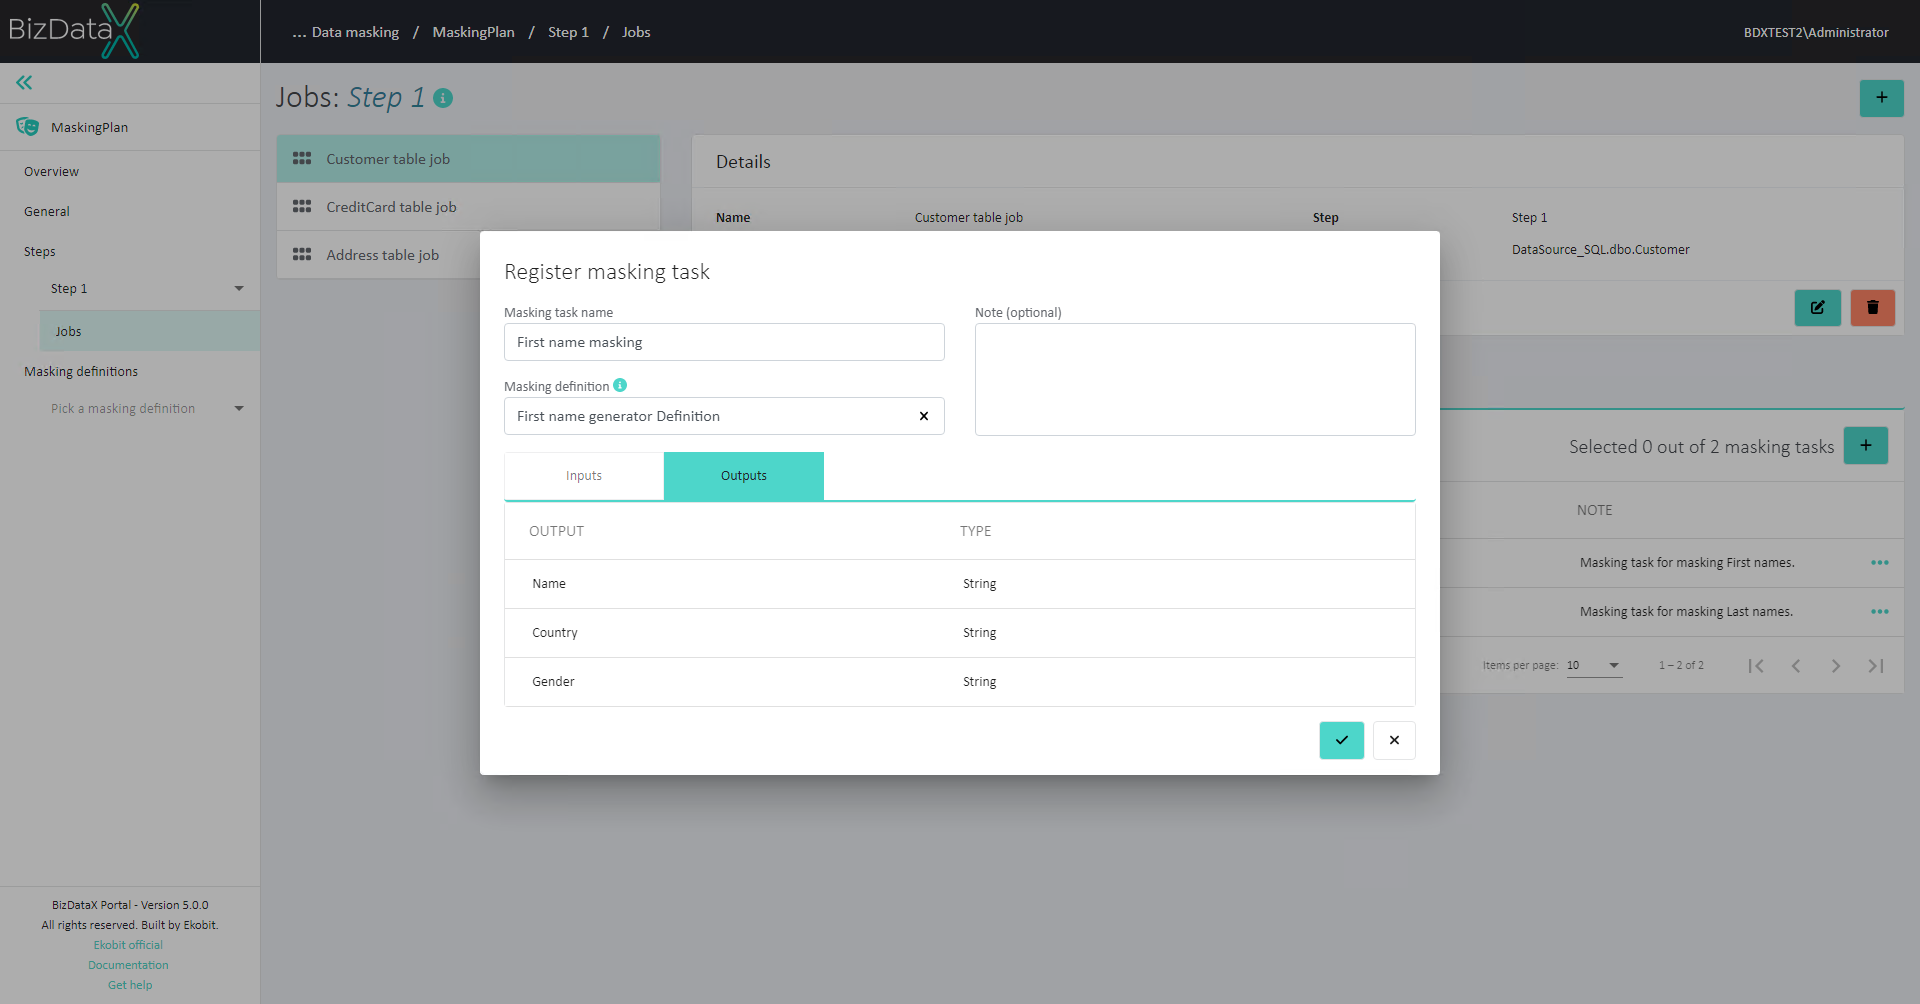 Figure 9: Register Masking task - Outputs
Edit Masking task
Once the Masking task is registered, all information about the Masking task can still be edited. Choose on Edit masking task in the context menu and the pop-up will be displayed.
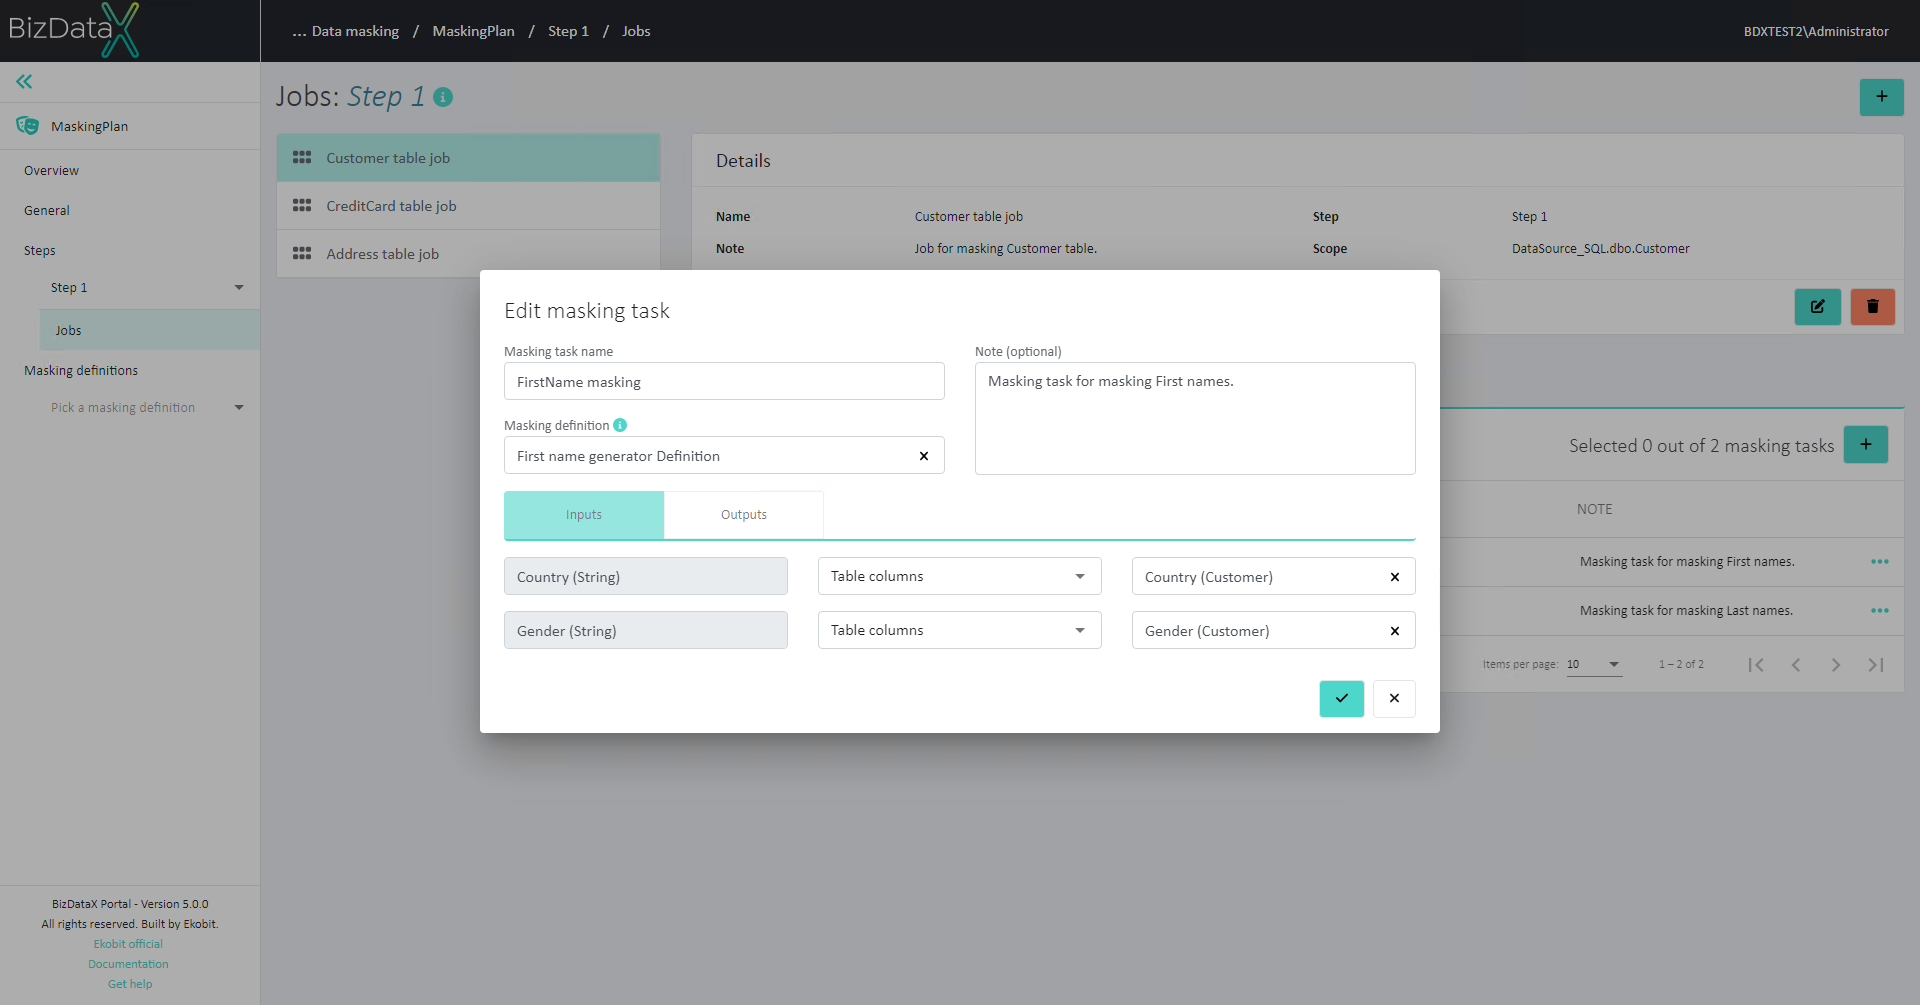 Figure 10: Edit Masking task
Delete Masking task
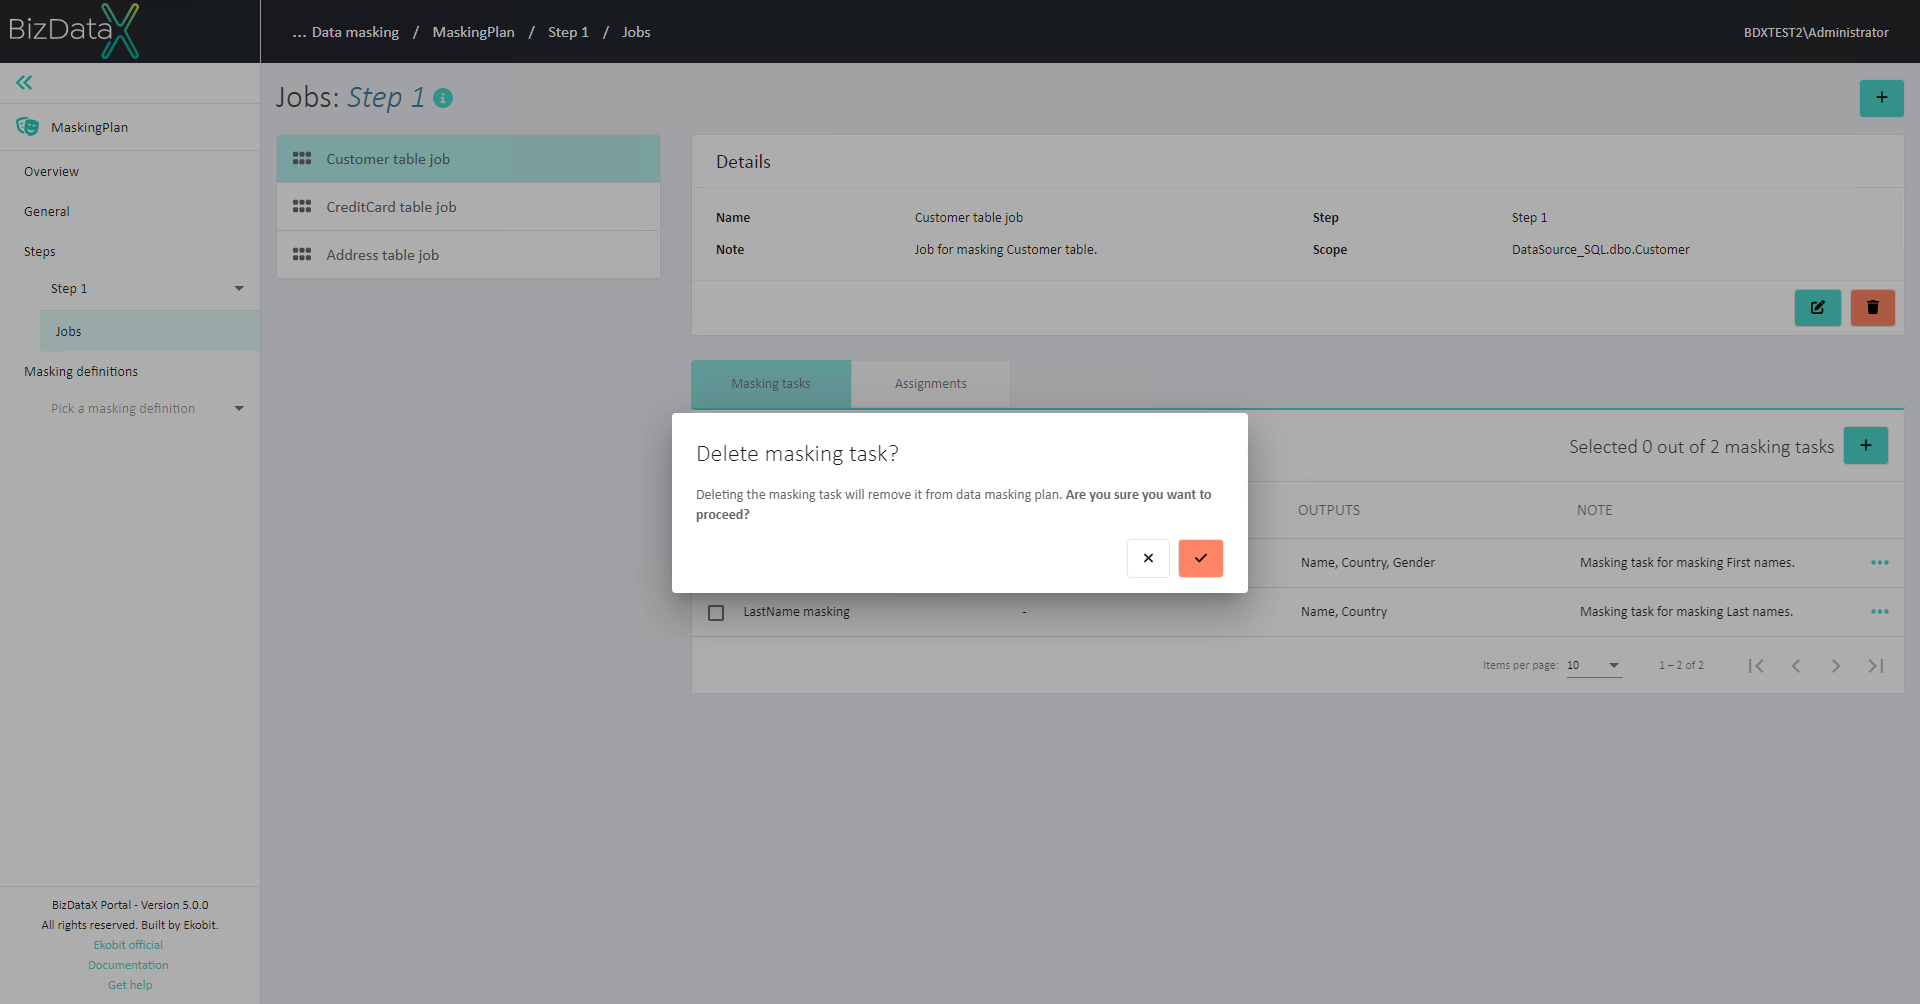 Figure 11: Delete Masking task
Assignments
Design assignments for Table job is an action of linking masked data (Masking task output, constant or custom) with Columns of the Data source. Chosen masking value (masked data) will replace the original values.
Assignments are displayed by selecting the ‘Assignments’ tab.
On 'Figure1.', Assignments of the selected Job are only displayed as read-only data in a form of table. It contains information:
Column name - Automatically filled with Columns of the table selected while registering Job.
Masking category - Masking value - Automatically filled with chosen masking category and Masking value in Design assignments.
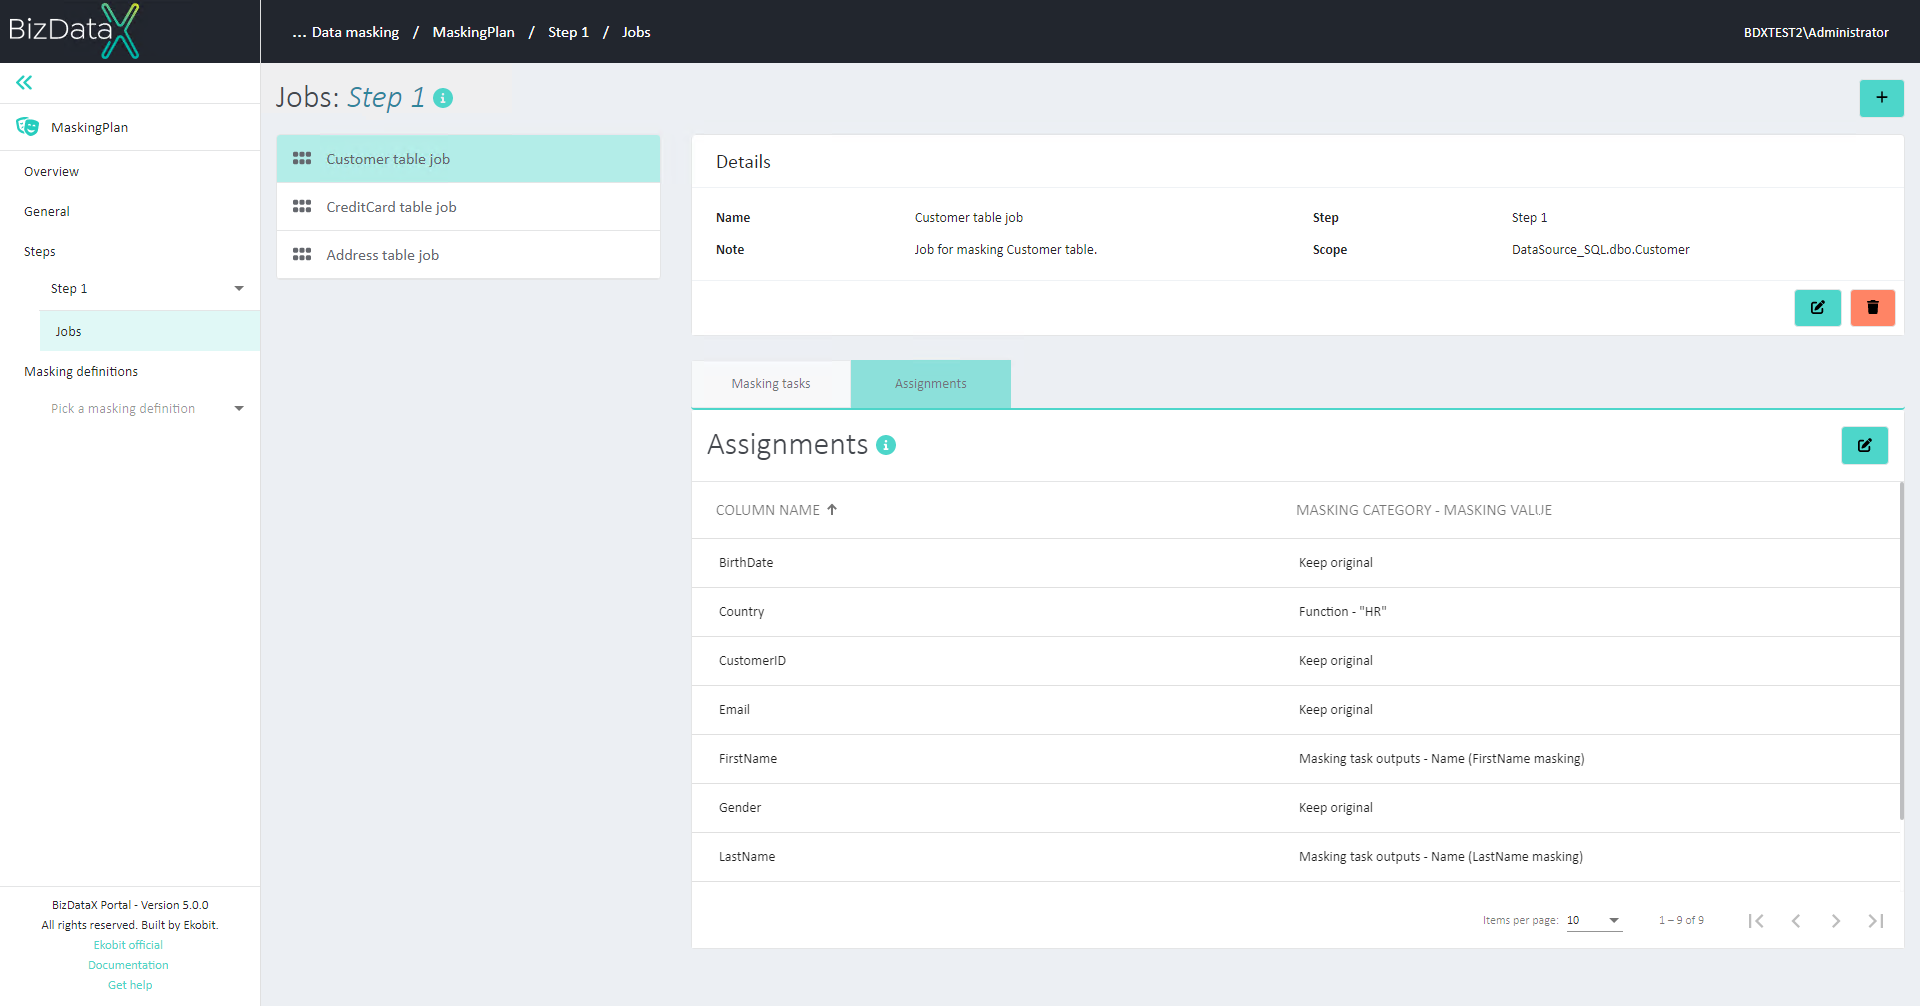 Figure 12: Assignments
Design Assignments
Assignments can be designed by selecting ‘Design assignments’ button in the right corner of the ‘Assignments’ section. This page contains a list of Table columns and a corresponding number of fields for assigning values to them.
Table columns can:
Be left on default value 'Keep original'
Be populated with values fetched through Masking task outputs
Be populated with Constants
Be populated with custom input.
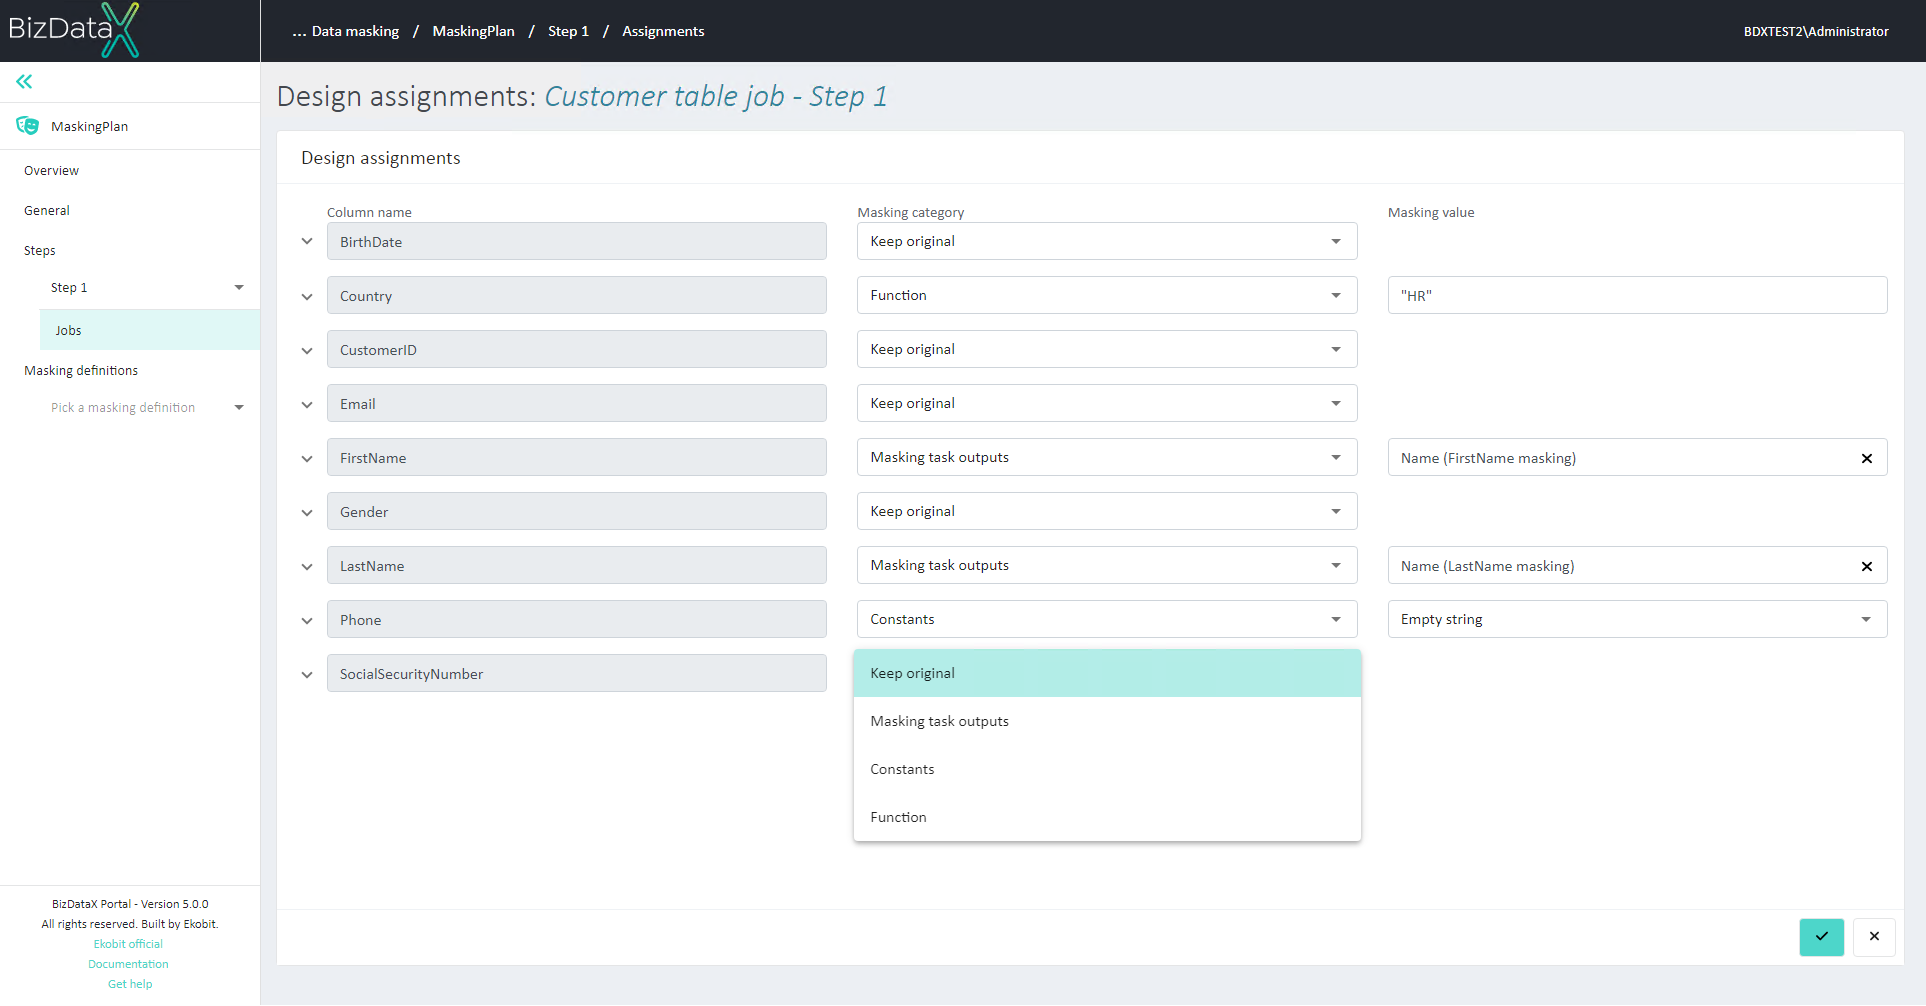 Figure 13: Design Assignments
Column name - list of all columns of the Table selected when creating Job for which assignments are getting designed.
Masking category - user assigns value for each column of the Table. User first chooses the Masking category. Possible options are:
Keep original - leaves column unmasked and as original value.
Masking task outputs - allows user to use outputs of created Masking tasks of that Job.
Constants - allows user to select predefined constans
Custom - allows user to use their custom values.
Masking value - User chooses specific values they want to assign to the column of the Table. Options are:
For Masking task outputs - outputs of all created Masking tasks of that Job, grouped by Masking tasks and displayed alphabetically.
For Constants - options are "Null" and "Empty string".
For Custom - empty input field is displayed. User can populate it with custom expressions (eg. "HR" or MaskingTaskOutputs["MaskingTaskName"]["OutputName"])