Masking definitions
The Masking definitions page shows information related to Masking definitions of a Data masking plan and its Blocks.
| Table of contents |
|---|
| Masking definitions |
| Create Masking definition |
| Edit Masking definition |
| Delete Masking definition |
| Blocks |
| Create Block |
| Edit Block |
| Delete Block |
| Reorder Blocks |
| View Block details |
Masking definitions
Masking definition is used for generating or defining masked data. It consists of Blocks that contain Generators and are executed under specific conditions. Masking definitions can be used in:
Masking tasks or
Other Masking definitions
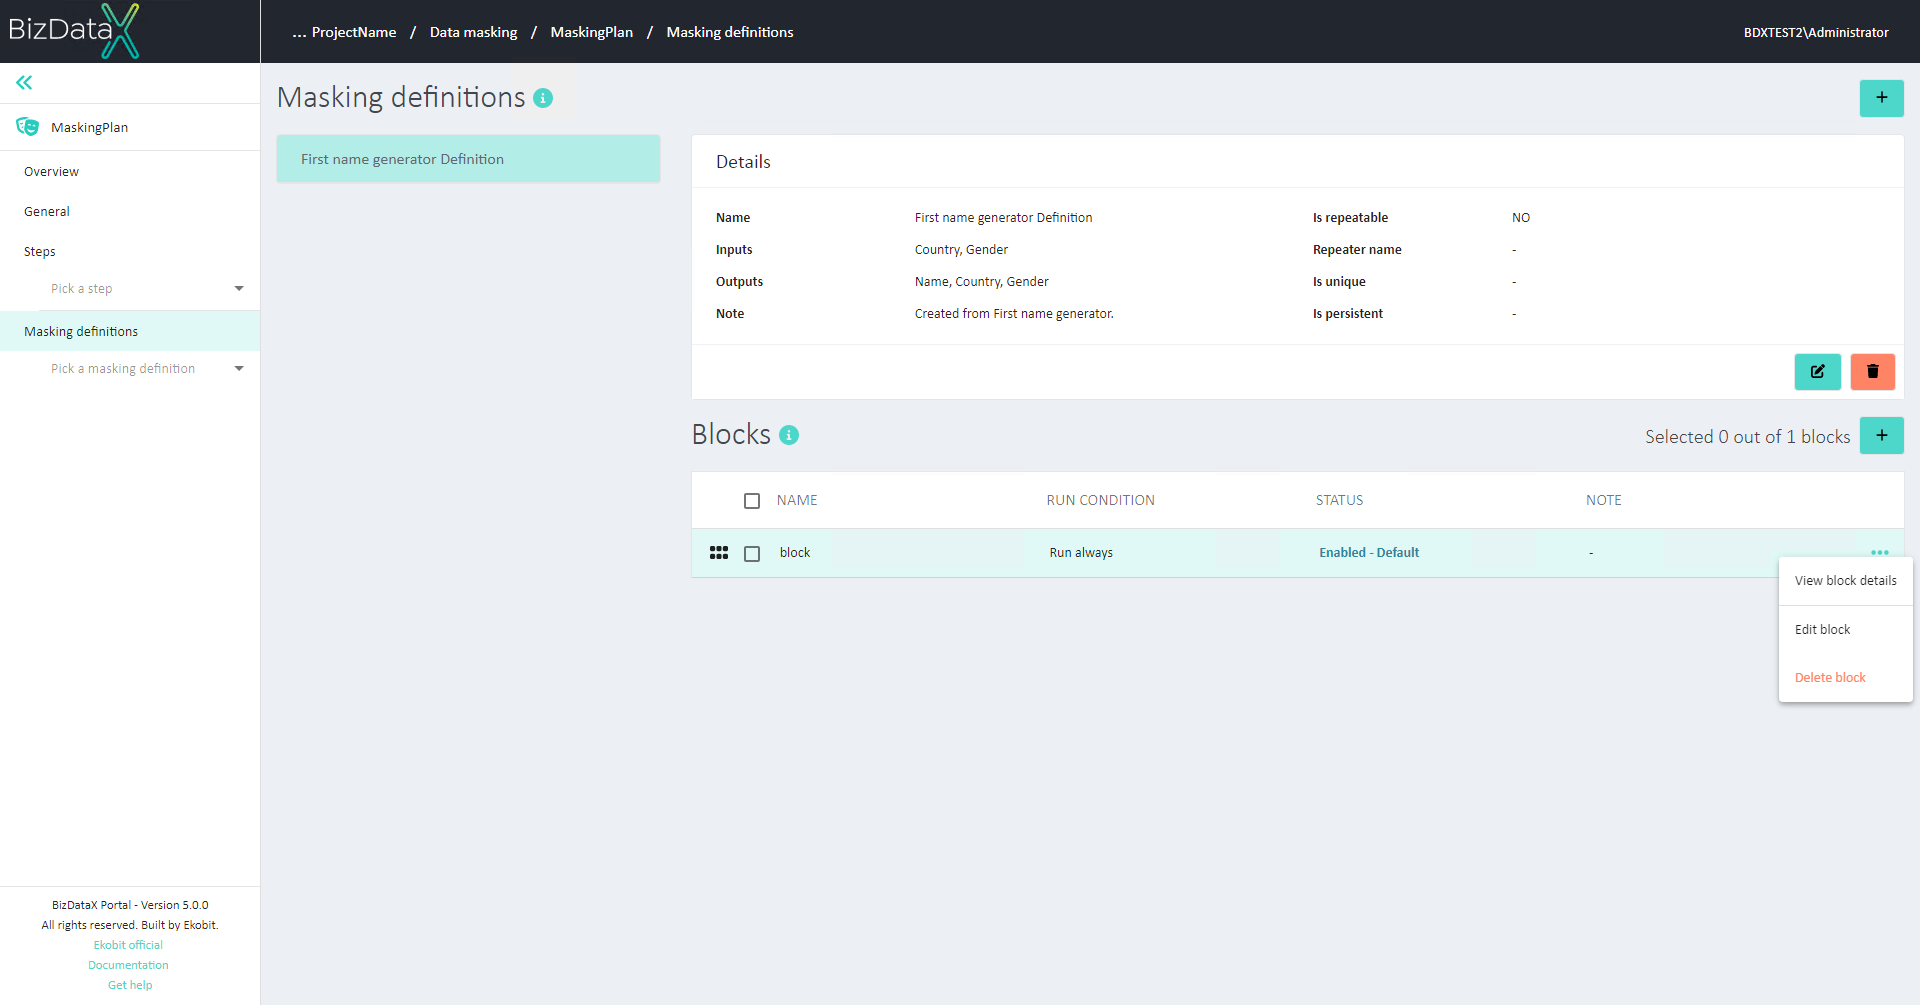
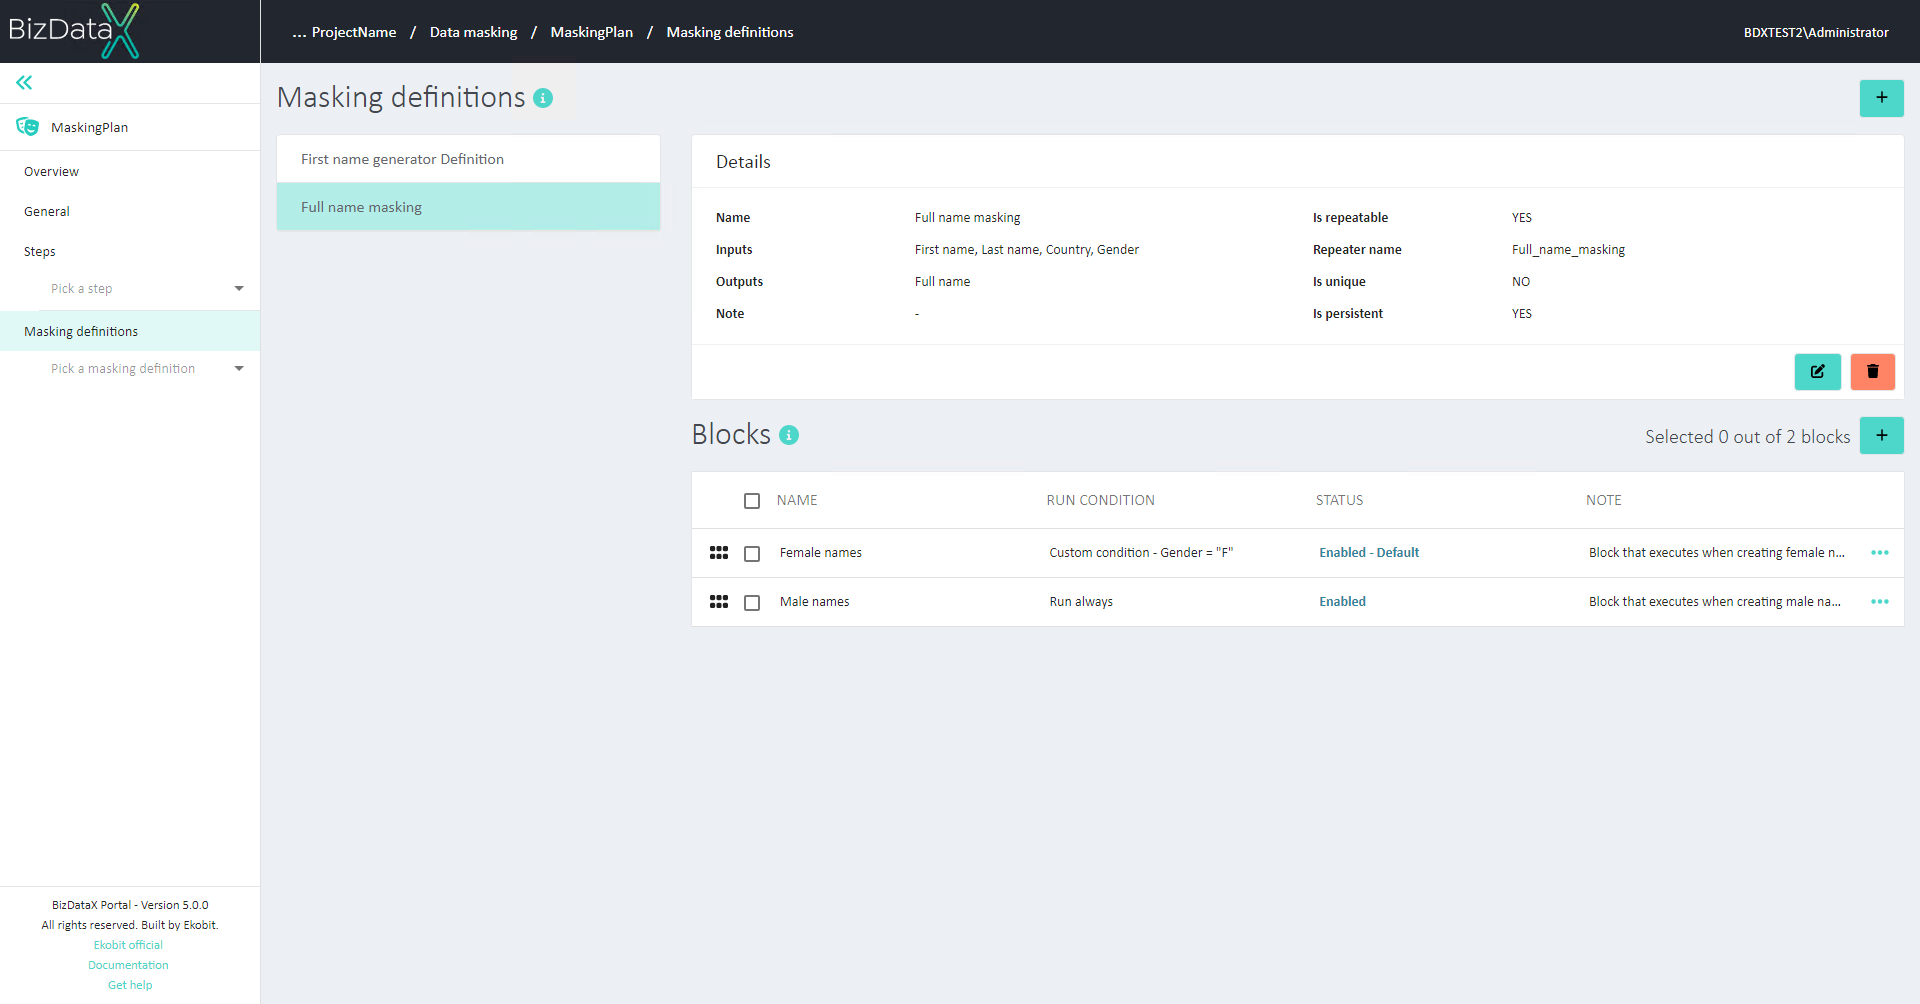
The Masking Definitions list contains definitions for masking. Details about the selected Masking definition are displayed in the Details section:
- Name - name of the selected Masking definition
- Inputs - inputs of the selected Masking definition
- Outputs - outputs of the selected Masking definition
- Note - description of the selected Masking definition
- Is repeatable - indicates whether the selected Masking definition has set repeaters
- Repeater name - name of the repeater of the selected Masking definition, if it exists
- Is unique - indicates whether the selected Masking definition has set unique repeaters
- Is persistent - indicates whether the selected Masking definition has set persisting repeaters
Create Masking definition
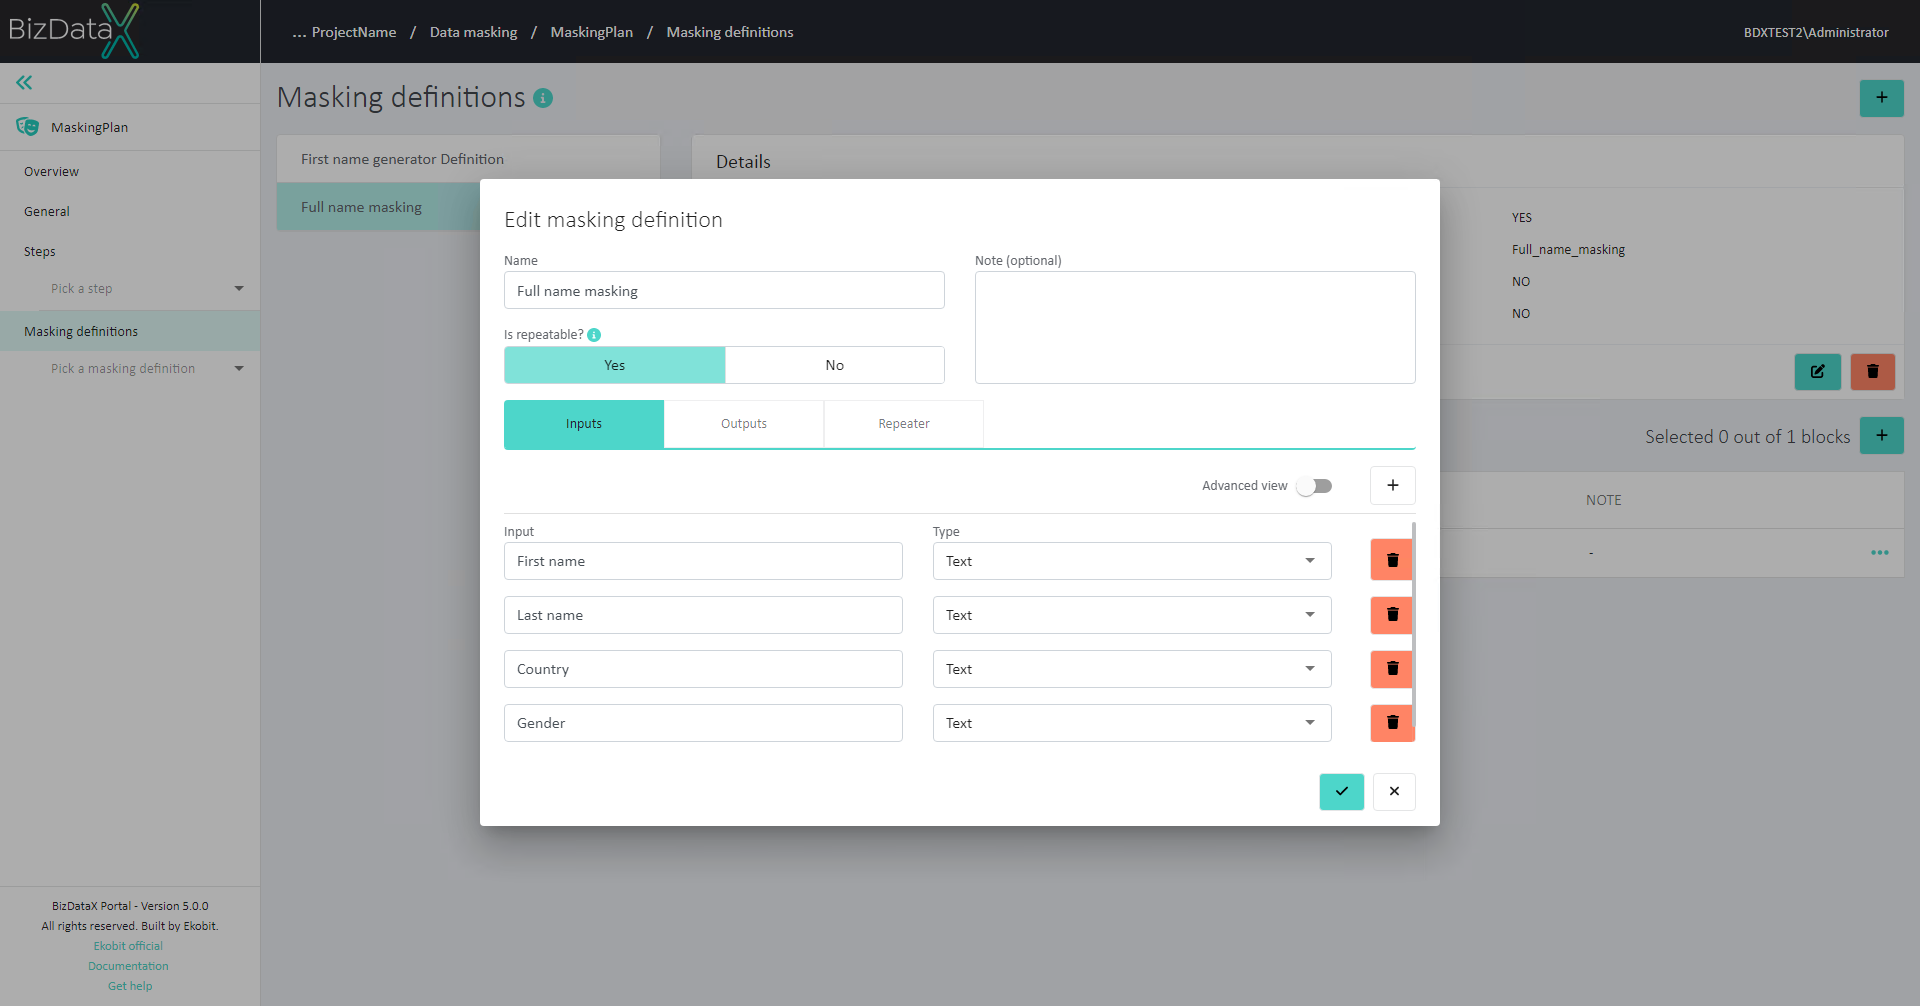
To create a new Masking definition, click Create masking definition button. A new pop-up is displayed. It allows entering information about the new Masking definition:
- Name - name of the Masking definition
- Is repeatable - indicates whether the Masking definition will contain repeaters
- Note - description of the selected Masking definition
- Inputs - input values that can be used in Generator. Inputs are defined by Name and Type.
- Outputs - output values that can be used in Generators and Masking tasks. Outputs are defined by Name and Type.
- Repeater - properties of the repeater. Defined by Repeater name, note, information if repeater is Unique and/or Persisting.
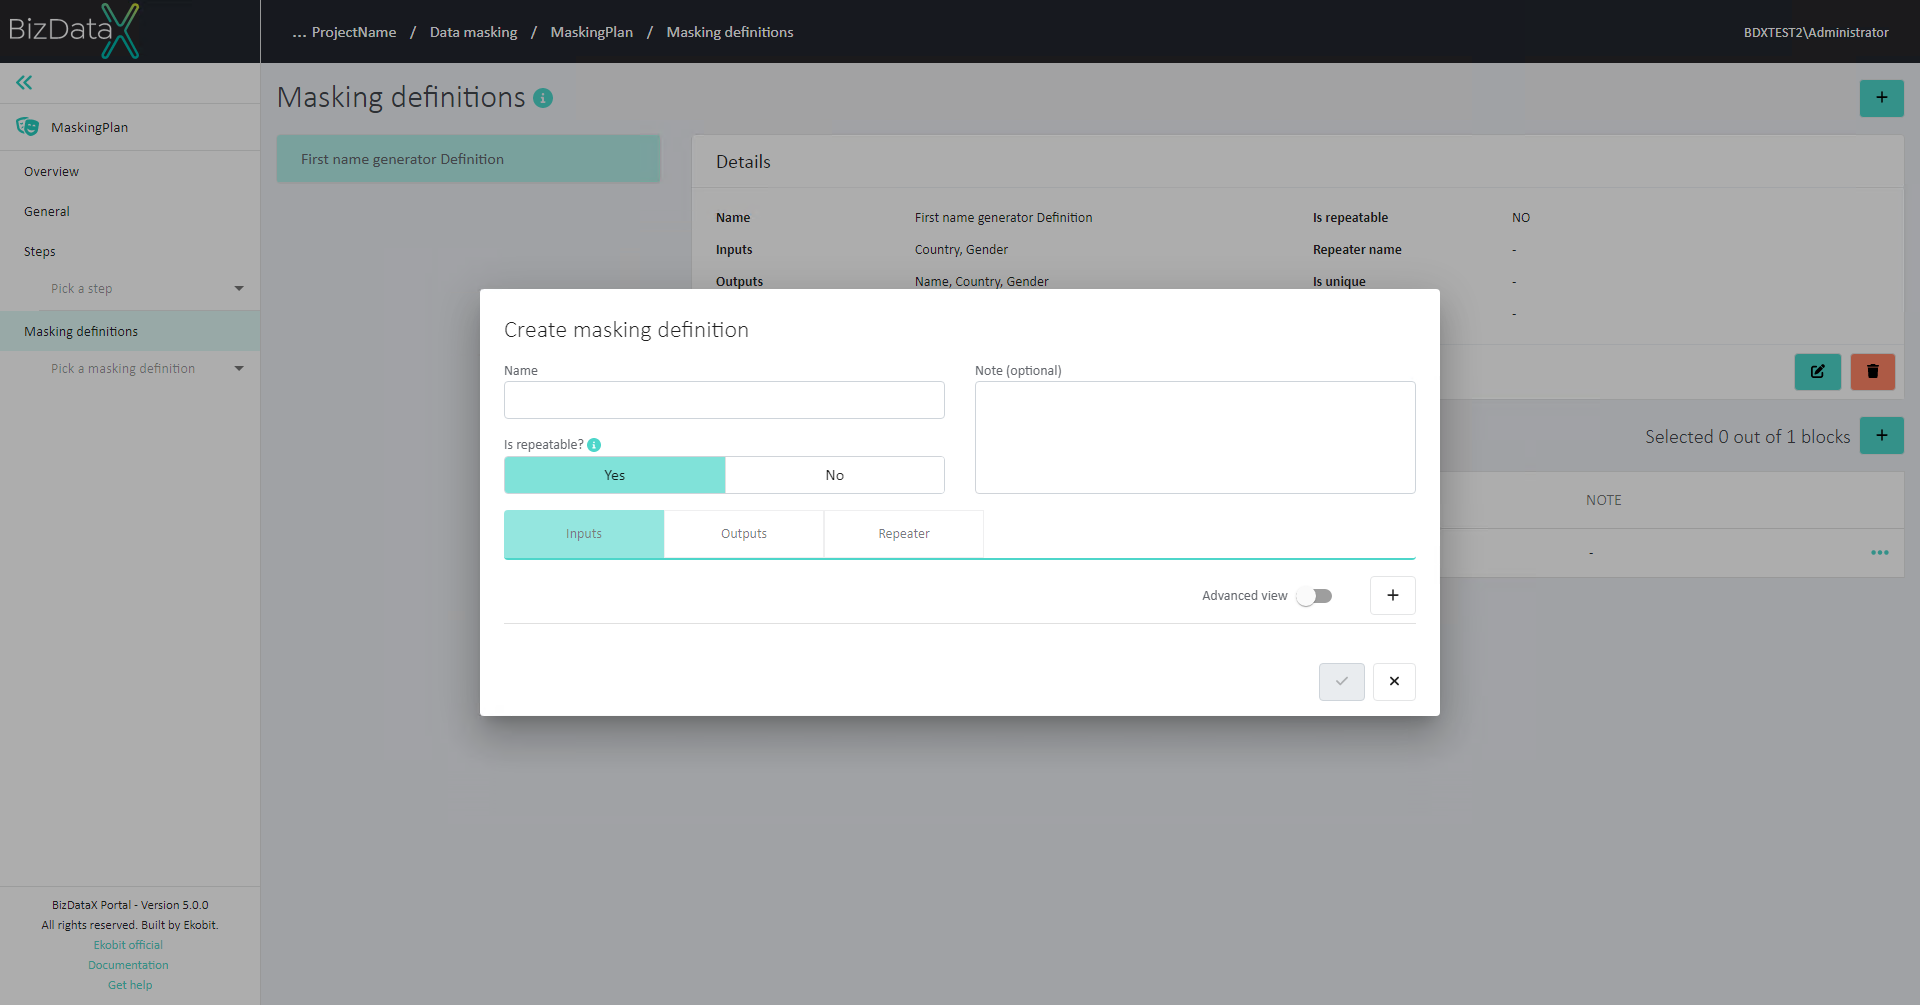
Inputs of a Masking definition are defined by Name and Type. User can add as many inputs as needed for wanted masking. Types can be specified as generic (basic) types or CLR (advanced) types.
Generic input types are:
- Text
- Number
- Boolean
- Date
CLR (advanced) input types are displayed by turning on the Advanced view. CLR types are:
- Text – string
- Text – char
- Text – xmltype
- Text - GUID
- Number – int
- Number – long
- Number – double
- Number - unassigned int
- Number - decimal
- Boolean – bool
- Boolean – int
- Date
- Object
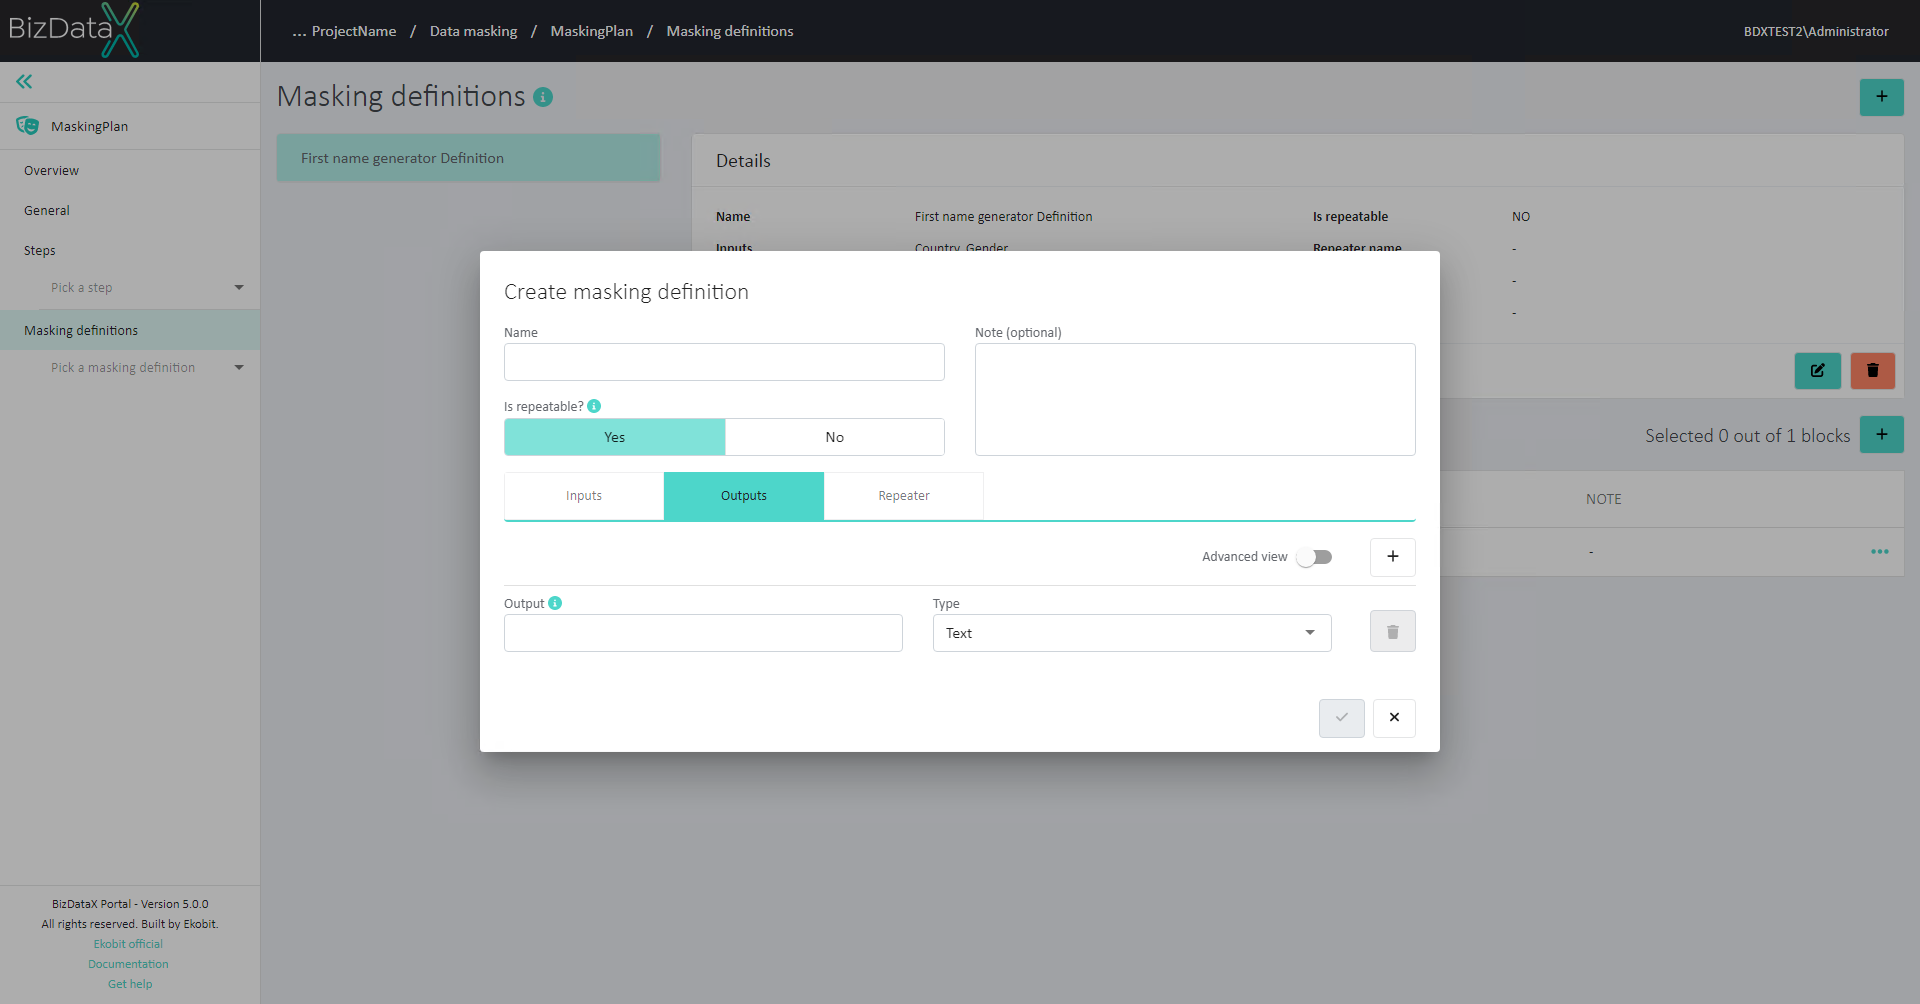
Outputs of a Masking definition are defined by Name and Type. User can add as many outputs as needed for wanted masking. Types can be specified as generic (basic) types or CLR (advanced) types.
Generic output types are:
- Text
- Number
- Boolean
- Date.
CLR (advanced) output types are displayed by turning on the Advanced view. CLR types are:
- Text – string
- Text – char
- Text – xmltype
- Text - GUID
- Number – int
- Number – long
- Number – double
- Number - unassigned int
- Number - decimal
- Boolean – bool
- Boolean – int
- Date
- Object
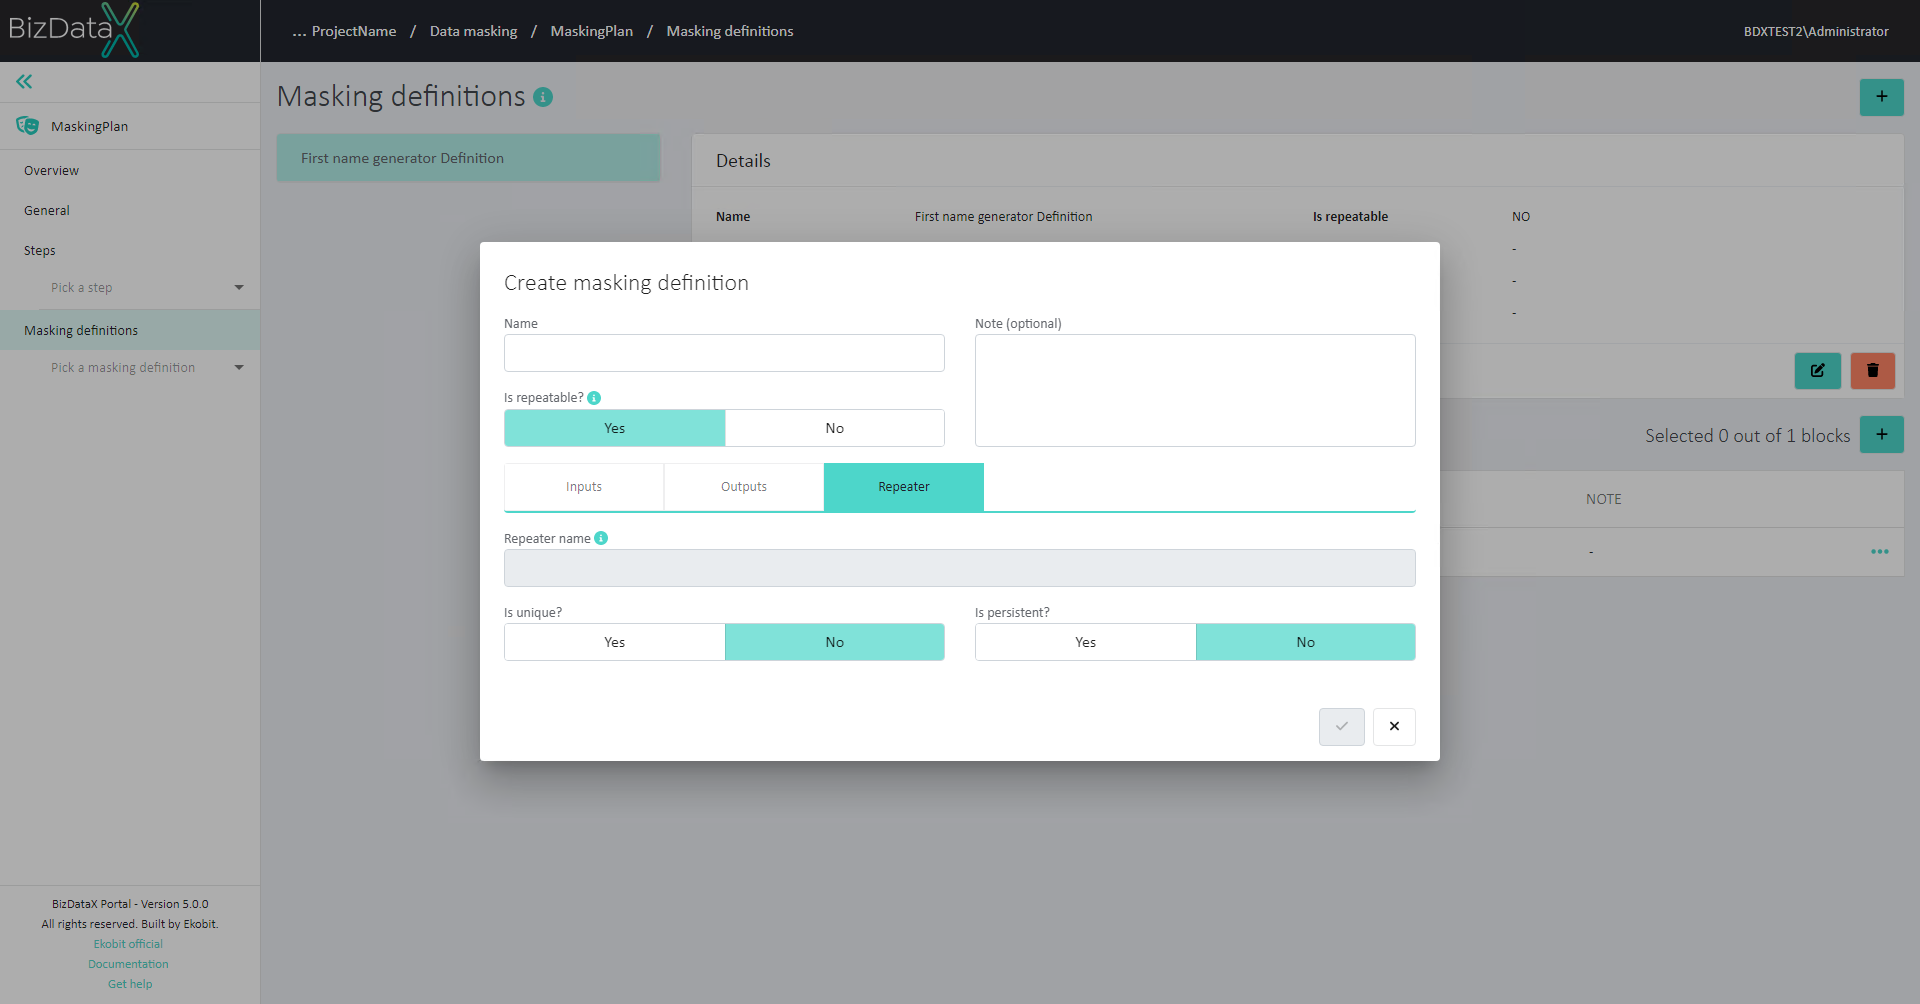
*Repeater contains values that, once created and saved in the database, can be used again so that the same original value ('RepeaterKey') is always replaced with the same masked value ('RepeatingValue'). While creating Masking definition, user can specify if repeaters will be used and additional information about them:
Repeater name - repeater name is automatically generated according to the name of masking definition and will be used in conjunction with repeater store configuration.
Is unique - If 'Is unique' is set to true, then different output is always generated.
Is persisting - If 'Is persisting' is set to true, then information about the repeater is saved as a list of values identified by name and they contain a key and its belonging value. That specific repeater can then be used in future maskings.
Edit Masking definition
Once a Masking definition is registered, all information can still be edited. Click on Edit Masking definition in the Details section and a pop-up window will be displayed. In the Edit context all fields are editable.
Delete Masking definition
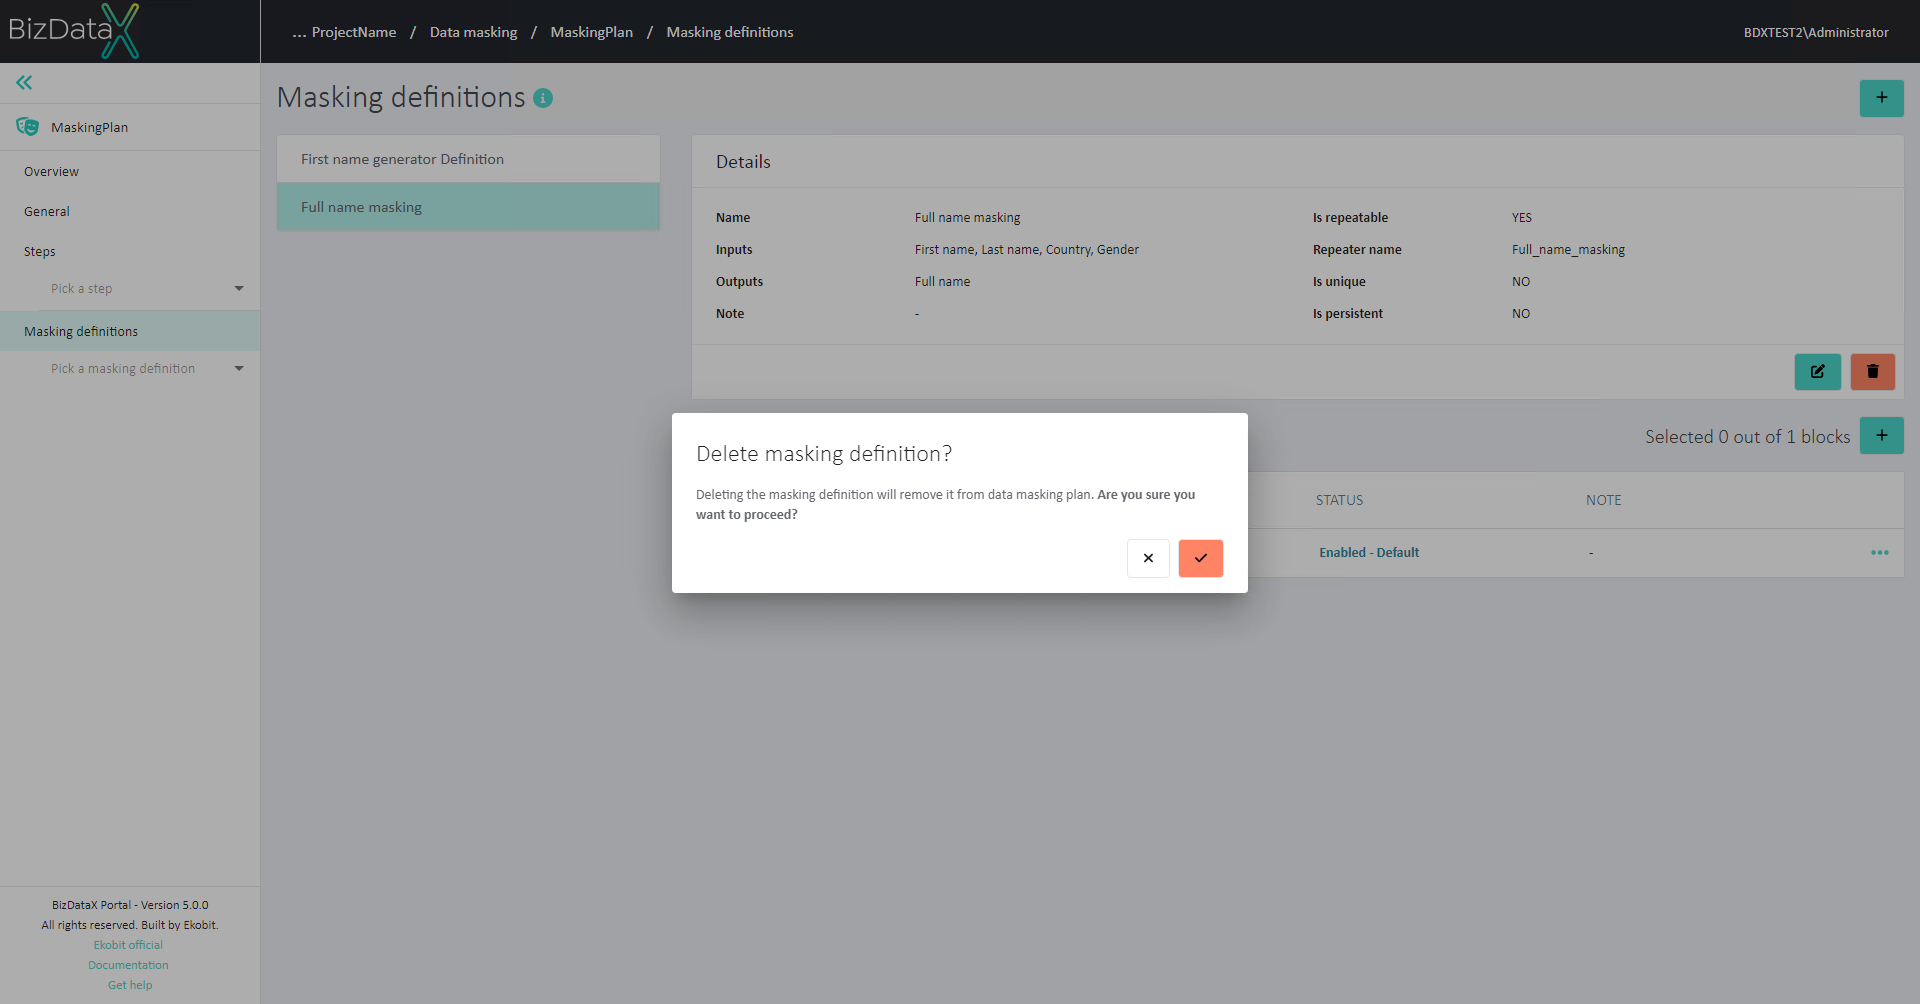
Masking definition can be deleted by selecting 'Delete Masking definition' in the Details section. The delete Masking definition confirmation dialog will be displayed and Masking definition will be permanently deleted after confirming the dialog.
Blocks
Blocks are used as decision making statements of a Masking definition. Those decisions are made by using "Run condition" and order of Blocks in the Masking definition. Each Masking definition can have multiple Blocks, but at least one is required.
Blocks consist of two parts:
- Generating data for masking - a mechanism to generate masked data from Generators and
- Assignments - a mechanism of storing the generated data as output of Masking definition
Blocks of a specific Masking definition are displayed in an overview table, displaying details about them:
- Name - name of the Block
- Run condition - condition under which the Block will be executed
- Status - status of the Block
- Note - description of the Block.
Create Block
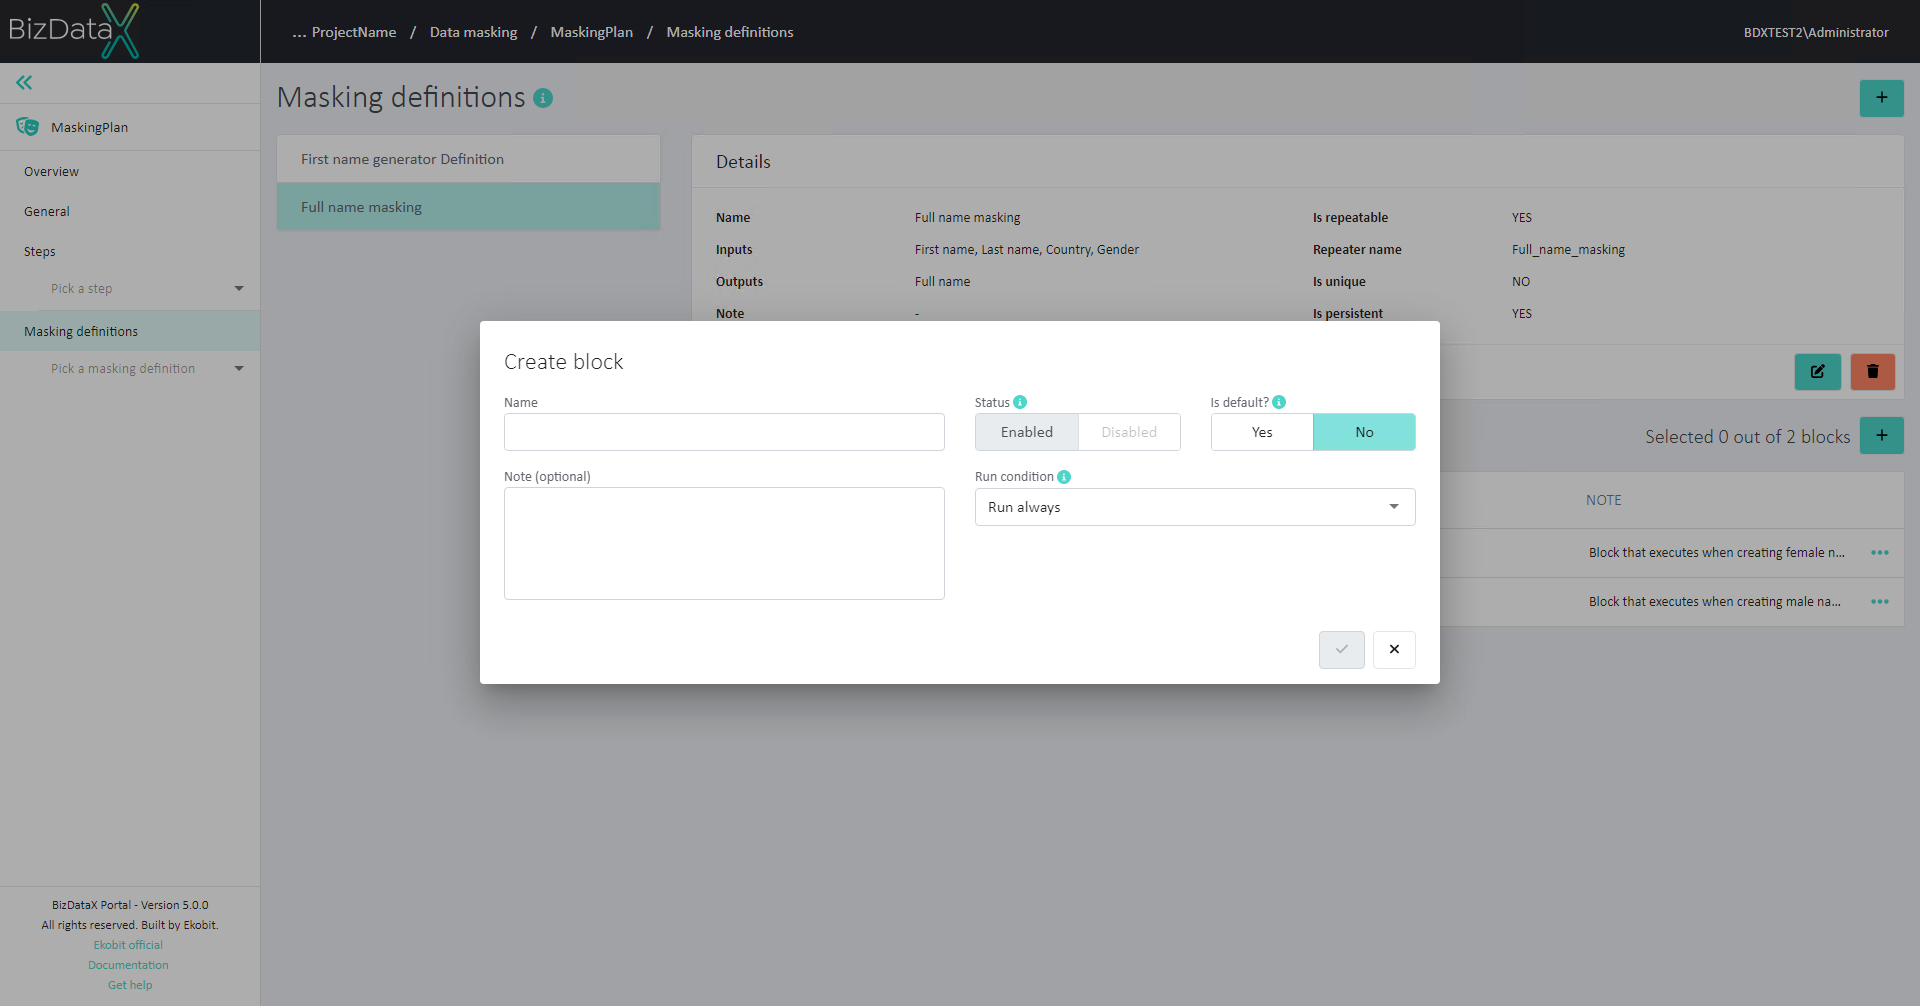
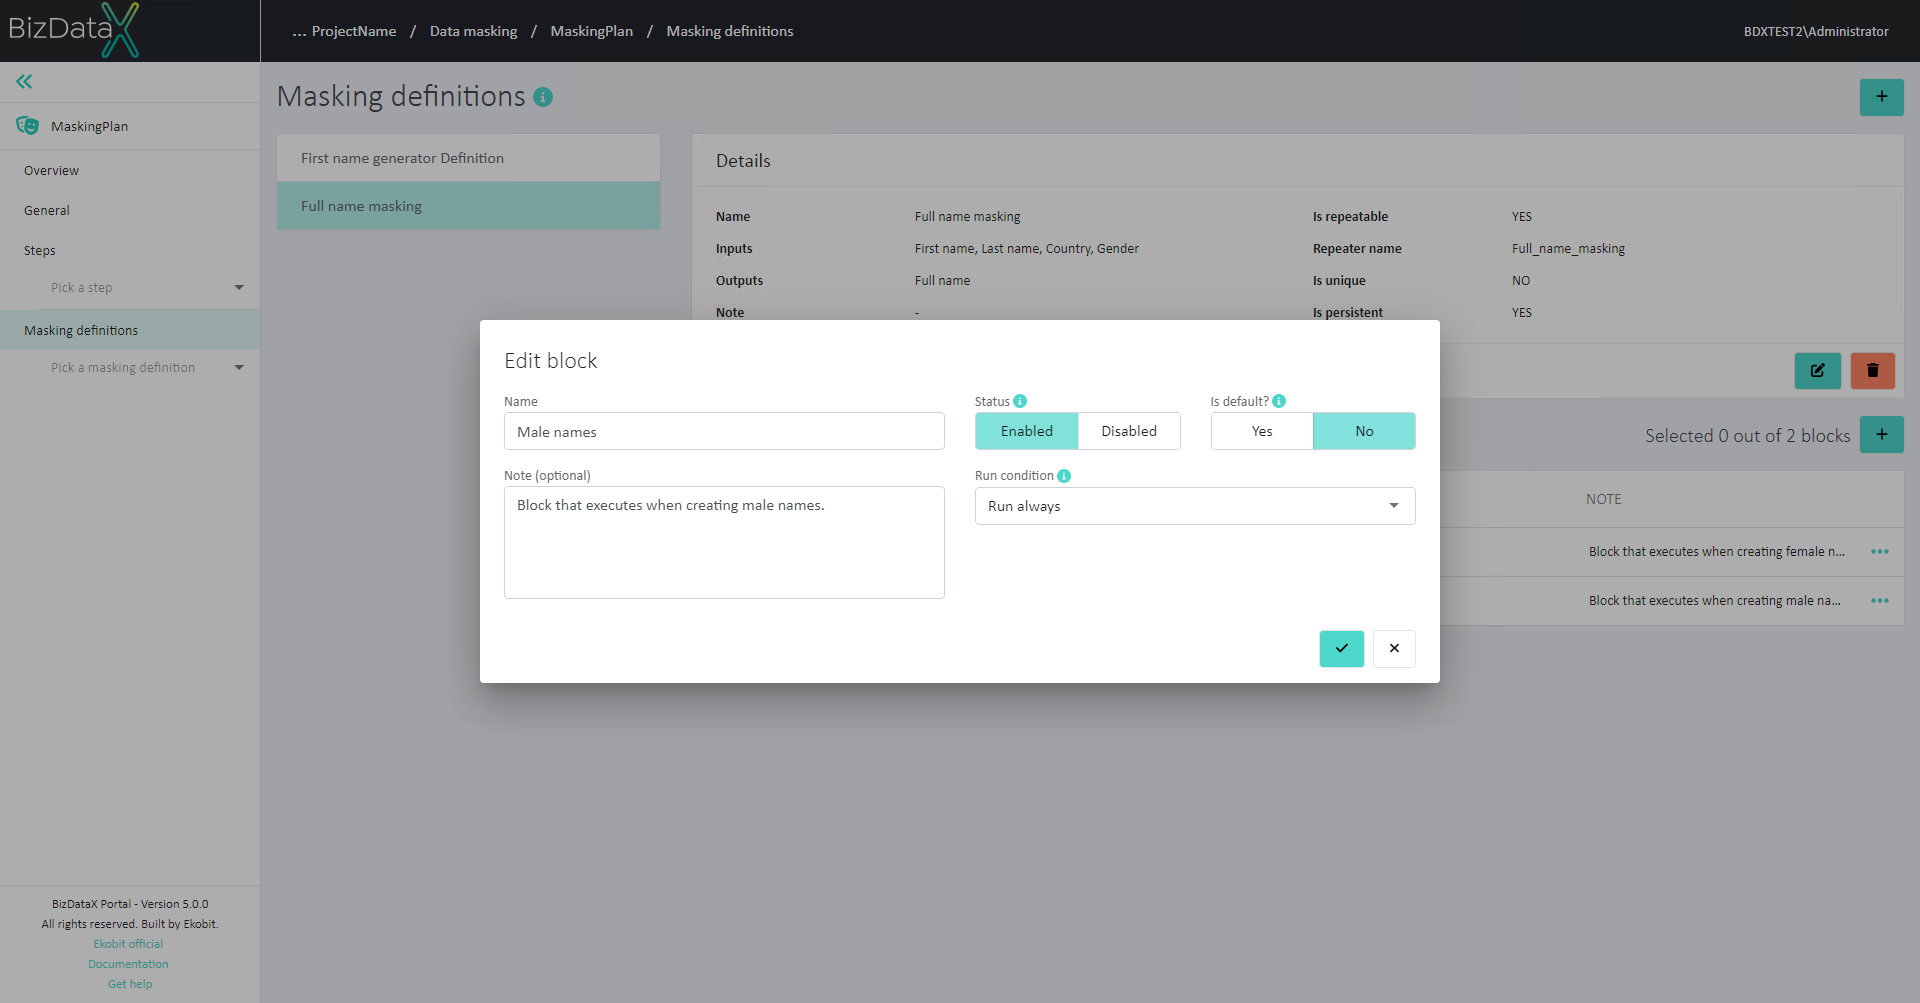
One Block is automatically created upon creating a Masking definition. To register a new Block, click Create Block button. A new pop-up is displayed. It allows entering information about the new Block:
Name - name of the Block
Note - description of the Block
Status - status of the Block. Possible statuses are:
Enabled - block may be executed according to its run condition
Disabled - block will not be executed.
Is default - marks the Block as default. That Block runs in case no other Blocks are executed because of their run condition.
Run condition - condition that needs to be fulfilled for Block to execute.
Run always - condition that is automatically set to 'True'
Custom condition - used for specifiying more complex conditions using C#.
Edit Block
Once a Block is created, all information can still be edited. Select Edit Block from the context menu and a pop-up window will be displayed. In the Edit context all fields are editable.
Delete Block
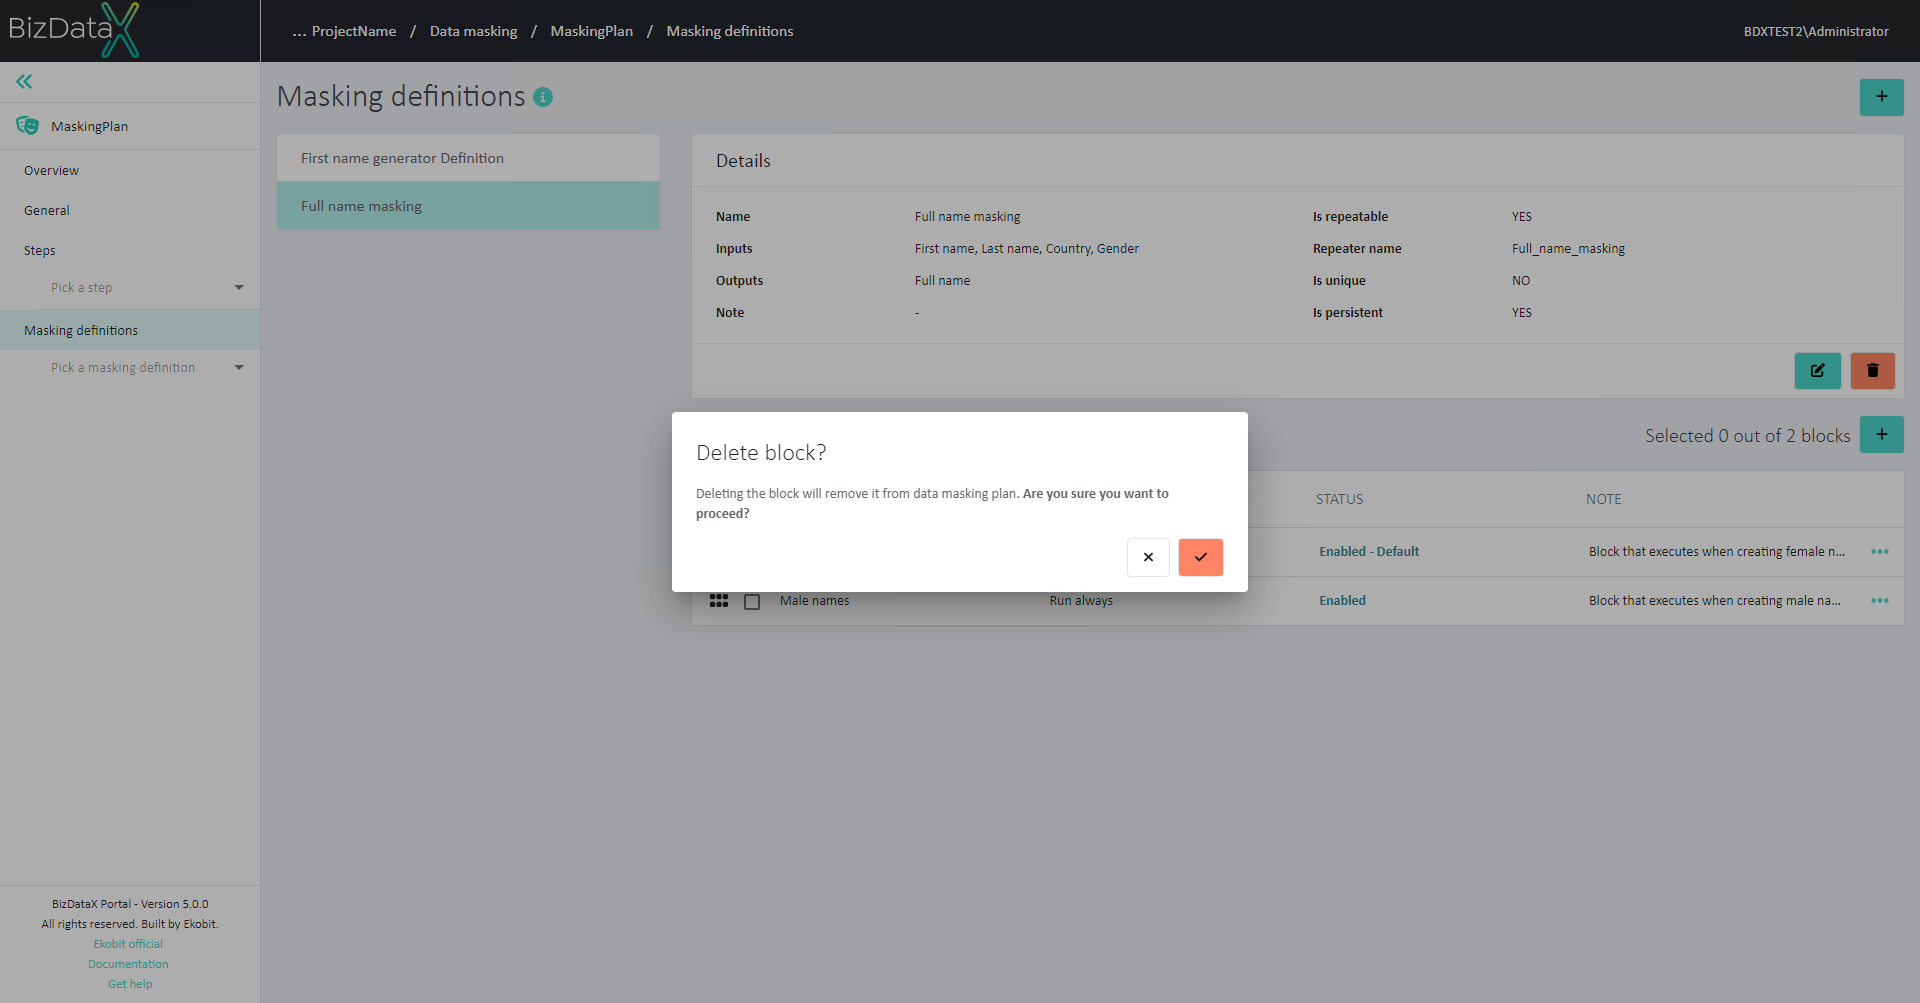
Blocks can be deleted by clicking on 'Delete Block' from the context menu. The delete Block confirmation dialog will be displayed, and Block will be permanently deleted after confirming the dialog.
Reorder Blocks
Blocks will be executed in certain order, based on their place on list and their run condition. Order of Blocks in the list can be changed by using drag & drop method.
View Block details
For every created Block, which is displayed in Blocks Overview table, Block details, all its created Generators and Assignments can be viewed through option 'View block details' in the context menu.