Projects
A BizDataX project represents a logical container that helps users organize all their data masking and data anonymization activities for a selected set of data. Each project can span one or more data sources (relational databases, files, etc.).
| Table of contents |
|---|
| Projects overview |
| Create a new project |
| Project dashboard |
| Edit project |
| Delete project |
Projects Overview
The projects overview page is the landing page of the BizDataX Portal. It contains ways to access all your projects, view basic information about them and create new projects.
 Figure 1: Projects page
Every project on the projects overview page is represented through its own panel with basic information:
- Project name - The name of the project (project name is unique)
- Description - Describes the project (free-form text)
- Date created - Date and time when the project was created
- User created - Username of the user that created the project
- Date modified - Date and time when the project information was last modified
- User modified - Username of the user that last modified the project information
- External ID - ID of the project in an external system, used for integration scenarios
The Dashboard button in the bottom of the panel allows access to the project dashboard.
Create a New Project
To create a new project, go to the projects overview and click the Create project button in the top right corner of the page. This will open a new page that allows you to enter the information about the new project.
 Figure 2: Creating a new project
When creating a new project, the following information can be entered:
- Name - The name of the project (required, must be unique)
- External ID - ID of the project in an external system, used for integration scenarios (optional)
- Description - Describes the project
- Project color - Color of the project
Project name is the only required information in order to create a new project, but it is advisable to enter a description as well to differentiate the projects from each other and provide further information about the project. The project color will be assigned to the project as well as it's elements and can be useful in quickly identifying different projects. This setting is only saved in local storage, which means it will not transfer to different browsers or computers (it will default to the Navy color).
Once the information about the new project is entered, click on the Create project button to create the project. After the project is created, you will be redirected to the projects overview where you can see the new project.
If you wish to cancel the process of creating a new project, click on the Cancel button.
Project Dashboard
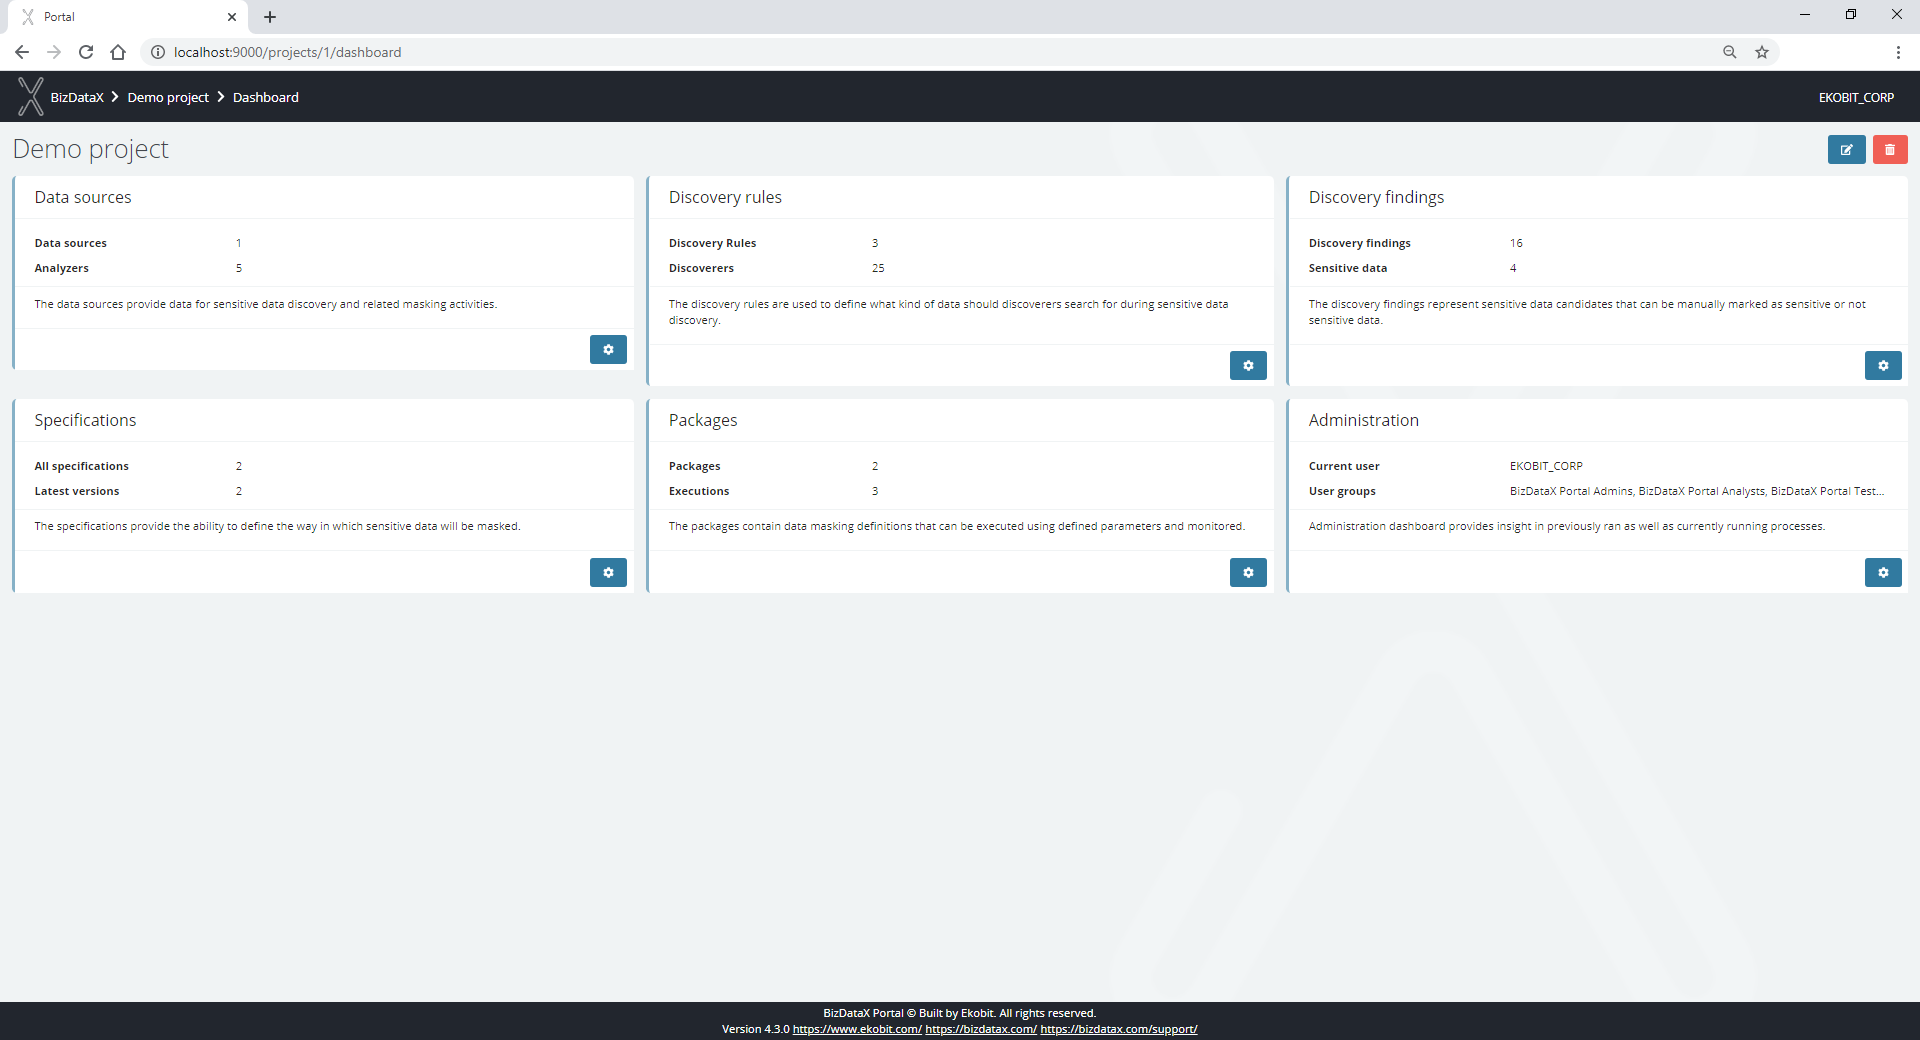
The project dashboard shows the basic information related to different functional parts of the project and provides easy access to all of these functionalities. Each functionality is contained within its own panel on the project dashboard.
The project dashboard also provides access to Edit project and Delete project options using corresponding buttons in the top right corner of the page.
 Figure 3: Project dashboard
Each panel contains basic, but important information about the corresponding feature of the project, so they are accessible at a glance from the project dashboard.
Further access to specific dashboard functionality is available via gear buttons.
Edit project
The edit project page allows the user to change project properties. The following properties can be changed:
- Name - The name of the project (required, must be unique)
- External ID - ID of the project in an external system, used for integration scenarios (optional)
- Description - Describes the project
To complete the editing of project properties and save changes click on the Edit project button.
To cancel editing click on the Cancel button.
Delete project
The delete project functionality deletes the project and all its related data (e.g. data sources, discovery rules and findings, specifications, packages, etc.)
Deleting a project is an irreversible operation, and should be used with caution.
Once the Delete project button is pressed, the Delete project confirmation dialog pops up asking the user to confirm if he really wants to delete the project. After confirming with the OK button, the project is permanently deleted.