- BizDataX
- Start guide
- Creating a data model (BizDataX Portal)
- Finding sensitive data
- Producing a specification
- Creating a new Visual Studio BizDataX project
- Creating a data model (BizDataX Designer)
- Creating a simple masking flow
- Publishing package to BizDataX Portal
- Executing package
- BizDataX Portal
- Installation guide
- User manual
- BizDataX Designer
- Installation guide
- Workflow
- Creating a new Visual Studio BizDataX project
- User interface elements
- Creating a data model
- Toolbox items
- Masking activities
- BizDataX Masking Control Flow
- BizDataX Country CH
- Generate AHV (Sozialversicherungsnummer)
- Generate CH IBAN
- Pick CH address from list
- Pick CH bank from list
- Pick CH company from list
- Pick CH first name from list
- Pick CH last name from list
- Pick CH place from list
- Pick CH street from list
- BizDataX Country DE
- Generate DE IBAN
- Pick DE address from list
- Pick DE bank from list
- Pick DE company from list
- Pick DE first name from list
- Pick DE last name from list
- Pick DE place from list
- Pick DE street from list
- BizDataX Country HR
- Generate HR bank account
- Generate HR BBAN
- Generate HR IBAN
- Generate JMBG
- Generate maticni broj
- Generate OIB
- Generate porezni broj
- Pick HR address from list
- Pick HR bank from list
- Pick HR company from list
- Pick HR first name from list
- Pick HR last name from list
- Pick HR place from list
- Pick HR street from list
- BizDataX Country US
- Generate US SSN
- Pick US address from list
- Pick US company from list
- Pick US first name from list
- Pick US last name from list
- Pick US place from list
- Pick US street from list
- BizDataX Data Processing
- BizDataX Database
- BizDataX Generators
- Generate and convert
- Generate and convert to number
- Generate and convert to text
- Generate business name
- Generate credit card number
- Generate date
- Generate date in range
- Generate fixed digit number
- Generate IBAN
- Generate items
- Generate items in random order
- Generate number in range
- Generate number sequence
- Generate numbered string
- Generate PAN
- Generate phone number
- Generate text
- Generate value
- BizDataX Monitoring
- BizDataX Pick Data From List
- Pick address from list
- Pick bank from list
- Pick company from list
- Pick first name from list
- Pick last name from list
- Pick place from list
- Pick street from list
- Pick value from list
- BizDataX Primitives
- API masking
- Assign date
- Assign number
- Assign text
- Assign value
- Clear value
- Evaluate date function
- Evaluate function
- Evaluate numeric function
- Evaluate text function
- Format properties
- BizDataX Repeating
- Assign repeating value
- Clear repeater
- Load repeaters
- Load single repeater
- Repeating of any value condition branch
- Repeating of boolean condition branch
- Repeating of date condition branch
- Repeating of number condition branch
- Repeating of text condition branch
- Save repeaters
- Save single repeater
- Set any repeating value
- Set boolean repeating value
- Set date repeating value
- Set number repeating value
- Set text repeating value
- Fluent Handler API
- Package steps
- Package parameters
- Publishing package to BizDataX Portal
- Package execution
- Masking-examples
- Logging
- Functions
- Custom code
- Picklists
- Addresses
- Banks
- Business suffixes
- Companies
- Domain names
- First names
- Last names
- Phone codes
- Places
- Streets
- Data generators
- Lambda expressions
- Synthetic data generation
- Repeaters
- Restartability
- File masking
- Advanced
- Supported data sets
- Oracle
- Oracle database analyzer
- Oracle database handler
- Repeaters persistence
- Restartability store configuration
- MSSQL
- MSSQL database analyzer
- MSSQL database handler
- Repeaters persistence
- Restartability store configuration
- DB2
- Informix
- Sybase
- Release notes
Installation guide
Installation of the BizDataX Designer is performed using the BizDataX Designer Setup application.
| Table of contents |
|---|
| Prerequisites |
| Installation |
| BizDataX Designer |
Prerequisites
.NET Framework (3.5 and 4.5.1 full)
Microsoft Visual Studio, supported versions:
- 2015 Professional or Enterprise
- 2017 Professional or Enterprise
- 2019 Professional or Enterprise
Windows Installer 2.0 or higher
- Visual Studio workloads:
- .NET desktop development
- Visual Studio individual components:
- NuGet package manager
- Windows Workflow Foundation
- Data sources for SQL Server support
- Entity Framework 6 Tools
- Visual Studio workloads:
BizDataXDesignerSetup.msi installation package
Additional prerequisites for running samples:
- Microsoft SQL Server 2012 or newer (Express Edition is supported)
- SQL Server Management Studio
Installation
Start BizDataXDesignerSetup.msi and select Install. The installation welcome screen will be displayed. Click Next to proceed.
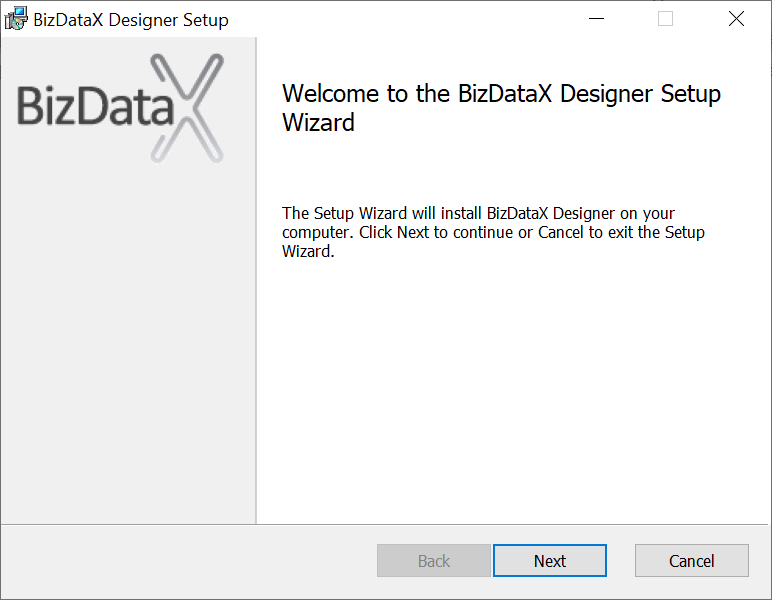 Figure 1: Installation welcome screen
Optionally configure installation location and click Next.
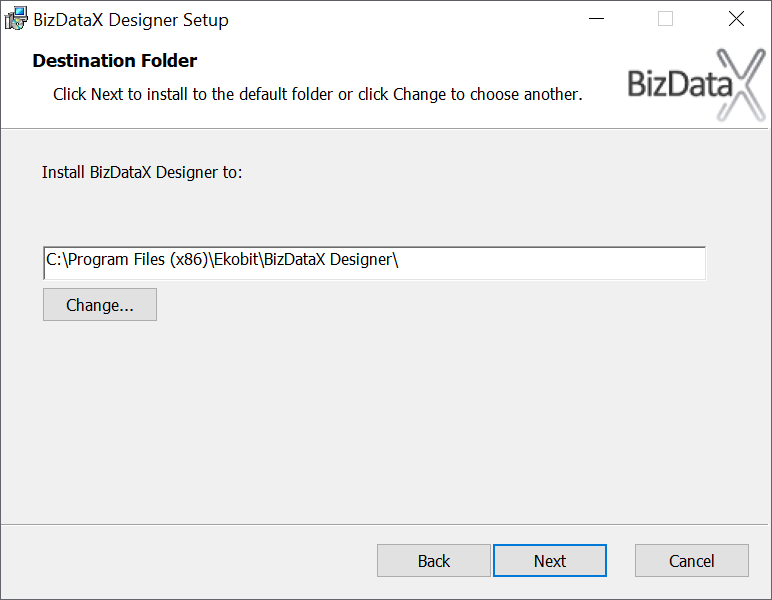 Figure 2: Choose the installation folder
If you have multiple instances of the same edition and version of Visual Studio installed, you have to specify the path to the root folder of the Visual Studio instance where you want BizDataX to be used.
Example paths:
C:\Program Files (x86)\Microsoft Visual Studio\2017\Enterprise\C:\Program Files (x86)\Microsoft Visual Studio\2017\Professional\
Click Next to proceed.
 Figure 3: Visual Studio integration selection
Select optional Toolbox items. Click Next to proceed.
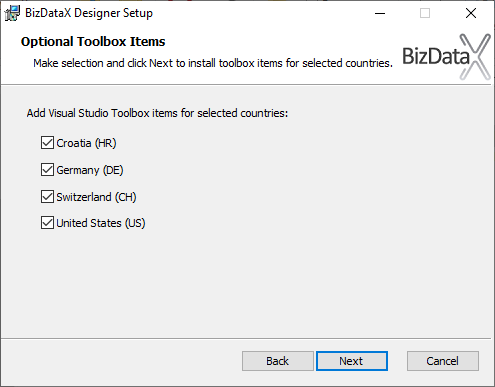 Figure 4: Optional 'Toolbox' item selection
Click Install to confirm selected options and start the installation. Wait for the installation process to copy the required files and set up the system for BizDataX Designer.
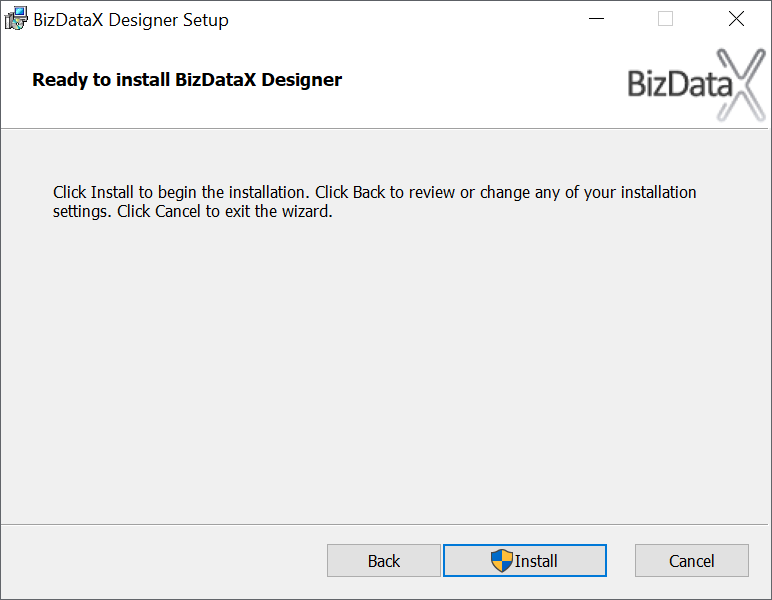 Figure 5: Installation confirmation
Click Finish on the installation results window to finish the installation process.
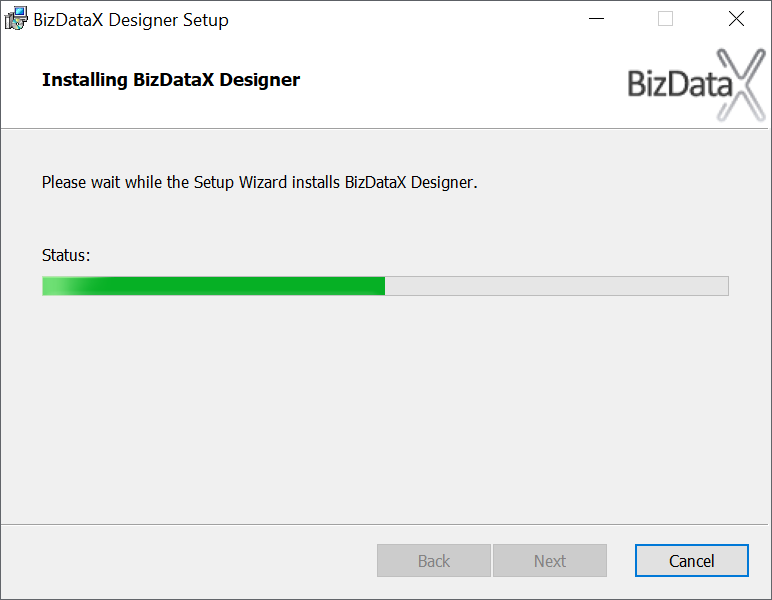 Figure 6: Installation in progress
By default, you will be directed to the online documentation. Uncheck the Launch online documentation option if you don't want to launch the documentation.
 Figure 7: Installation completed
BizDataX Designer
After the installation is complete, BizDataX Designer can be accessed by creating a new Visual Studio project on BizDataX Package Executable template.
BizDataX Documentation © Built by Ekobit. All rights reserved.
https://www.ekobit.com/ https://bizdatax.com/ https://bizdatax.com/support/