- BizDataX
- Installation guide
- Requirements
- BizDataX Designer installation
- BizDataX Designer version upgrade
- BizDataX Designer advanced settings
- BizDataX Portal installation
- BizDataX Portal version upgrade
- BizDataX Portal advanced settings
- NuGet packages installation
- Start guide
- Creating a data model (BizDataX Portal)
- Finding sensitive data
- Producing a specification
- Creating a new Visual Studio BizDataX project
- Creating a data model (BizDataX Designer)
- Creating a simple masking flow
- Publishing package to BizDataX Portal
- Executing package
- BizDataX Portal
- User manual
- BizDataX Designer
- Workflow
- Creating a new Visual Studio BizDataX project
- User interface elements
- Creating a data model
- Toolbox items
- Masking activities
- BizDataX Masking Control Flow
- BizDataX Country CH
- Generate AHV (Sozialversicherungsnummer)
- Generate CH IBAN
- Pick CH address from list
- Pick CH bank from list
- Pick CH company from list
- Pick CH first name from list
- Pick CH last name from list
- Pick CH place from list
- Pick CH street from list
- BizDataX Country DE
- Generate DE IBAN
- Pick DE address from list
- Pick DE bank from list
- Pick DE company from list
- Pick DE first name from list
- Pick DE last name from list
- Pick DE place from list
- Pick DE street from list
- BizDataX Country HR
- Generate HR bank account
- Generate HR BBAN
- Generate HR IBAN
- Generate JMBG
- Generate maticni broj
- Generate OIB
- Generate porezni broj
- Pick HR address from list
- Pick HR bank from list
- Pick HR company from list
- Pick HR first name from list
- Pick HR last name from list
- Pick HR place from list
- Pick HR street from list
- BizDataX Country US
- Generate US SSN
- Pick US address from list
- Pick US company from list
- Pick US first name from list
- Pick US last name from list
- Pick US place from list
- Pick US street from list
- BizDataX Data Processing
- BizDataX Database
- BizDataX Generators
- Generate and convert
- Generate and convert to number
- Generate and convert to text
- Generate business name
- Generate credit card number
- Generate date
- Generate date in range
- Generate Email
- Generate fixed digit number
- Generate IBAN
- Generate items
- Generate items in random order
- Generate number in range
- Generate number sequence
- Generate numbered string
- Generate PAN
- Generate phone number
- Generate text
- Generate value
- BizDataX Monitoring
- BizDataX Pick Data From List
- Pick address from list
- Pick bank from list
- Pick company from list
- Pick first name from list
- Pick last name from list
- Pick place from list
- Pick street from list
- Pick value from list
- BizDataX Primitives
- API masking
- Assign date
- Assign number
- Assign text
- Assign value
- Clear value
- Evaluate date function
- Evaluate function
- Evaluate numeric function
- Evaluate text function
- Format properties
- BizDataX Repeating
- Assign repeating value
- Clear repeater
- Load repeaters
- Load single repeater
- Repeating of any value condition branch
- Repeating of boolean condition branch
- Repeating of date condition branch
- Repeating of number condition branch
- Repeating of text condition branch
- Save repeaters
- Save single repeater
- Set any repeating value
- Set boolean repeating value
- Set date repeating value
- Set number repeating value
- Set text repeating value
- Fluent Handler API
- Package steps
- Package parameters
- Publishing package to BizDataX Portal
- Package execution
- Masking-examples
- Logging
- Functions
- Custom code
- Picklists
- Addresses
- Banks
- Business suffixes
- Companies
- Domain names
- First names
- Last names
- Phone codes
- Places
- Streets
- Data generators
- Lambda expressions
- Synthetic data generation
- Repeaters
- Restartability
- Masking conditioned by data from related entities
- File masking
- Advanced
- Supported data sets
- Oracle
- Oracle database analyzer
- Oracle database handler
- Repeaters persistence
- Restartability store configuration
- Oracle database subsetting
- Microsoft SQL Server
- SQL Server database analyzer
- SQL Server database handler
- Repeaters persistence
- Restartability store configuration
- DB2
- Informix
- Sybase
- PostgreSQL
- Release notes
BizDataX Portal installation
Installation of the BizDataX Portal is performed using the BizDataX Portal Setup application.
| Table of contents |
|---|
| Installation steps |
| Permissions and BizDataX Portal database logins |
| Accessing the BizDataX Portal |
| Update to a newer version |
Installation steps
Start BizDataXPortalSetup.msi and select Install. The installation welcome screen will be displayed. Click Next to proceed.
 Figure 1: BizDataX Portal installation welcome screen
Optionally configure installation location and click Next.
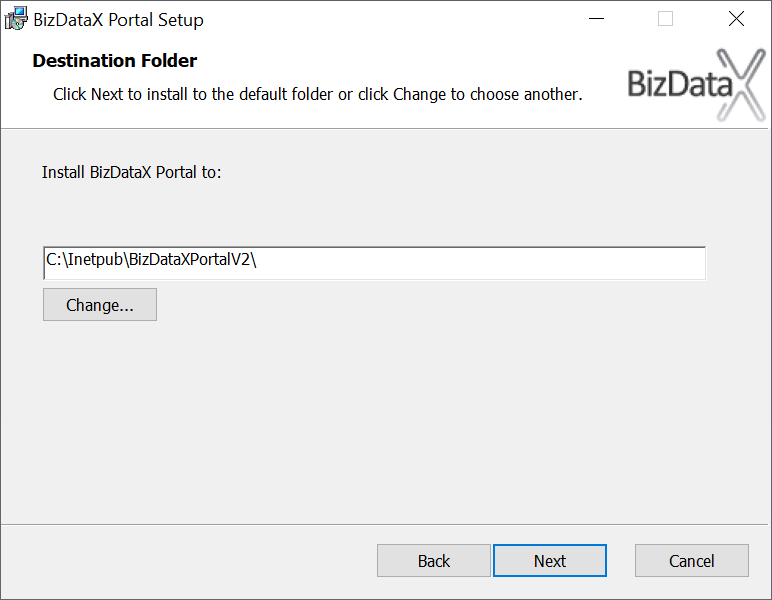 Figure 2: Choose the installation folder
Configure your user authentication. Enter the username and password of your currently logged-in Windows user. This can be found under Start->Settings->Accounts.
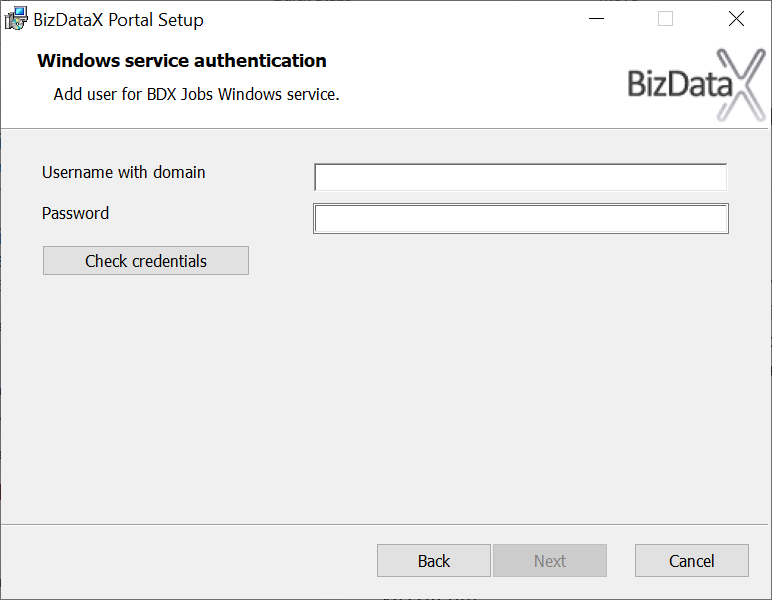 Figure 3: Add a user for the BizDataX Jobs Windows service
After the credentials have been entered, press the Check credentials button, after which a message will be displayed allowing you to proceed to the next step.
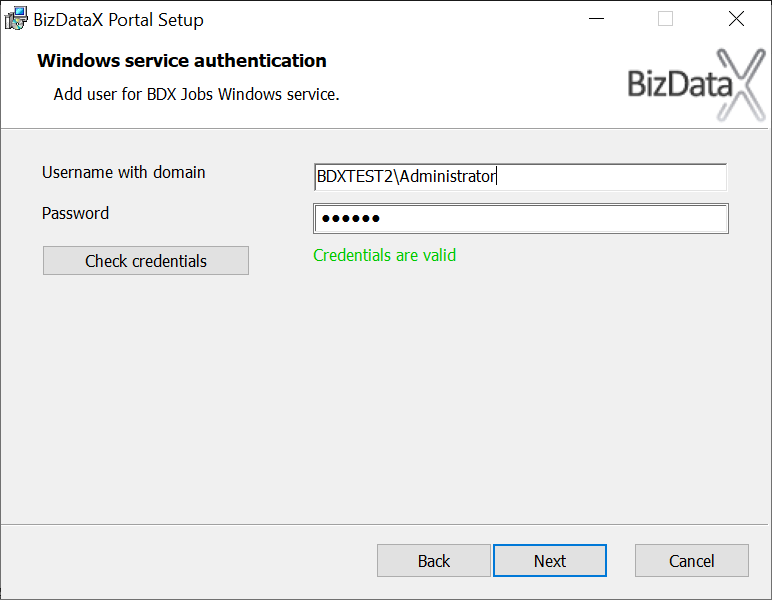 Figure 4: Check if credentials are valid
Verify the connection string to your database is correct. In case it is not correct, it can be edited by pressing the Change database connection button.
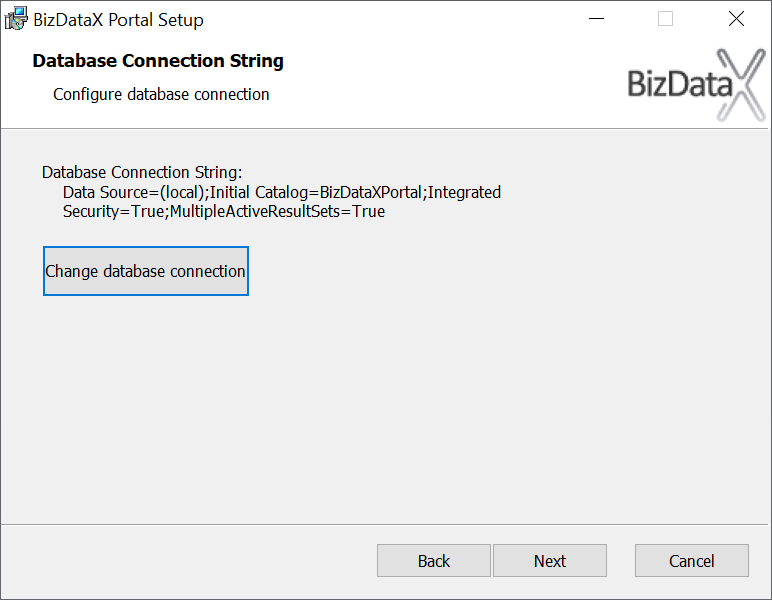 Figure 5: Database connection string configuration
Default data string parameters such as the data source, the server name, authentication method and database name can be changed. After you have made your changes, press the Test connection button to ensure it is correct. Press OK to be returned to the previous screen, and then click Next.
 Figure 6: Change database connection
Click Install to start the installation.
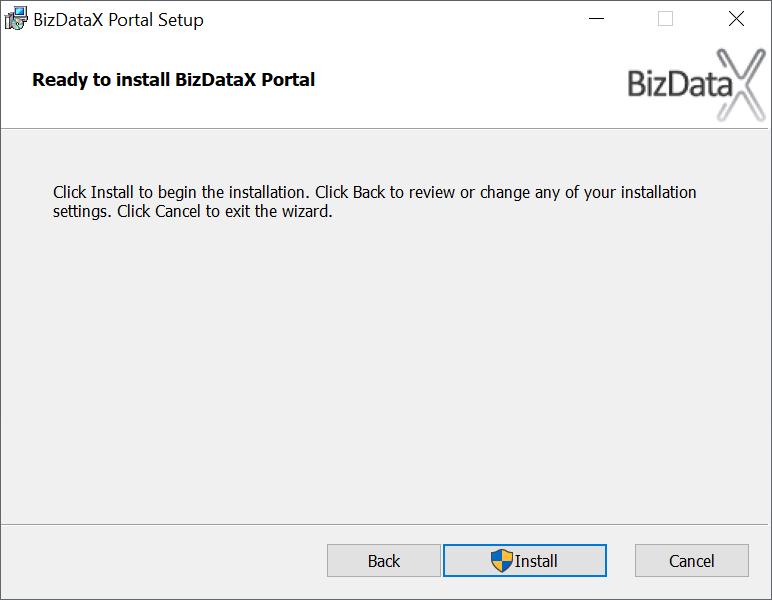 Figure 7: Installation is ready to start
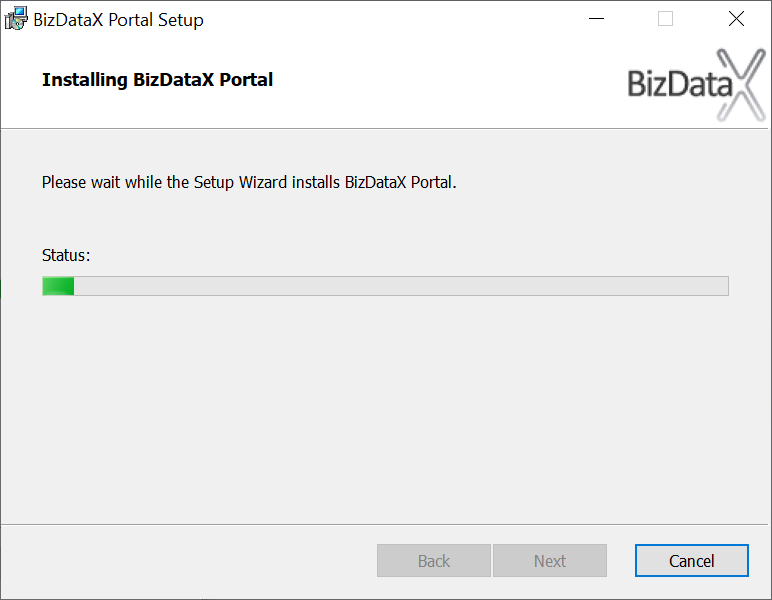 Figure 8: Installation progress
Default BizDataX NuGet packages source is: https://nuget.bizdatax.com/nuget. If needed, the source can be changed by writting different source.
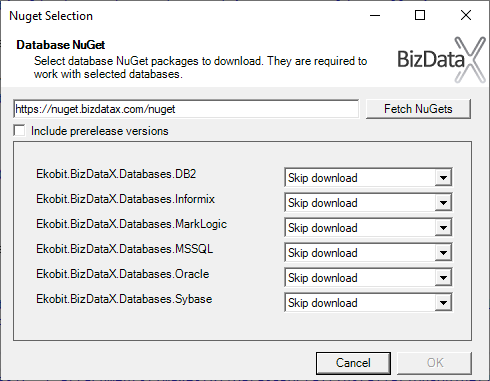 Figure 9: Select NuGet packages to download and install
 Figure 10: Installation in progress
Click Finish to finish the installation.
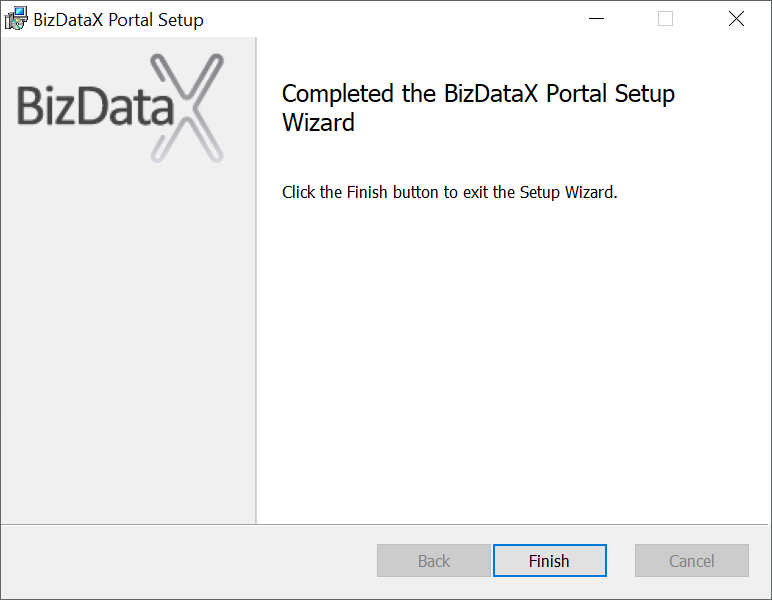 Figure 11: Installation finished
Restart system for the configuration changes to take effect.
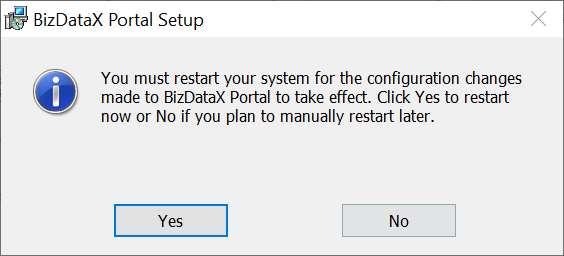 Figure 12: Restart information
Note: The connection string for the Portal database can be changed by editing the Web.config file in the BizDataX destination folder:
<connectionstrings>
    <add name="BizDataXPortalConnection" connectionstring="Data Source=(local);Initial Catalog=BizDataXPortal;Integrated Security=True" providername="System.Data.SqlClient"></add>
</connectionstrings>
Permissions and BizDataX Portal database logins
Installation user account must be in the local computer's Administrators group and must have read, execute and create database permissions on the SQL Server (to install the BizDataX Portal database, which happens on the first BizDataX Portal start).
In SSMS, make sure that the following logins are created:
- NT AUTHORITY\SYSTEM
- IIS APPPOOL\BizDataXPortal
and that both have public and sysadmin server roles.
Accessing the BizDataX Portal
After the installation is complete and database logins are set, BizDataX Portal can be accessed via the desktop shortcut or in the web browser via the following link: http://localhost:9000.
Update to a newer version
The update to the newer version includes uninstalling the BizDataX Portal in the Control Panel and installing the new version using the new BizDataXPortalSetup.ms installation file. Machine restart will be required in both uninstall and install processes.
Note that NuGet packages must also be updated.
BizDataX Documentation © Built by Ekobit. All rights reserved.
https://www.ekobit.com/ https://bizdatax.com/ https://bizdatax.com/support/