Packages
Package represents a collection of all engines and steps of one data masking process.
Packages overview list
All registred Packages can be viewed on this Packages overview list screen. Only basic information is shown so you can identify Package at a glance. Information necessary for quickly identifying packages are package name, assembly, version, package path, and note. The assembly and version help to identify the package group, the "same" package since each publish from the Visual Studio generates a new package. Overview will be by default ordered by Name. There is a possibility to change the order of all columns descending or ascending.
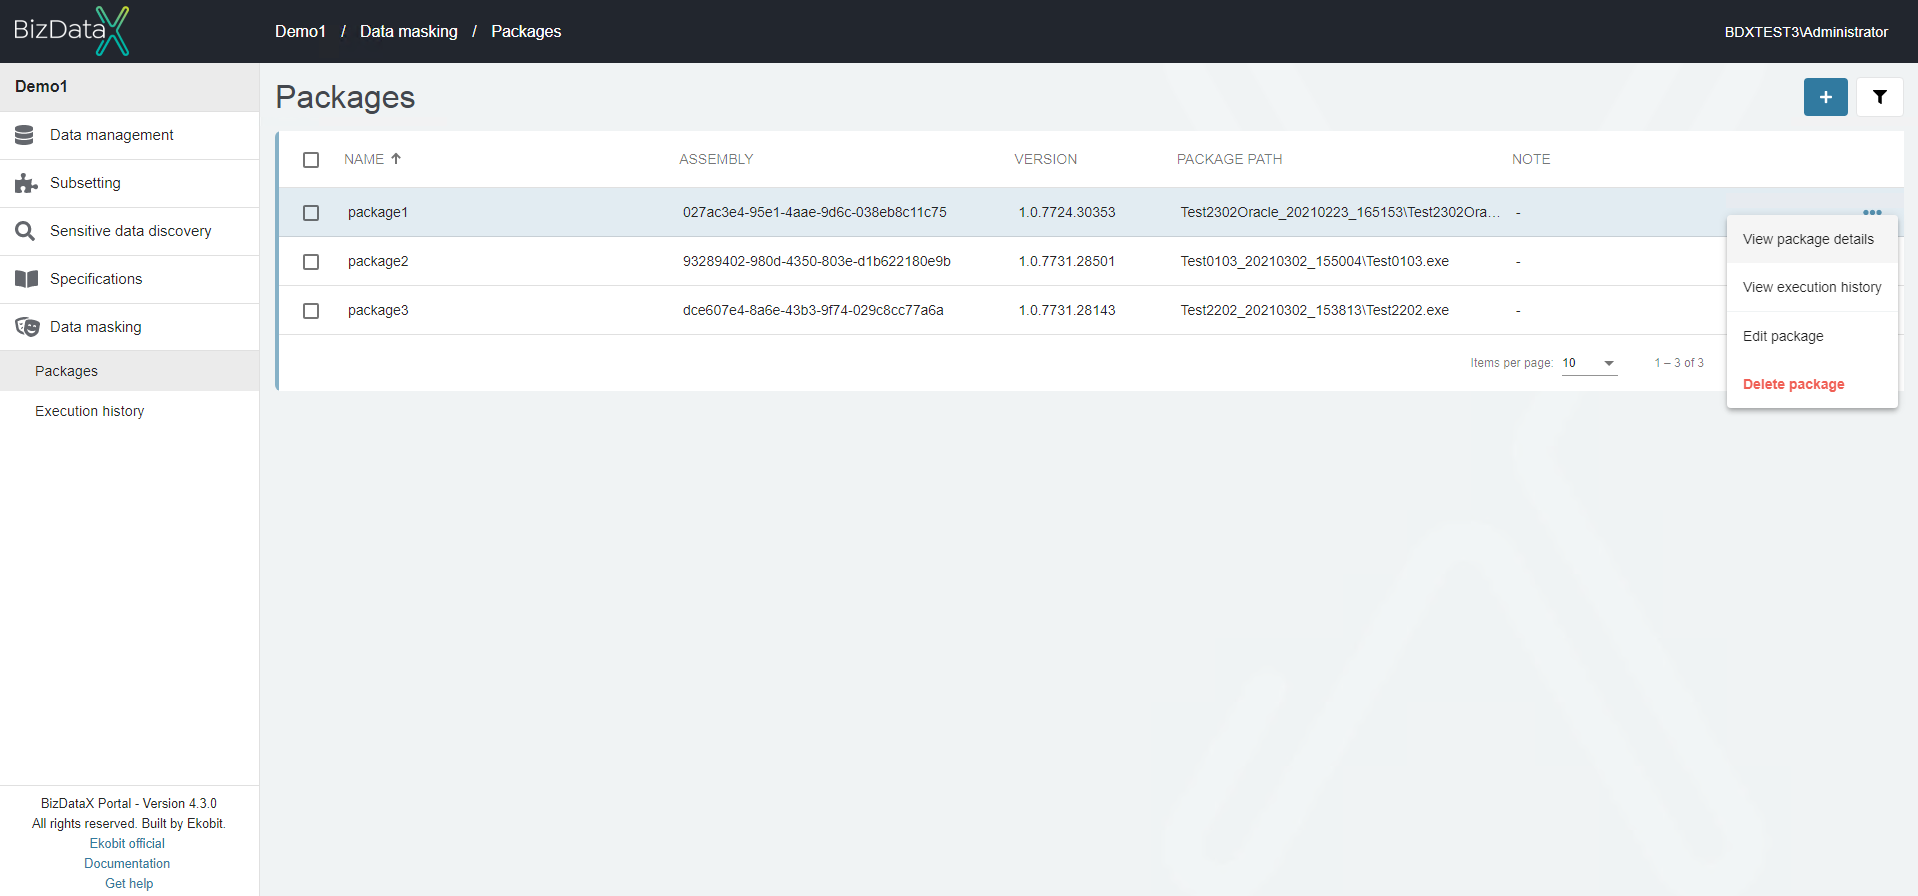 Figure 1: Package overview list
If there are no registered packages, Package overview list will be empty. When list of registred Packages is displayed user can select one Package to do next actions:
- View package details - see package path, description and version, and registered steps and parameters.
- View execution history - see processes related to that package executions.
- Edit package - edit package name and description.
- Delete package - use checkboxes to delete more than one discovery finding at once.
Advanced options
On right upper corner there is the Advanced options button, where you can filter view of Packages overview list.
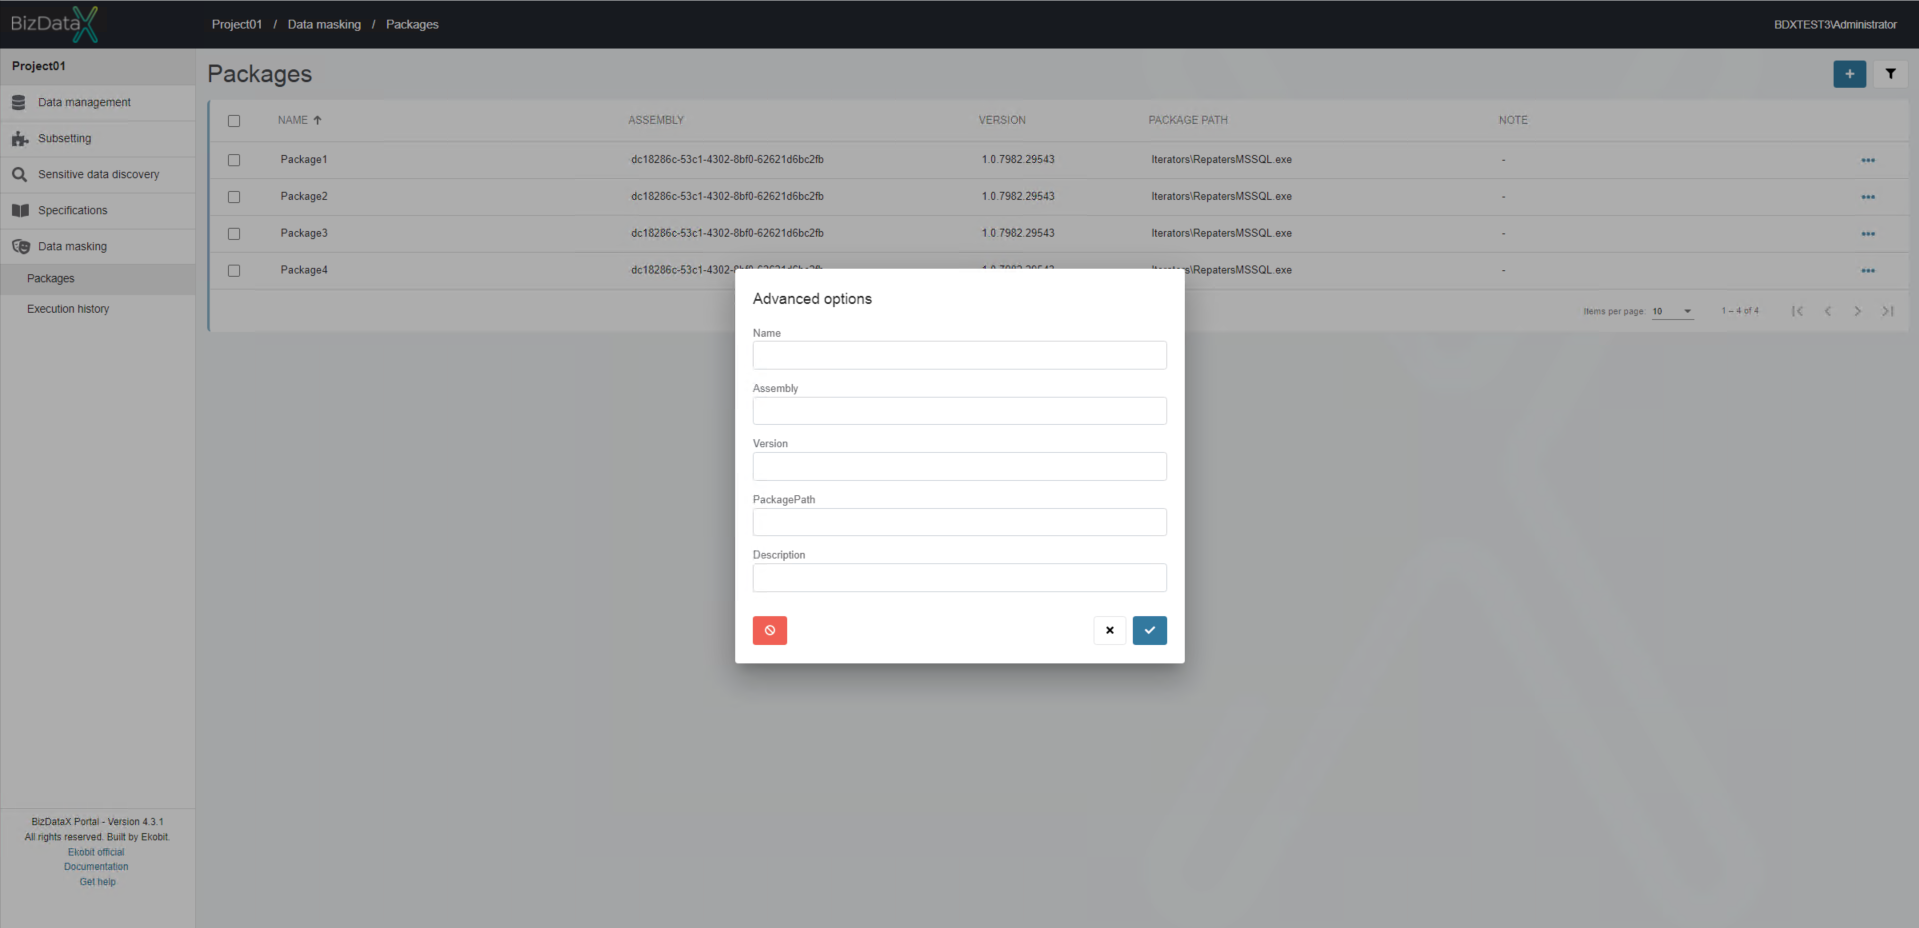 Figure 2: Advanced options
User can choose options to filter data in the overview:
- Name - name of package
- Assembly - assembly of package
- Version - version of package
- PackagePath - package path
- Description - package note
To clear all inserted filters in Advanced options, choose Clear button.
To apply inserted filter data in Advanced options, choose Commit button. A filtered data view will be displayed in the table.
To cancel changes in Advanced options, choose Cancel button.
Package registration
There are two ways to register package:
Automatic package registration
The packages are automatically registered when published to the BizDataX Portal from the BizDataX Designer.
Manual package registration
Manual package registration requires having a package saved in the default publish location: C:\inetpub\BizDataXPortal\API\Deployed Packages.
The package comes to that folder by the publishing process through BizDataX Designer. This option is useful after a package deleted on the BizDataX Portal wants to be re-registered, which starts a new cycle of working with the package, with no history from before deletion.
The packages can be manually registered by selecting the Register package button in the top right corner.
 Figure 3: Package registration
Basic information about the new package, or update the existing package are:
- Name - unique package name
- Package path - selected package from the list of published packages
- Note - package description or a comment, this field is optional
To confirm registration select Confirm button. To cancel the registration process select Cancel button.
After confirming or canceling registration process system will be redirected to Packages overview list screen.
Edit package
Once Data source is register, general information can still be edit. Choose on table menu option 'Edit package' and Edit Data source screen will be open. In Edit context field ‘Package path’ is not editable. All other fields are editable.
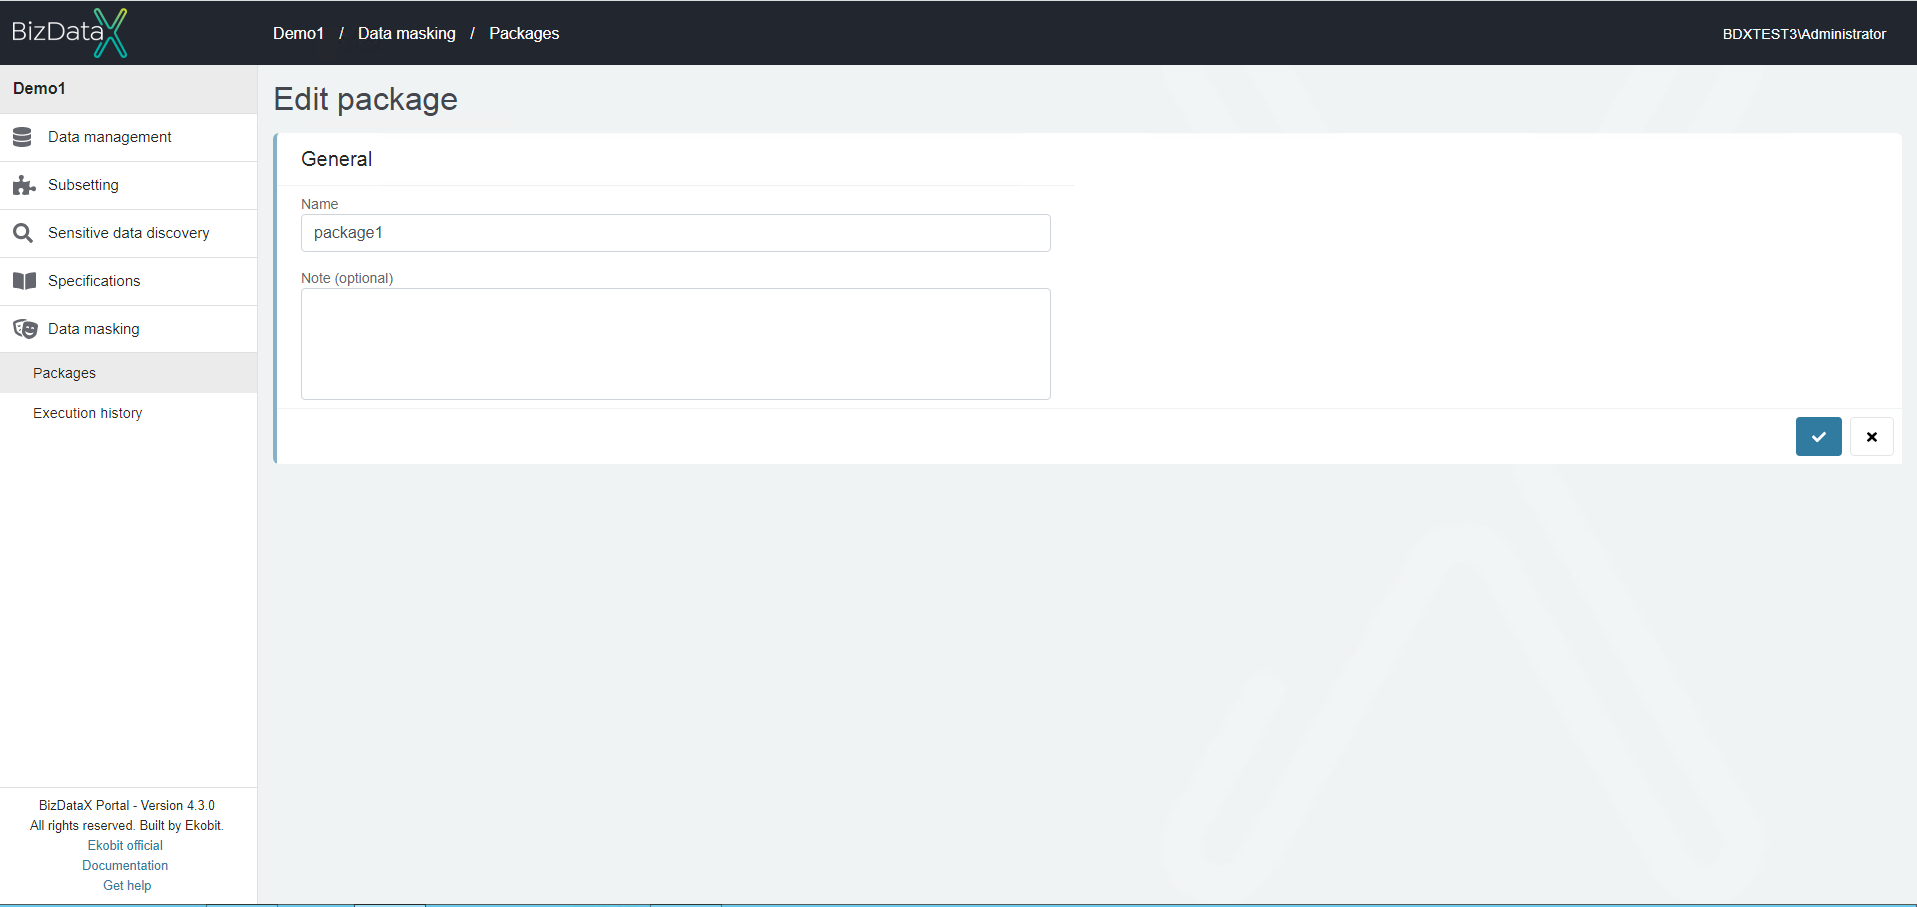 Figure 4: Edit package
Edit package screen can be also open from View package details screen by choosing Edit package button.
Delete package
Once the Delete package button is pressed, the Delete package confirmation dialog pops up asking the user to confirm if he really wants to delete the package. After confirming with the Confirm button, the package is permanently deleted.
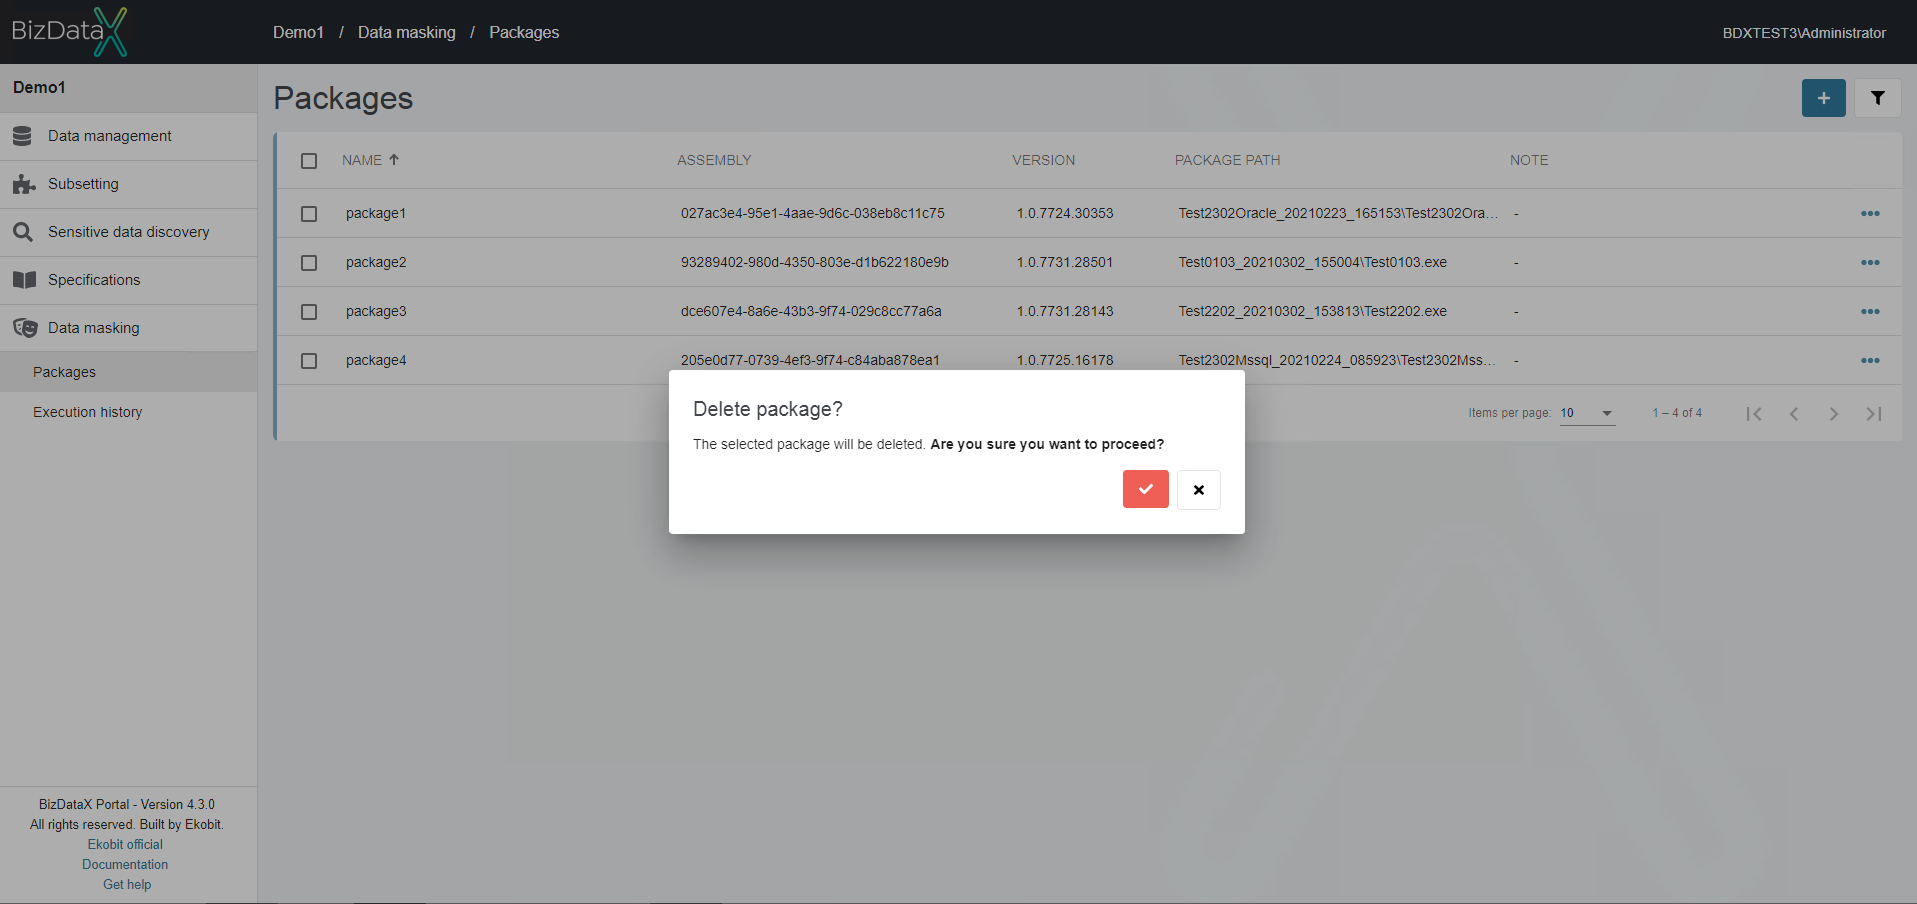 Figure 5: Delete package
View package details
After package registration on the BizDataX Portal, registered package details can be viewed by selecting View package details option from table menu.
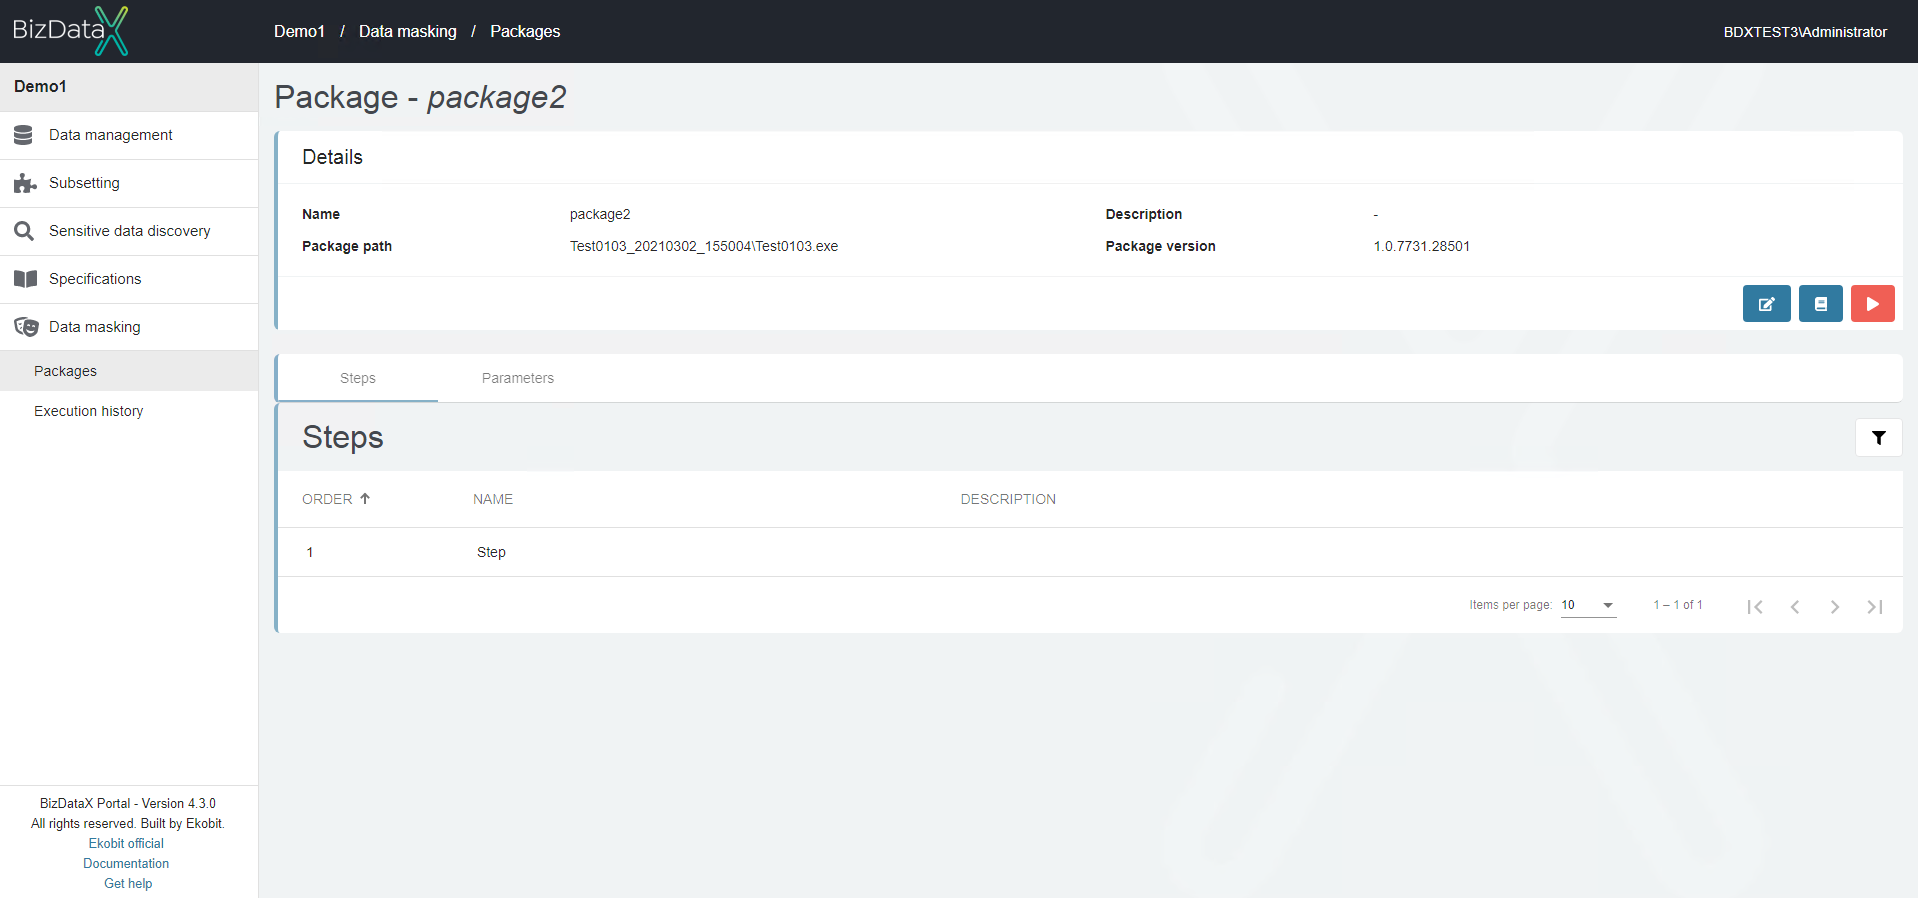 Figure 6: Package details - Steps
Registered package contains:
- Package details - main information about the package, filled in the package registration process
- Name
- Package path
- Description
- Package version
- Steps - list of steps defined in BizDataX Designer
- Order
- Name
- Description
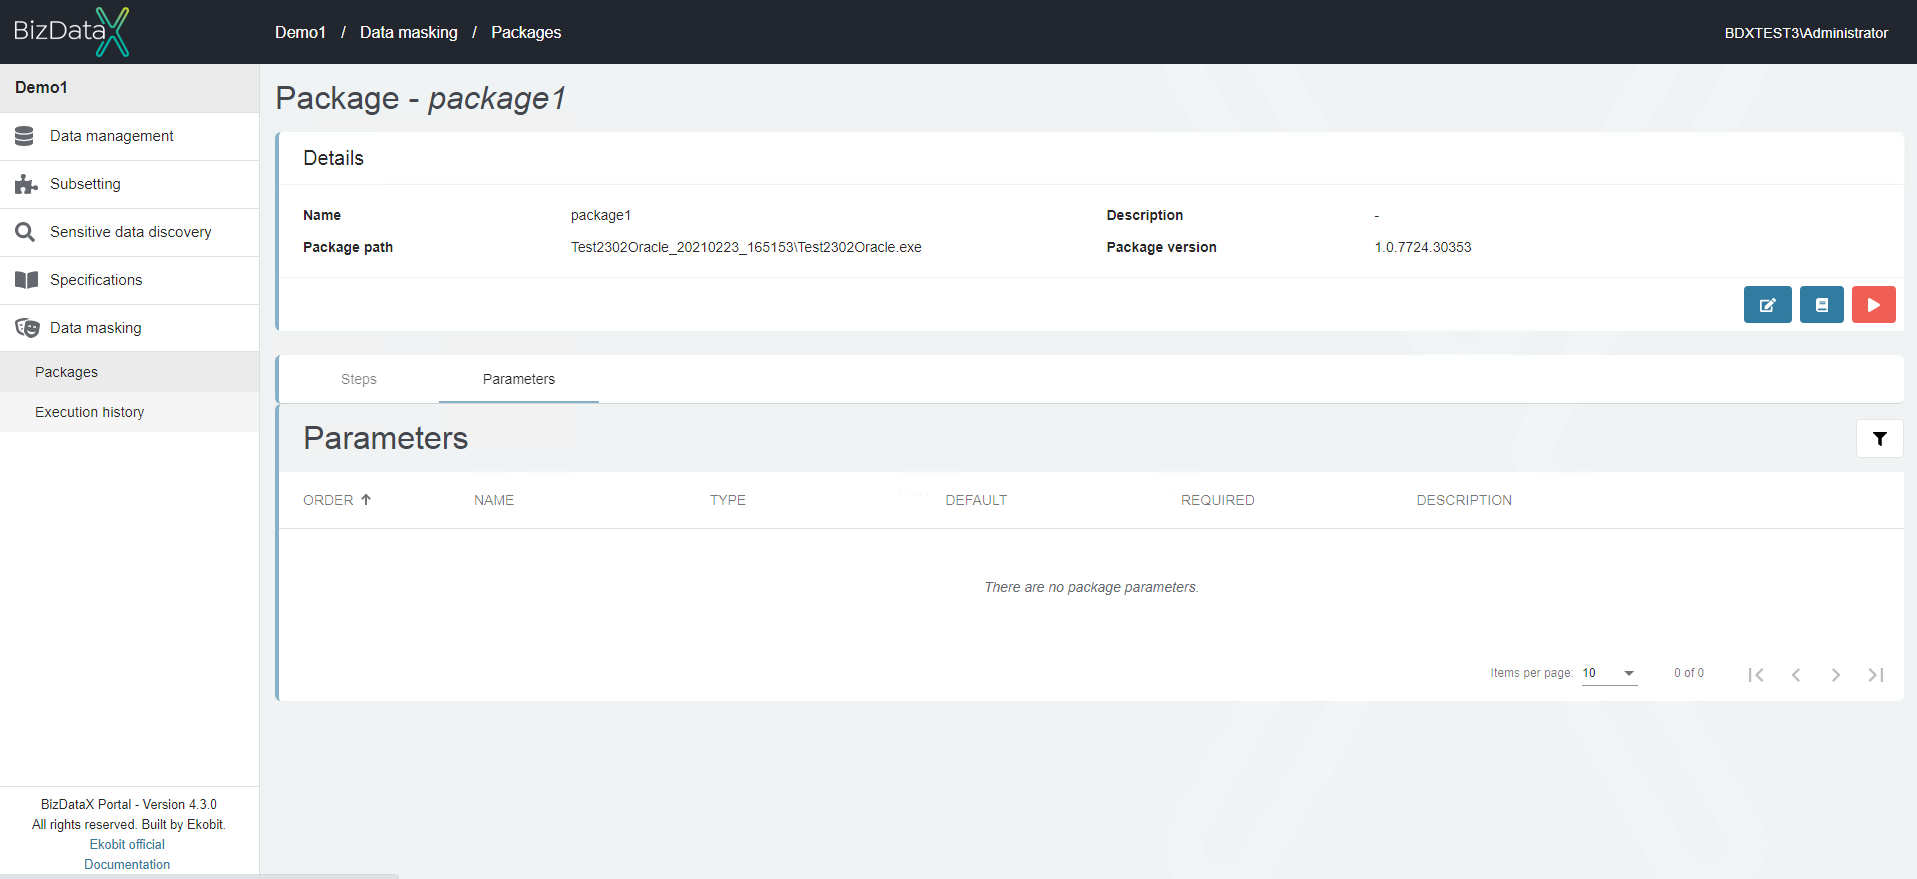 Figure 7: Package details - Parameters
- Parameters - list of parameters defined in BizDataX Designer and values set for this execution
- Order
- Name
- Type (boolean, string, int32, double, decimal)
- Default
- Required
- Description
Steps Advanced options
On right upper corner there is the Advanced options button, where you can filter view of Steps overview list.
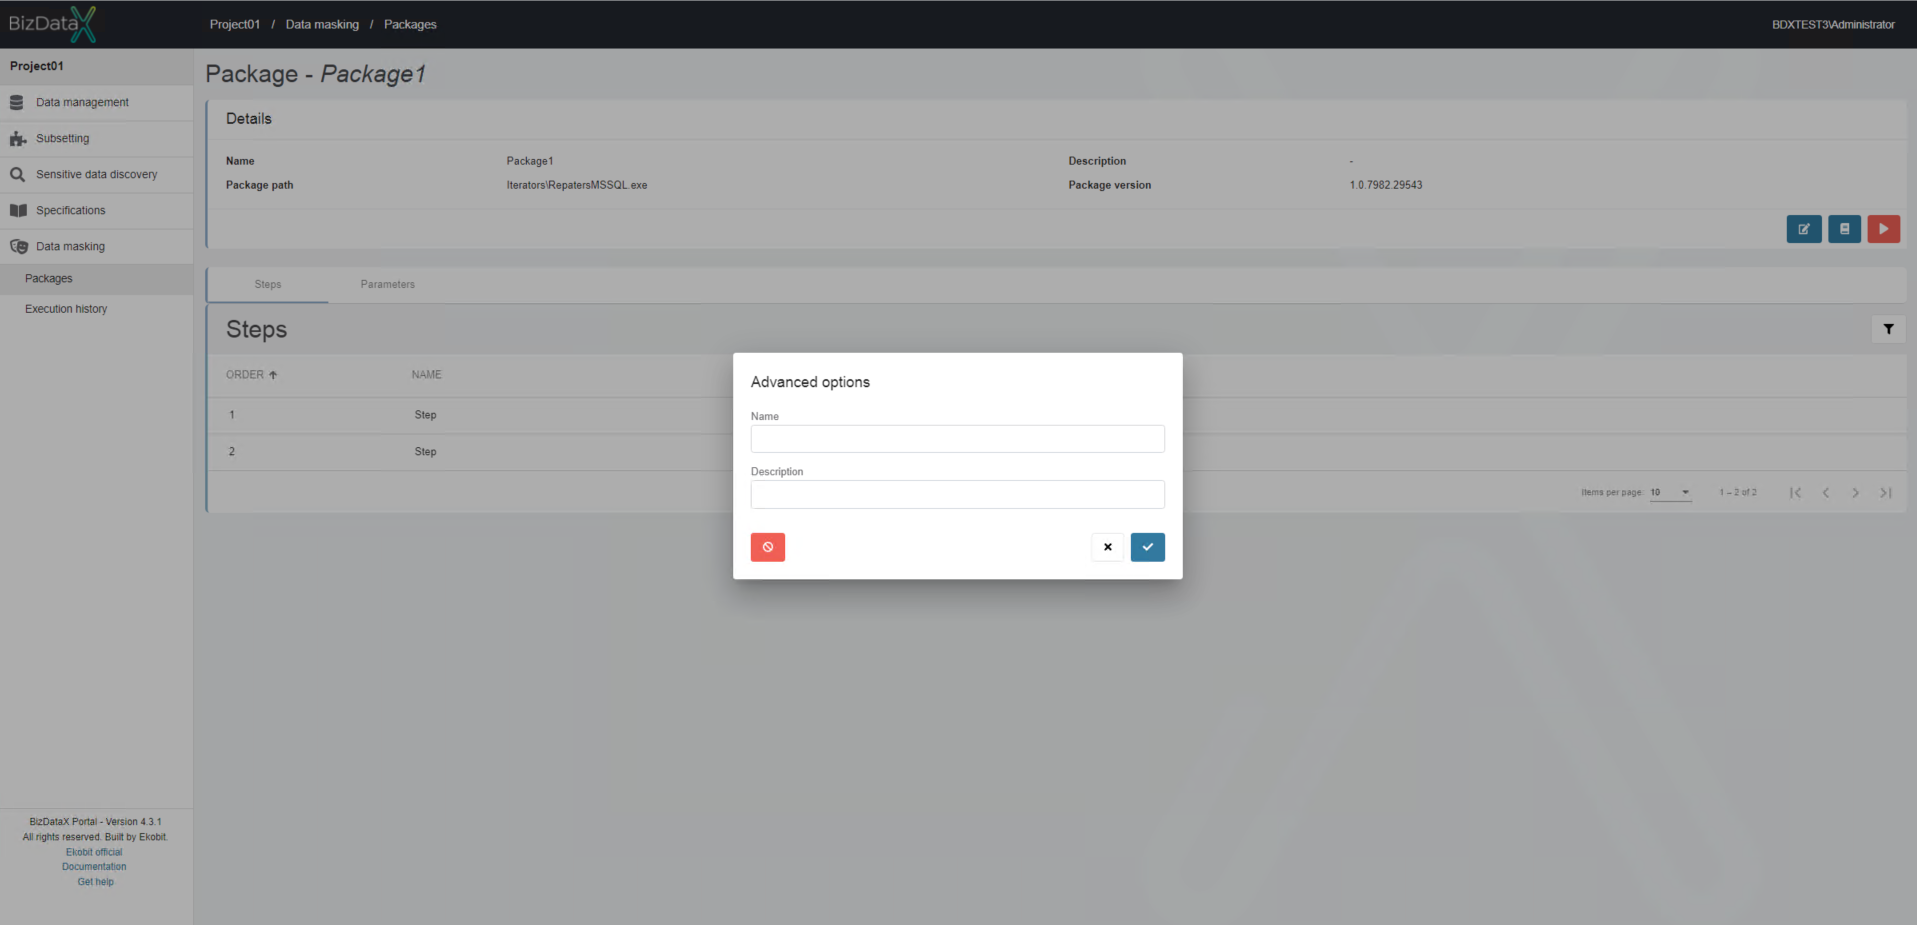 Figure 8: Advanced options
User can choose options to filter data in the overview:
- Name - name of Step
- Description - Step note
To clear all inserted filters in Advanced options, choose Clear button.
To apply inserted filter data in Advanced options, choose Commit button. A filtered data view will be displayed in the table.
To cancel changes in Advanced options, choose Cancel button.
Parameters Advanced options
On right upper corner there is the Advanced options button, where you can filter view of Parameters overview list.
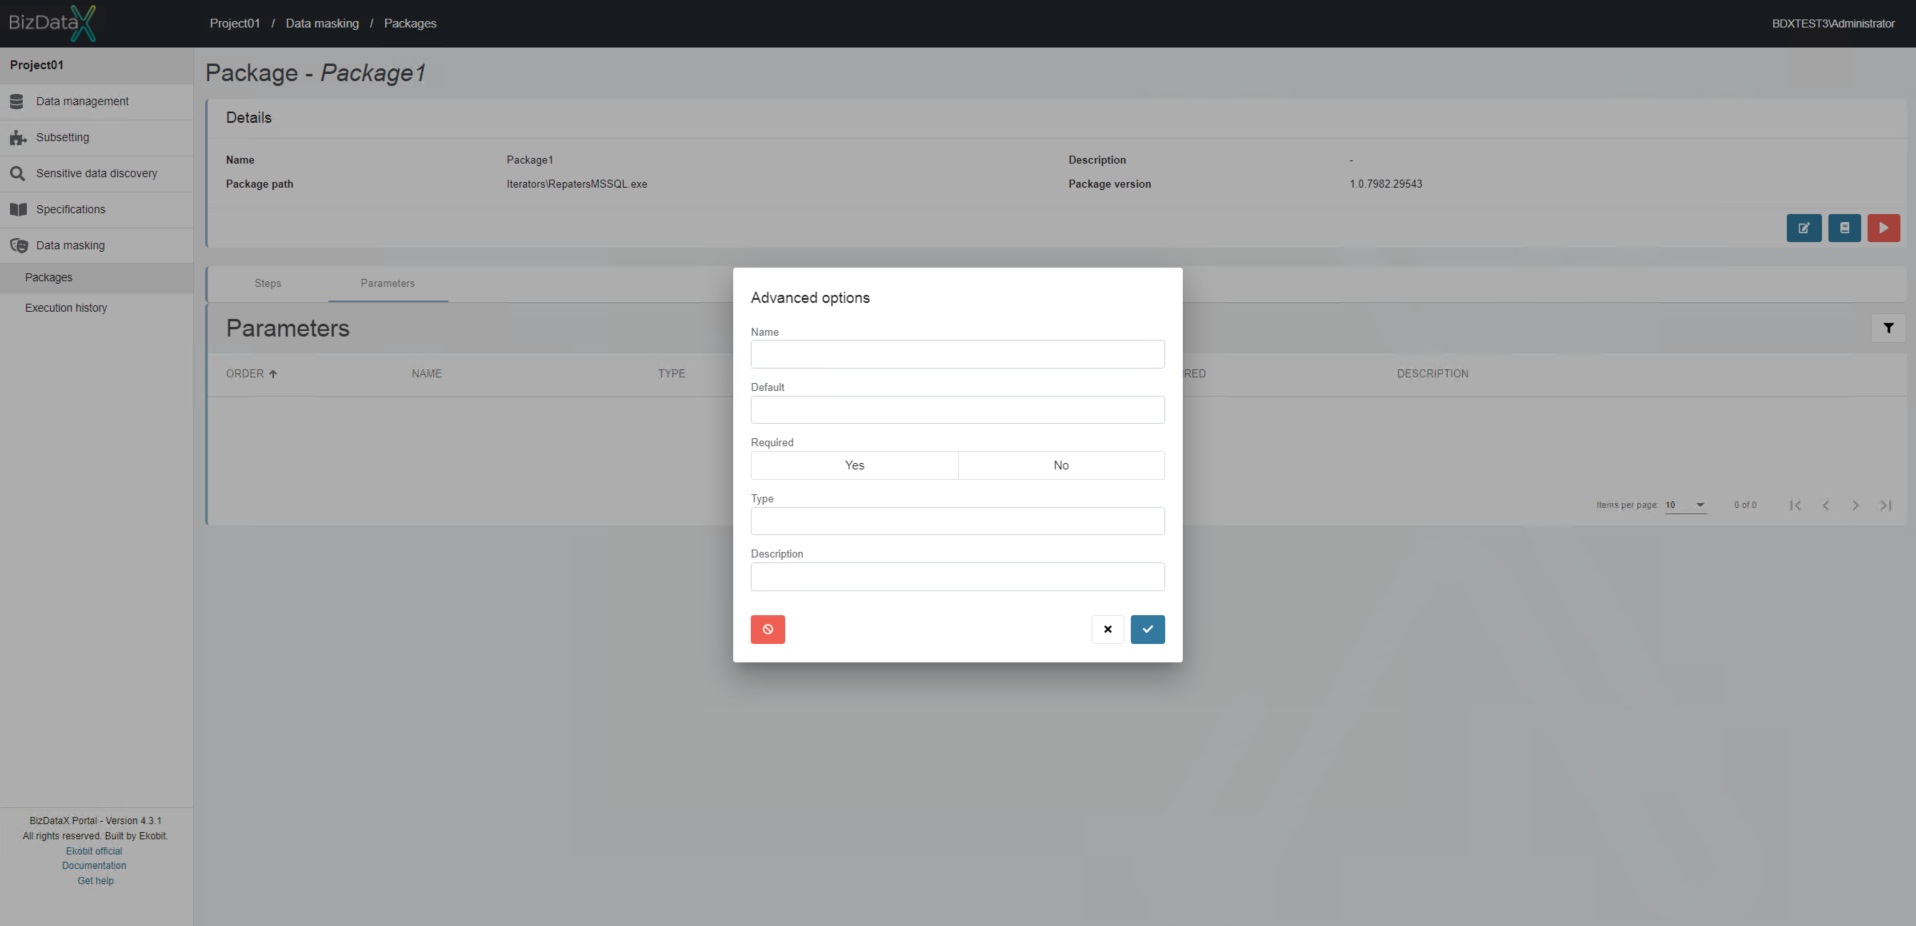 Figure 8: Advanced options
User can choose options to filter data in the overview:
- Name - name of Step
- Default - Parameter is default or not
- Required - possibility to choose:
- Yes - Parameter is required
- No - Parameter is not required
- Type - type of Parameter
- Description - Parameter note
To clear all inserted filters in Advanced options, choose Clear button.
To apply inserted filter data in Advanced options, choose Commit button. A filtered data view will be displayed in the table.
To cancel changes in Advanced options, choose Cancel button.