Generator examples
This example describes how to use multiple Generators to mask First name, Last name and Email based on the generated First name and Last name and use that data in multiple tables using Repeaters.
Create a Masking plan
To start the process of masking, Data masking plan has to be created. Create a Masking plan without using Wizard.
Information about how to create a Masking plan can be found here.
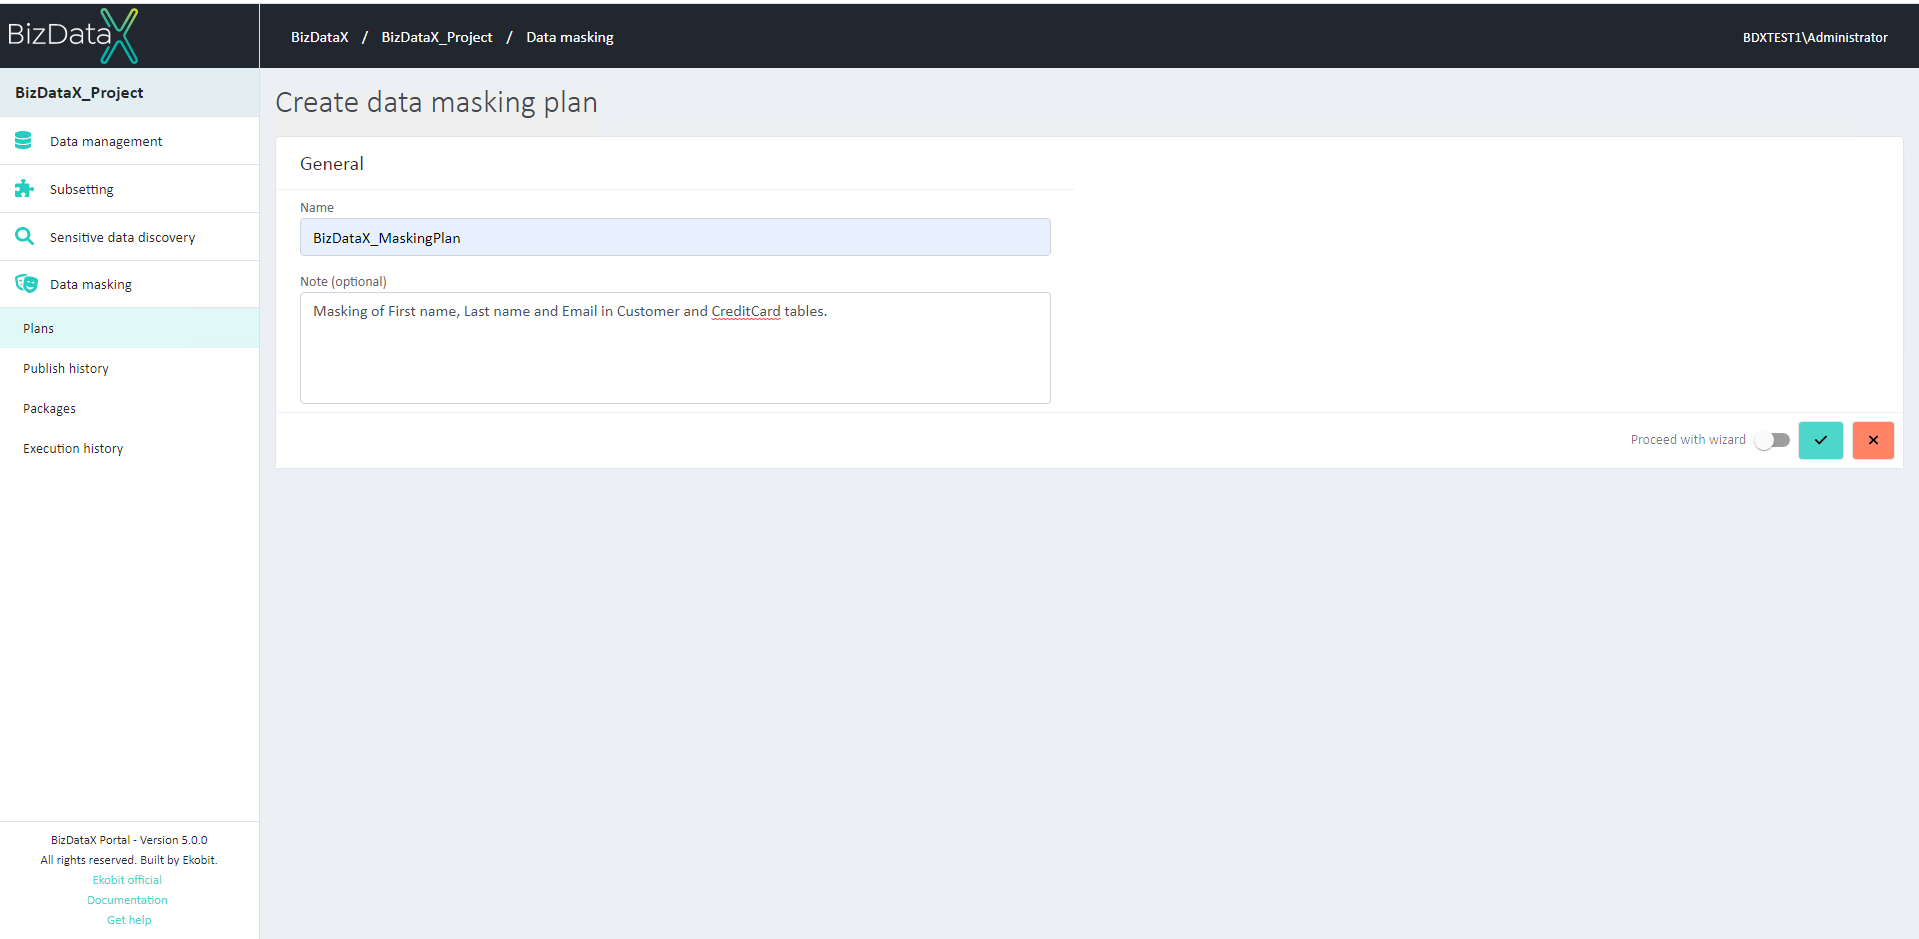 Figure 1: Create Masking plan
Register Data source
Once the Masking plan is created, register Data sources that contain data that will be masked.
Information about how to register Data sources can be found here.
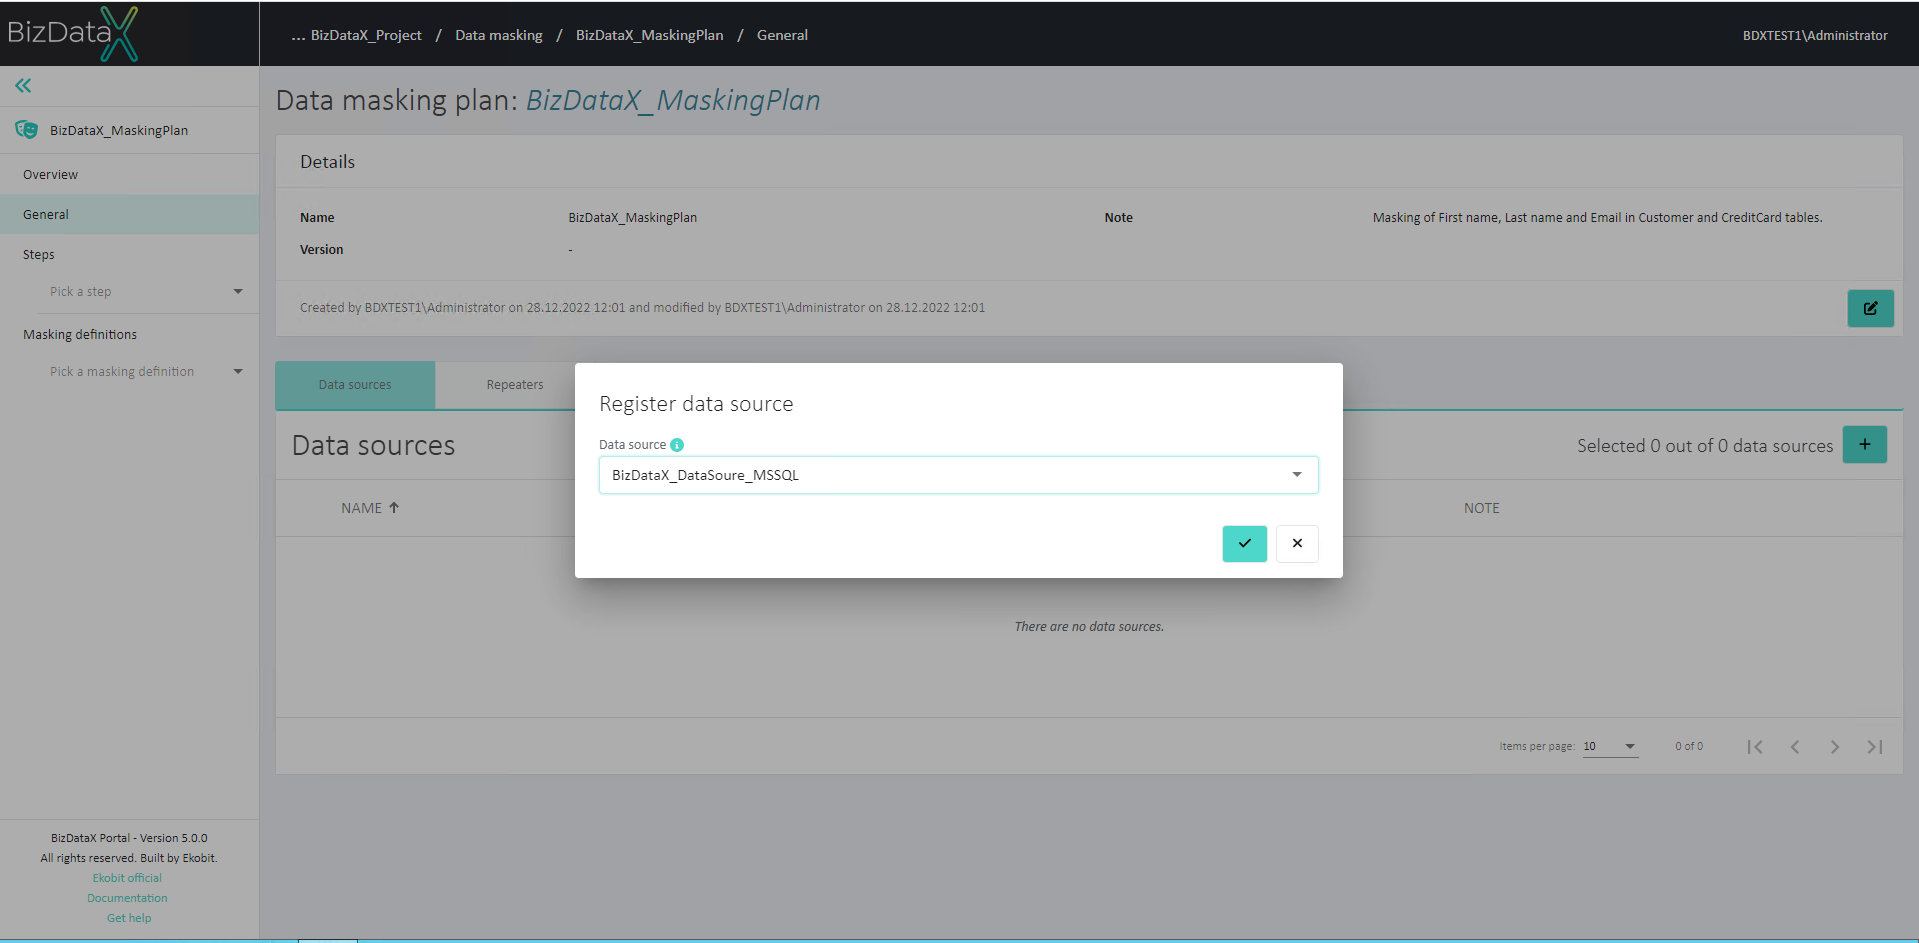 Figure 2: Register Data source
Create a Masking definition
To create a new Masking definition, navigate to the Masking definitions page and click the Create masking definition button. A new pop-up is displayed. Choose a unique name and write a description in the Note field (optional).
Additional information about Masking definitions can be found here.
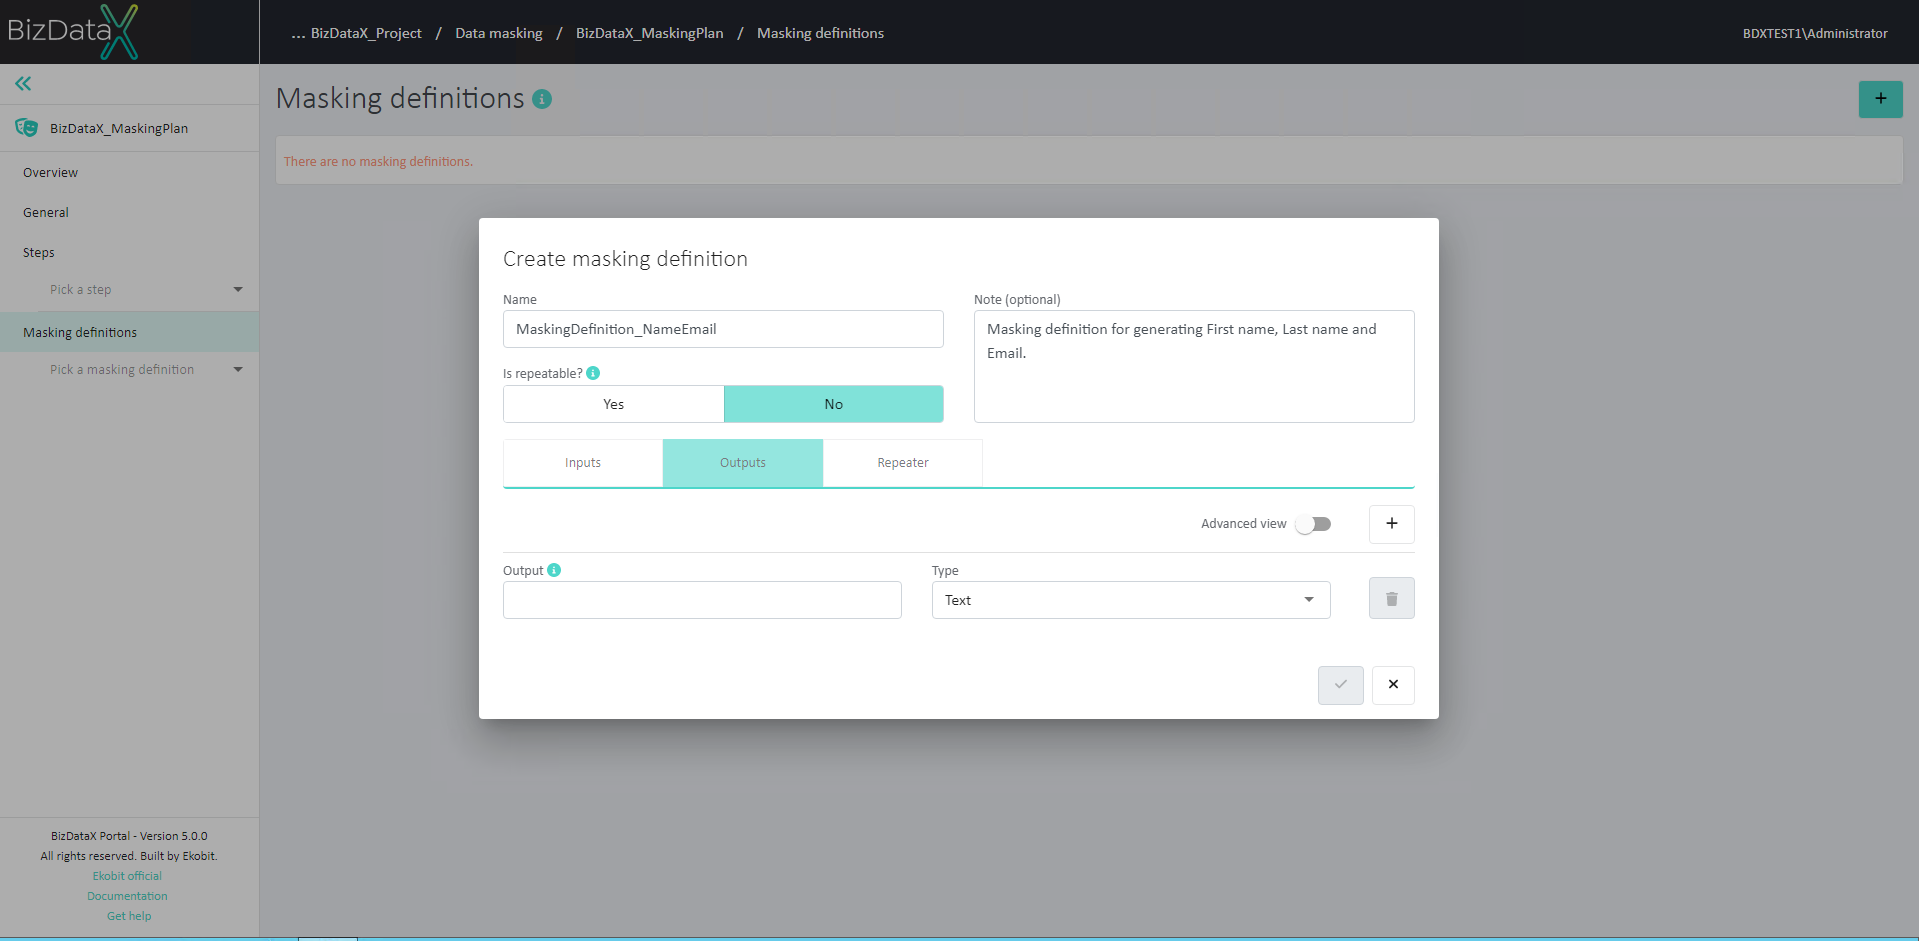 Figure 3: Create Masking definition
Inputs
To define the Inputs of the Masking definition, open the 'Inputs' tab. Create the following inputs by clicking on the "+" button:
| Input | Type |
|---|---|
| First name | Text |
| Last name | Text |
| Country | Text |
| Gender | Text |
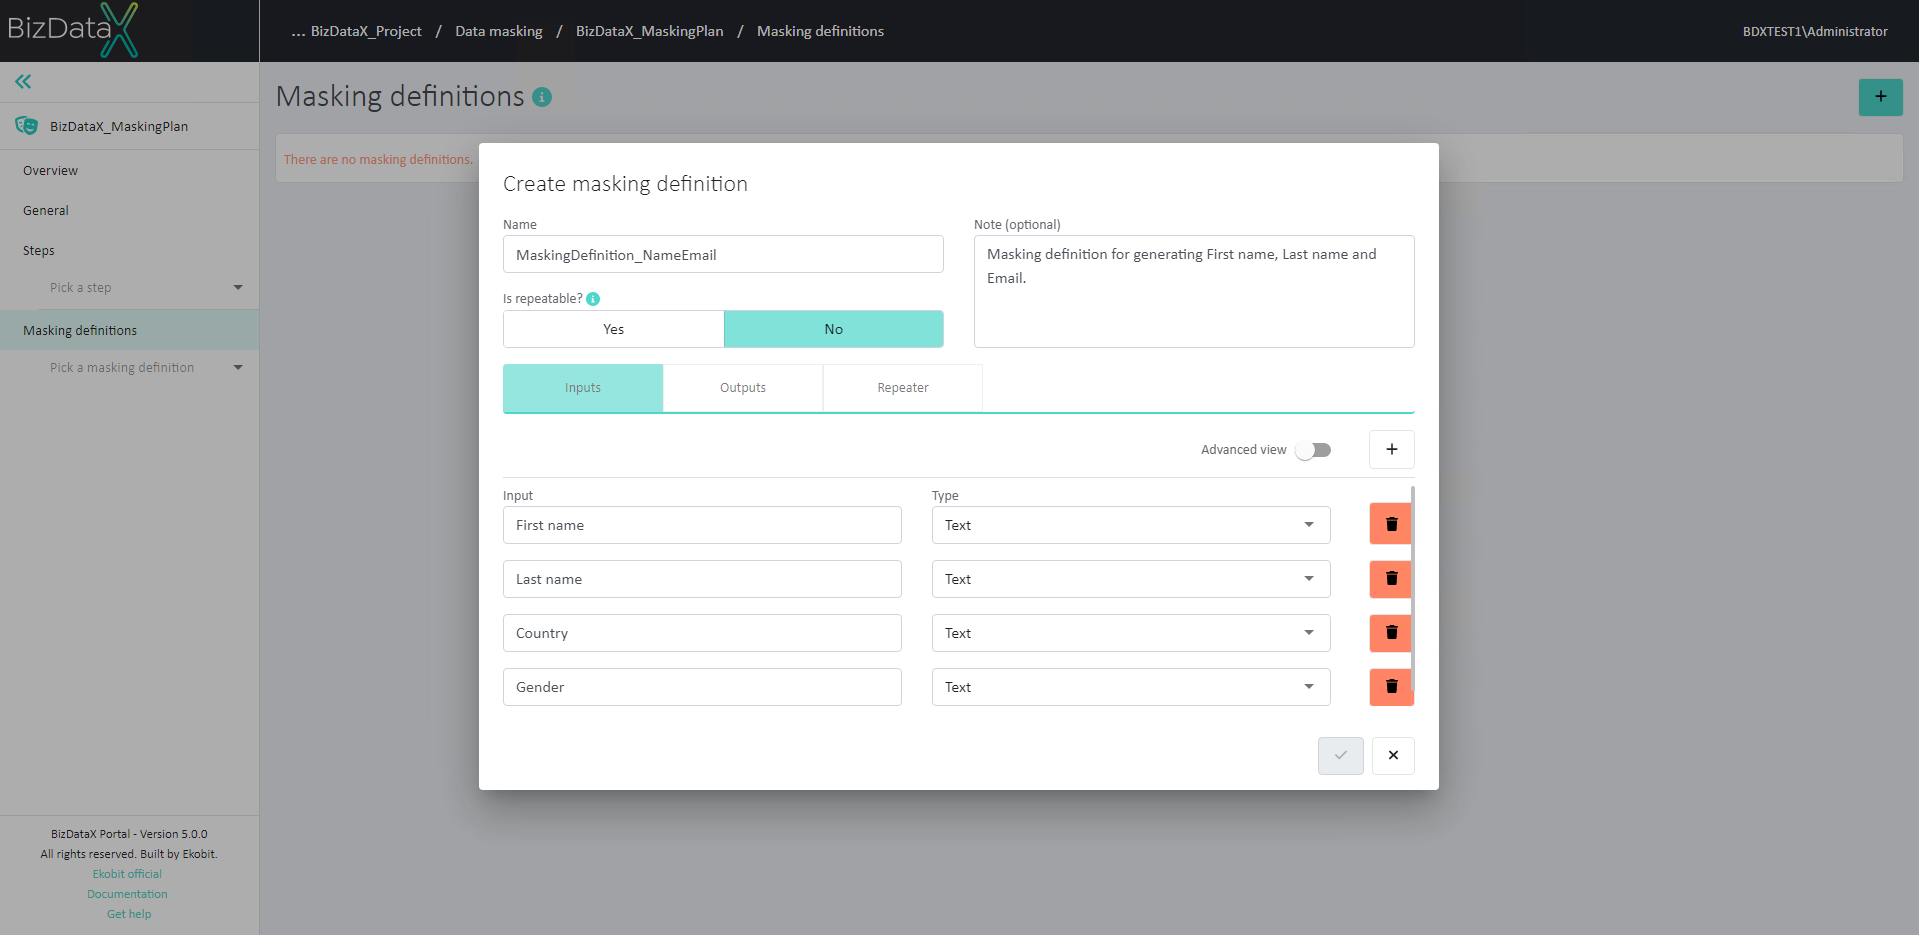 Figure 4: Inputs of Masking definition
Outputs
To define the Outputs of the Masking definition, open the 'Outputs' tab. Create the following outputs by clicking on the "+" button:
| Output | Type |
|---|---|
| First name | Text |
| Last name | Text |
| Text |
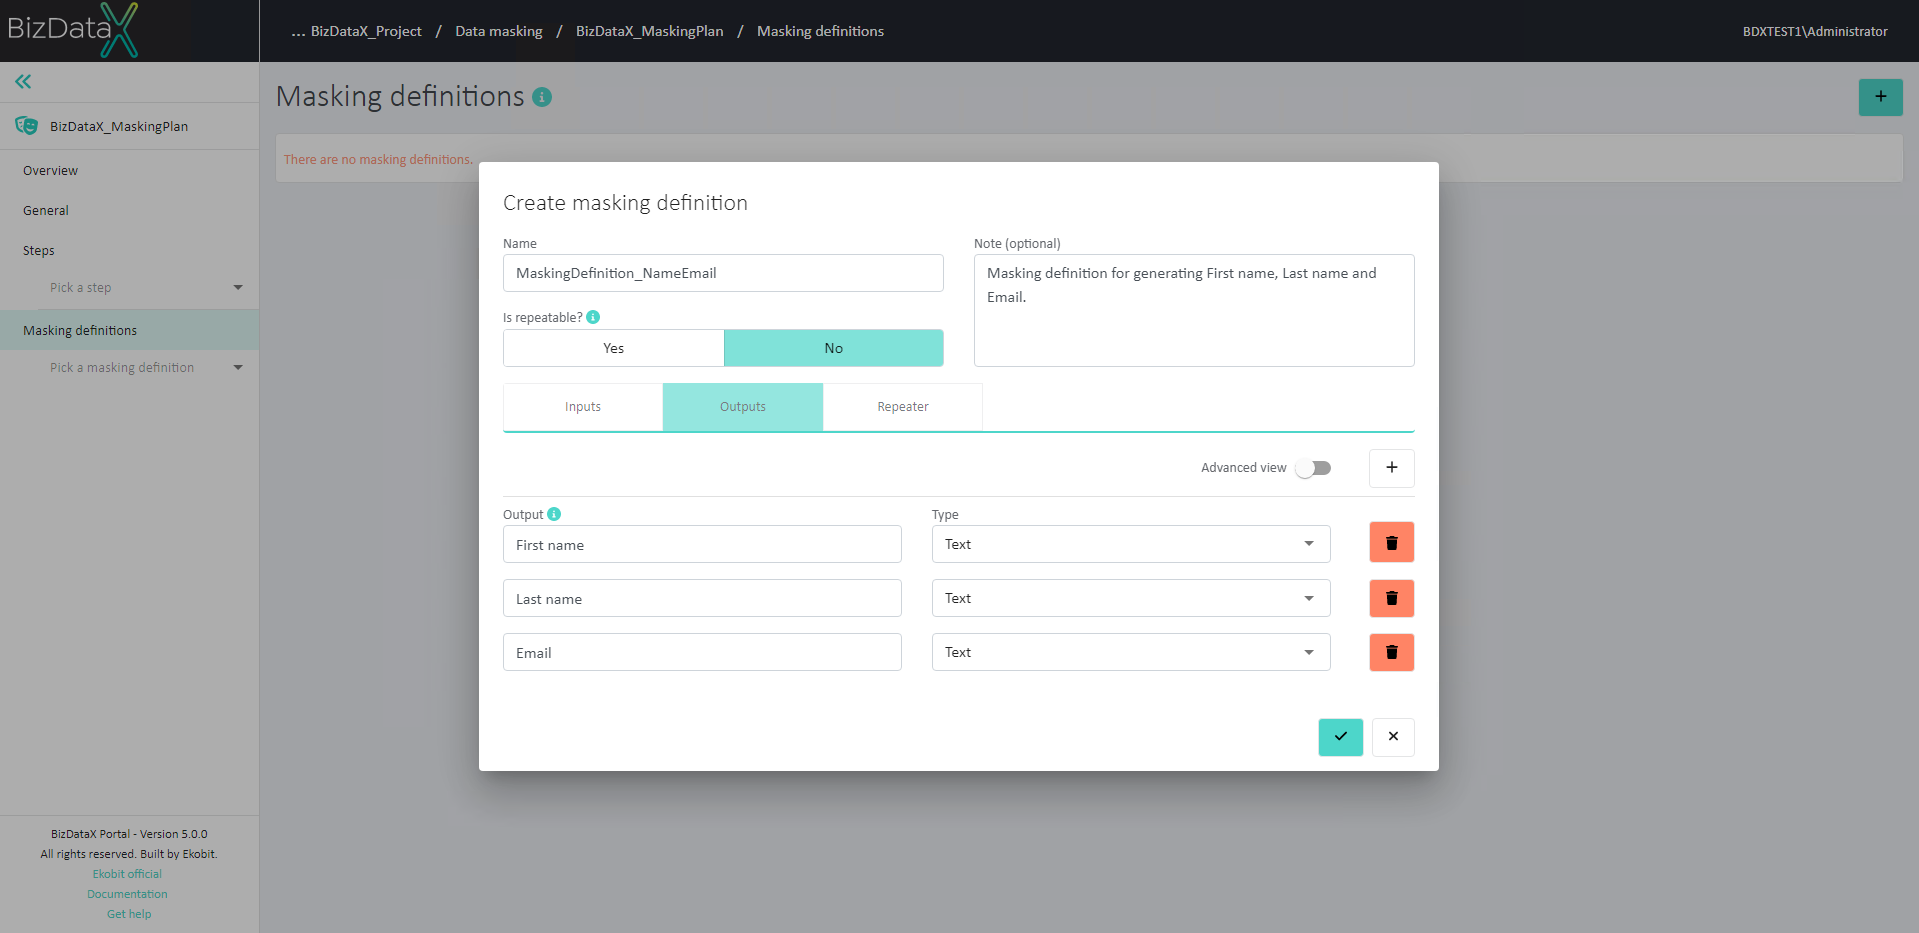 Figure 5: Outputs of Masking definition
Repeaters
Repeaters will ensure that data with the same First name and Last name will always be masked with the same new data, both in the same table and in other tables.
Set 'Is repeatable' toggle to 'Yes'. Open the 'Inputs' tab again. Turn on the 'Advanced view' toggle. New, additional fields are displayed next to the created inputs.
Select 'Yes' on 'Repeater key' toggle for inputs 'First name' and 'Last name'. For other inputs (Gender and Country), select 'No' on the 'Repeater key' toggle.
If you want to save Repeater values for another masking, select the 'Repeater' tab and select 'Yes' on the 'Is persistent' toggle.
More information about Repeaters can be found here.
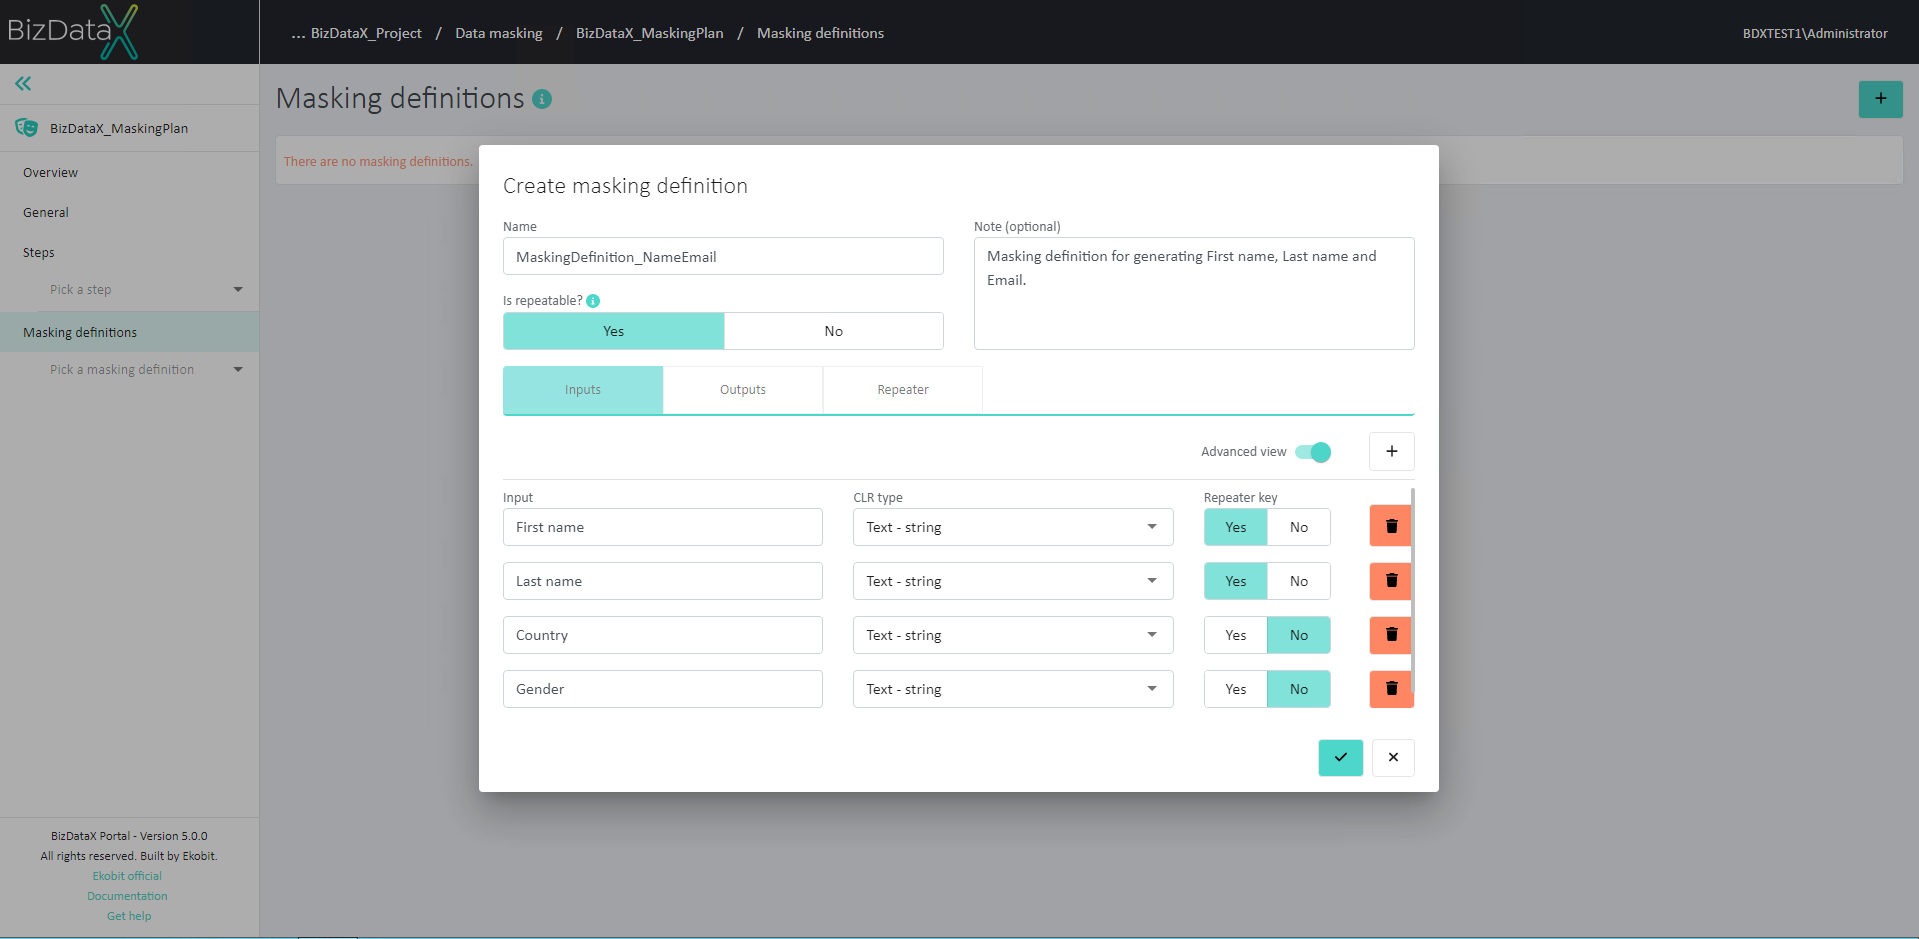 Figure 6: Repeaters
Once all information about the new Masking definition is defined as described, click the 'Confirm' button to create it.
Register Generators
Generators are tools for creating data that will be used in the masking process.
NOTE: To be able to use Generators in the Data masking plan, the Generators add-on needs to be registered first. See more about Add-ons here and Add-on Generators here.
A new generator can be registered on the 'Block' page. After creating a new Masking definition, the 'Masking definitions' page is displayed. One Block is created by default and is visible in the 'Blocks' overview table.
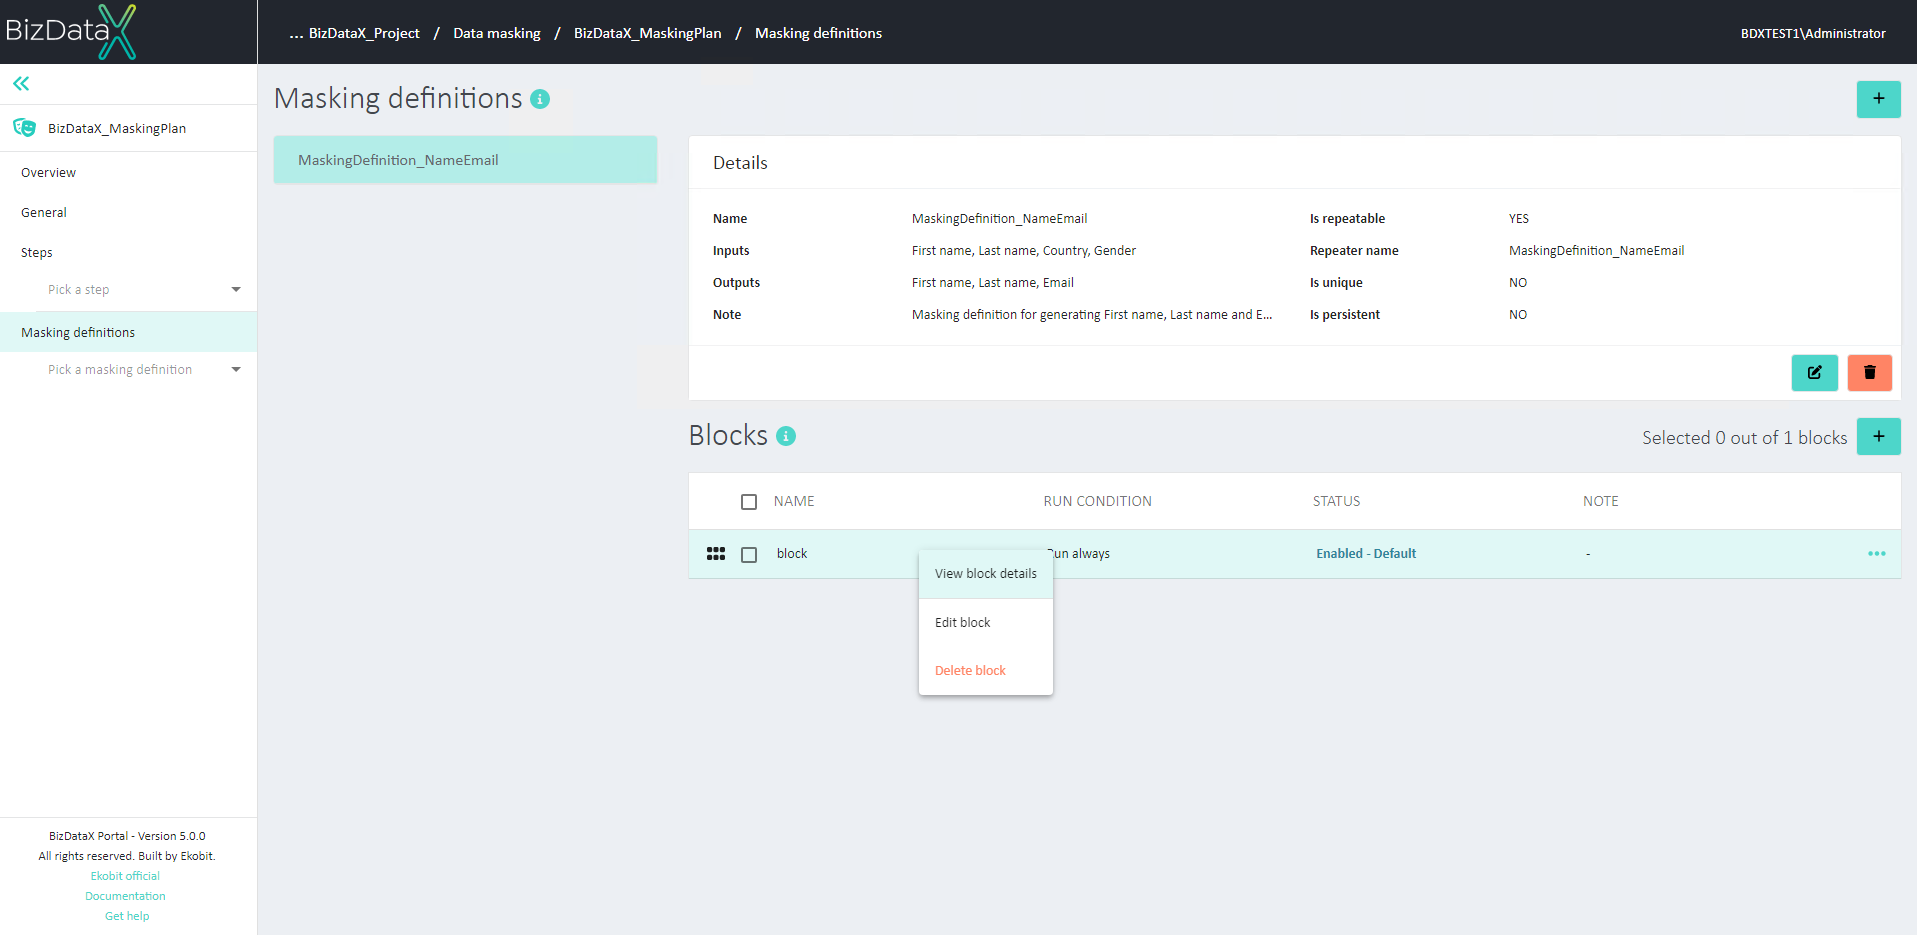 Figure 7: Masking definitions page
Open the table menu for the Block and select 'View block details'. To register a new generator, click on the ‘Register generator’ button in the upper right corner of the section. It opens a pop-up window.
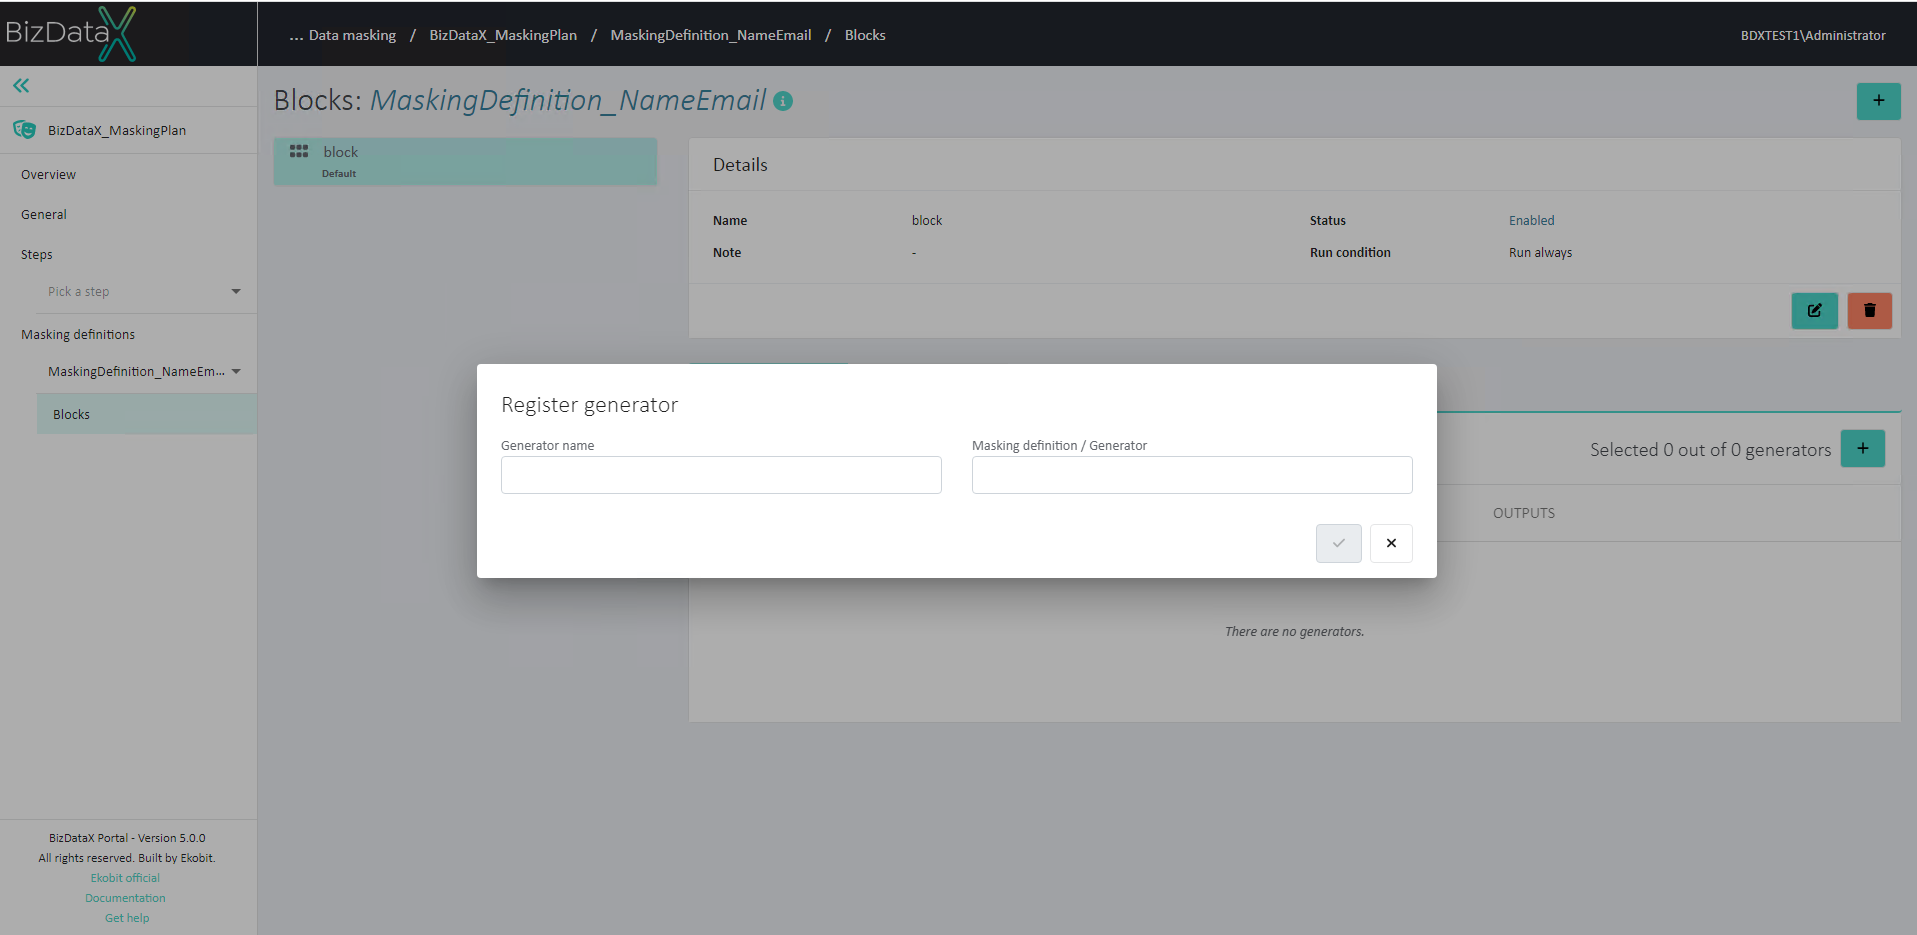 Figure 8: Blocks page
First name generator
The First name generator is a generator that uses a pick list to generate first names.
Once the 'Register generator' pop-up is displayed, choose a unique name, for example, First name generator. As 'Masking definition/Generator', select First name generator.
Inputs of the chosen Generator are displayed. Configure inputs following these instructions:
| Input | Input category | Input value |
|---|---|---|
| Country (string) | Masking definition inputs | Country |
| Gender (string) | Masking definition inputs | Gender |
Click the 'Confirm' button to finish registering the First name generator.
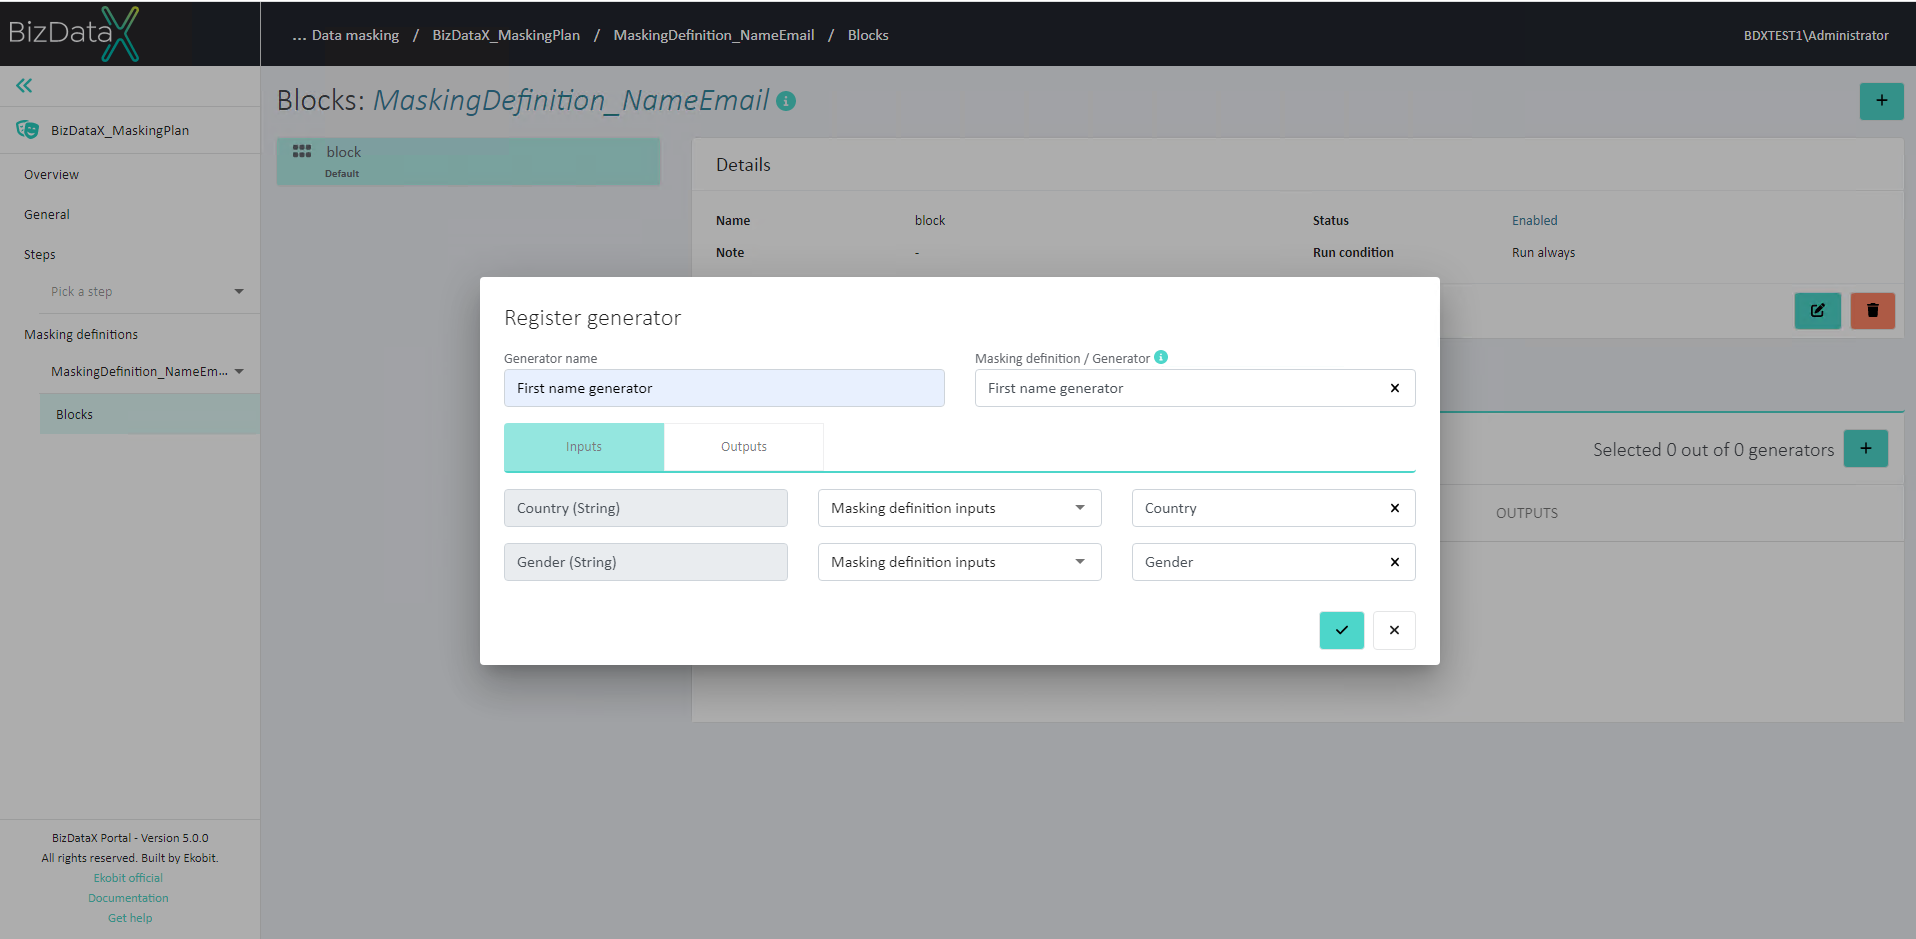 Figure 9: First name generator
Last name generator
A similar process needs to be repeated for the Last name generator.
The Last name generator is a generator that uses a pick list to generate last names.
Once the 'Register generator' pop-up is displayed, choose a unique name, for example, Last name generator. As 'Masking definition/Generator', select Last name generator.
The input of the chosen Generator is displayed. Configure inputs following these instructions:
| Input | Input category | Input value |
|---|---|---|
| Country (string) | Masking definition inputs | Country |
Click the 'Confirm' button to finish registering the Last name generator.
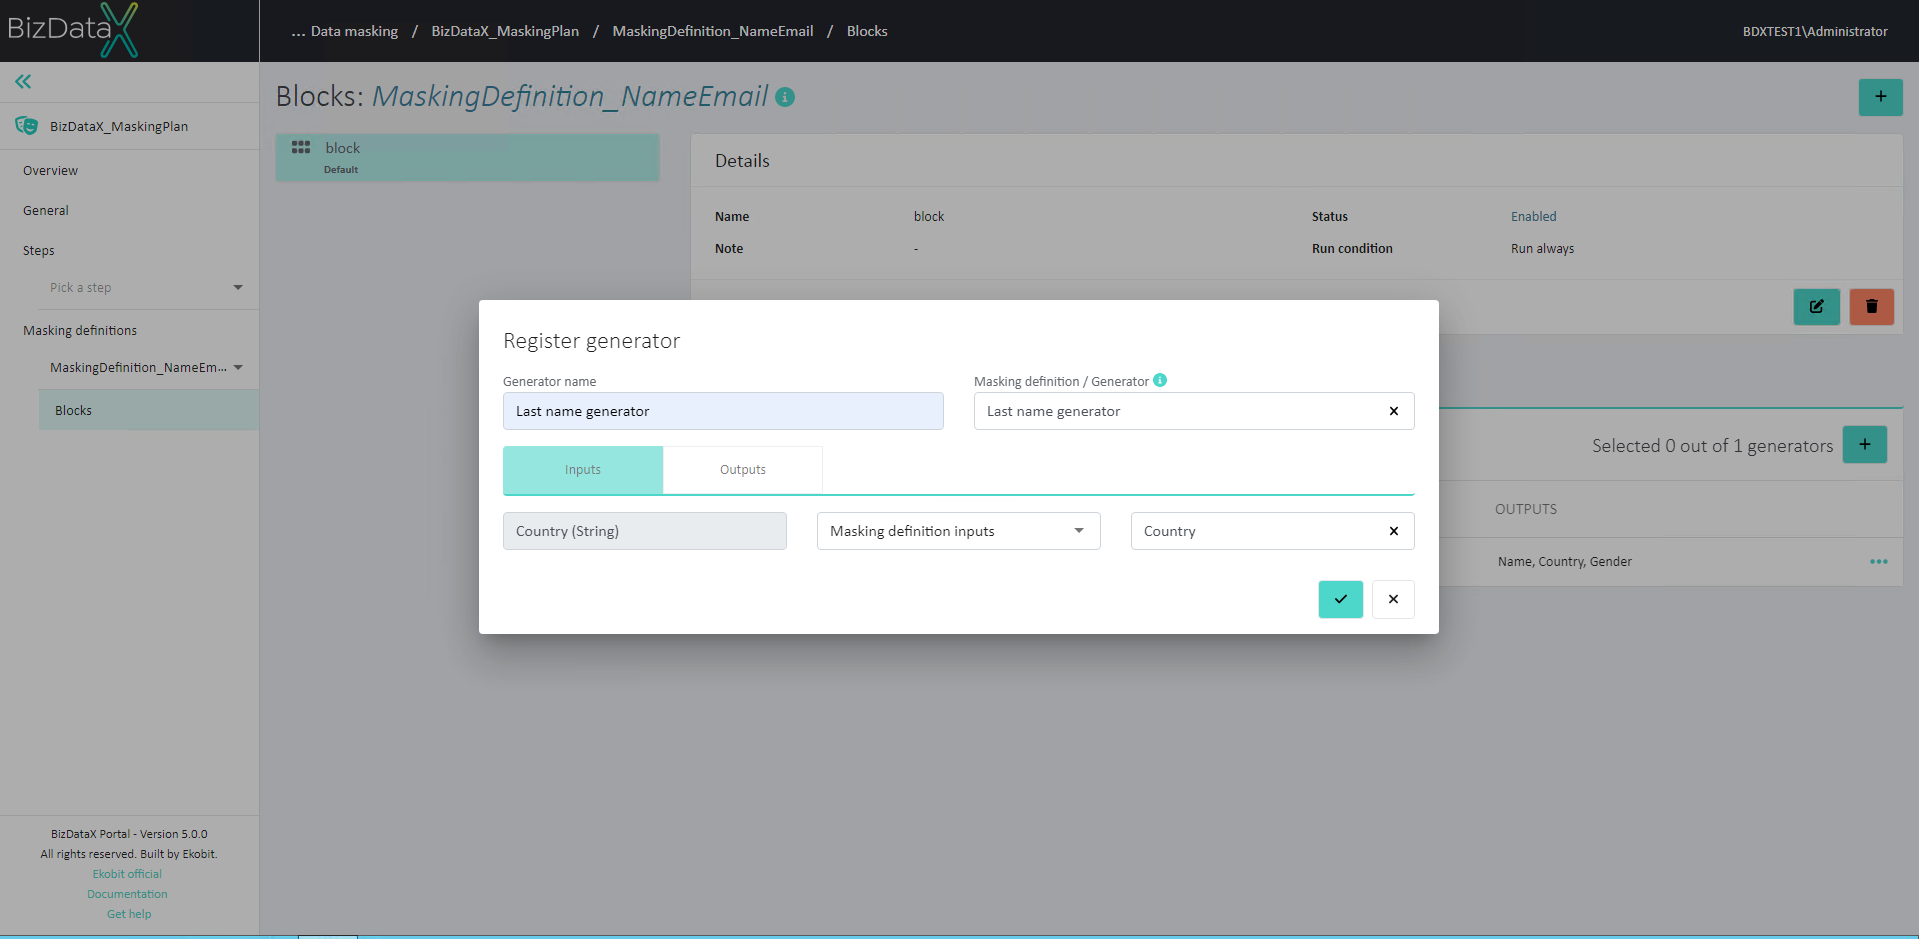 Figure 10: Last name generator
Email generator
A similar process needs to be repeated for the Email generator.
The E-mail generator is used to generate e-mail addresses.
Once the 'Register generator' pop-up is displayed, choose a unique name, for example, Email generator. As 'Masking definition/Generator', select Email generator.
Inputs of the chosen Generator are displayed. Configure inputs following these instructions:
| Input | Input category | Input value |
|---|---|---|
| First name (string) | Generator outputs | Name (First name generator) |
| Last name (string) | Generator outputs | Name (Last name generator) |
| Country (string) | Masking definition inputs | Country |
Click the 'Confirm' button to finish registering the Email generator.
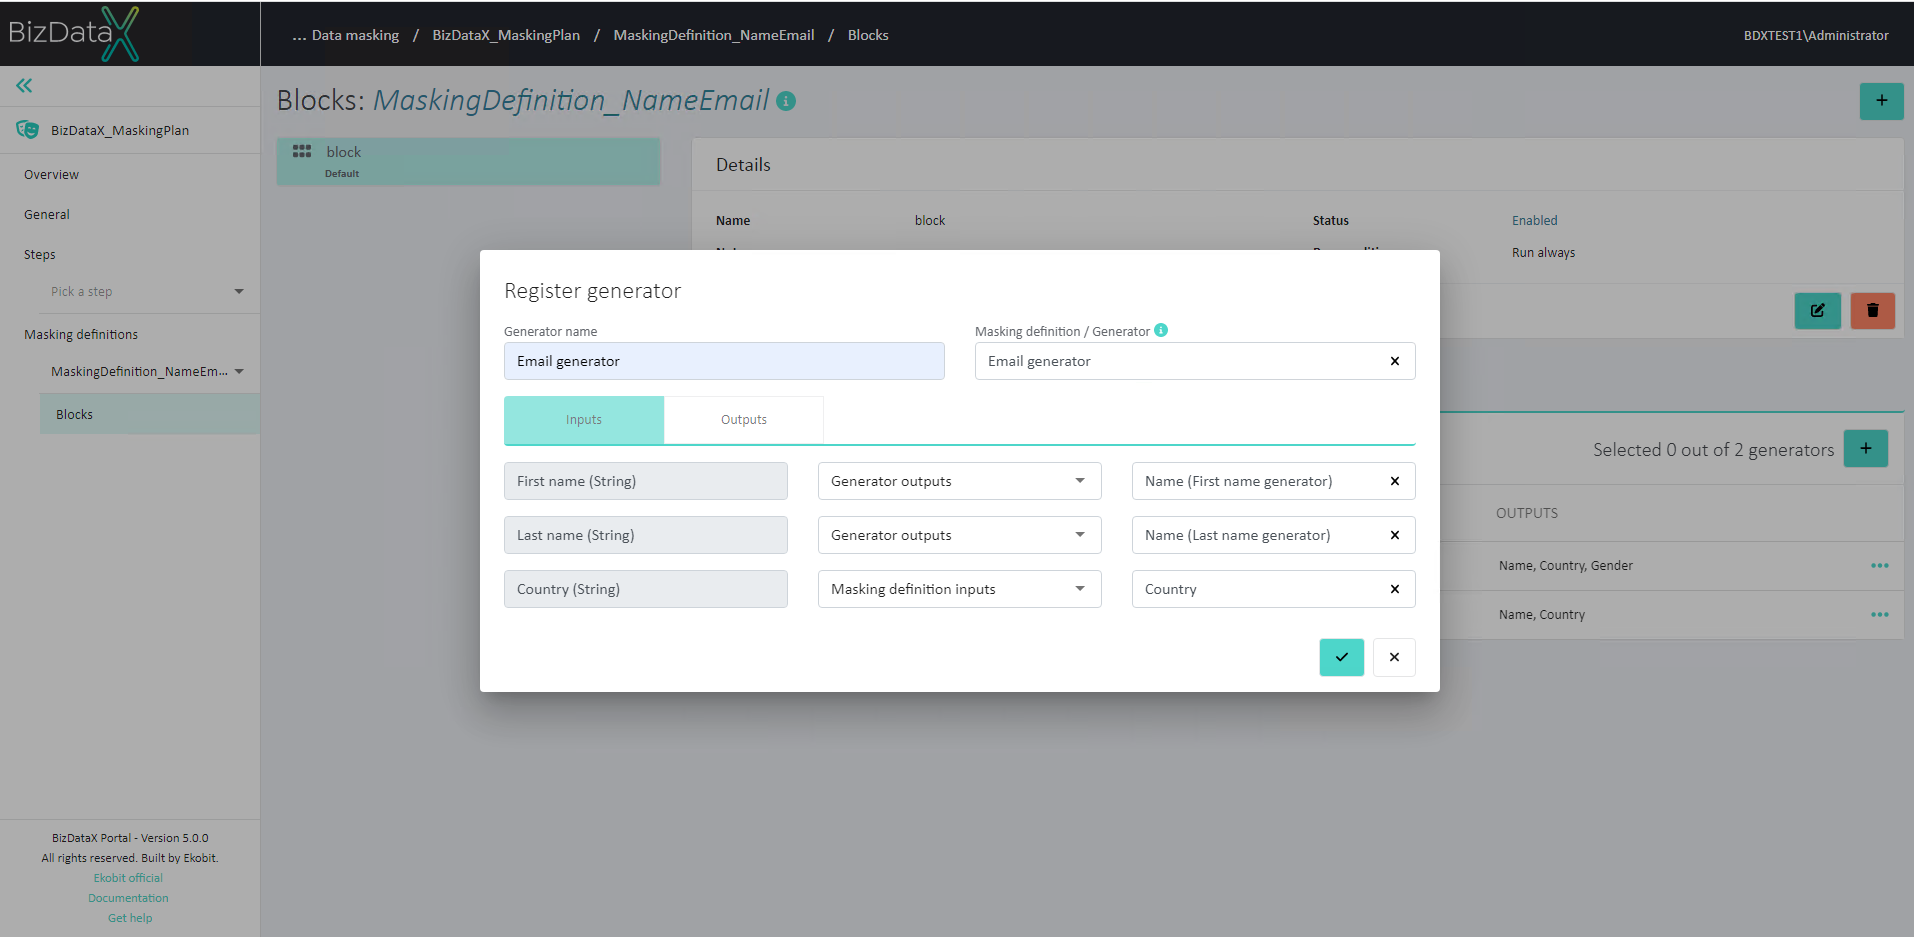 Figure 11: Email generator
Design assignments for Block
Design assignments for Block is an action of linking generated data with the output of the Masking definition. More about designing assignments for Block can be found here.
To design assignments, open the 'Assignments' tab on the Blocks page and click the 'Edit assignments' button.
Edit assignments following these instructions:
| Masking definition outputs | Masking category | Masking value |
|---|---|---|
| Generator outputs | Email (Email generator) | |
| First name | Generator outputs | Name (First name generator) |
| Last name | Generator outputs | Name (Last name generator) |
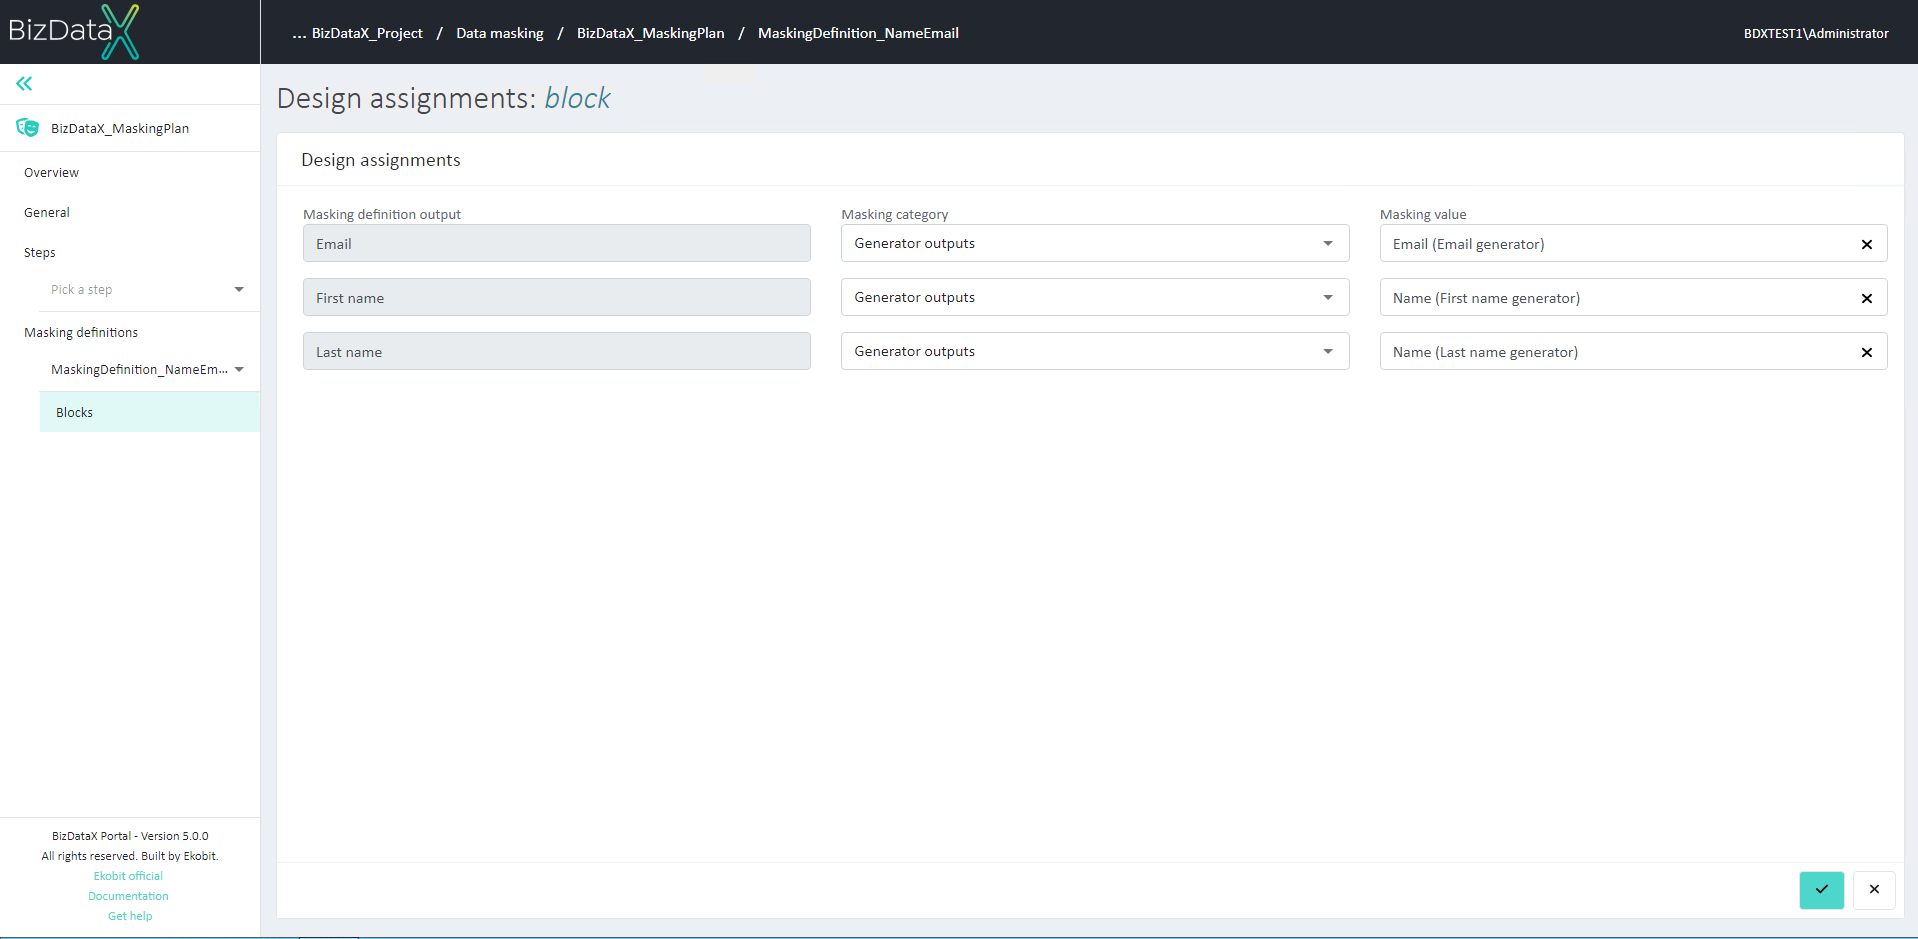 Figure 12: Design assignments for Block
Register Jobs
Jobs represent masking activities inside Step. More information about Jobs can be found here.
Register a Job for each table that will be masked with data generated with Generators. For example, to mask the Customer and CreditCard tables, create one Job with the scope of the Customer table and one Job with the scope of the CreditCard table.
Information about how to register Jobs can be found here.
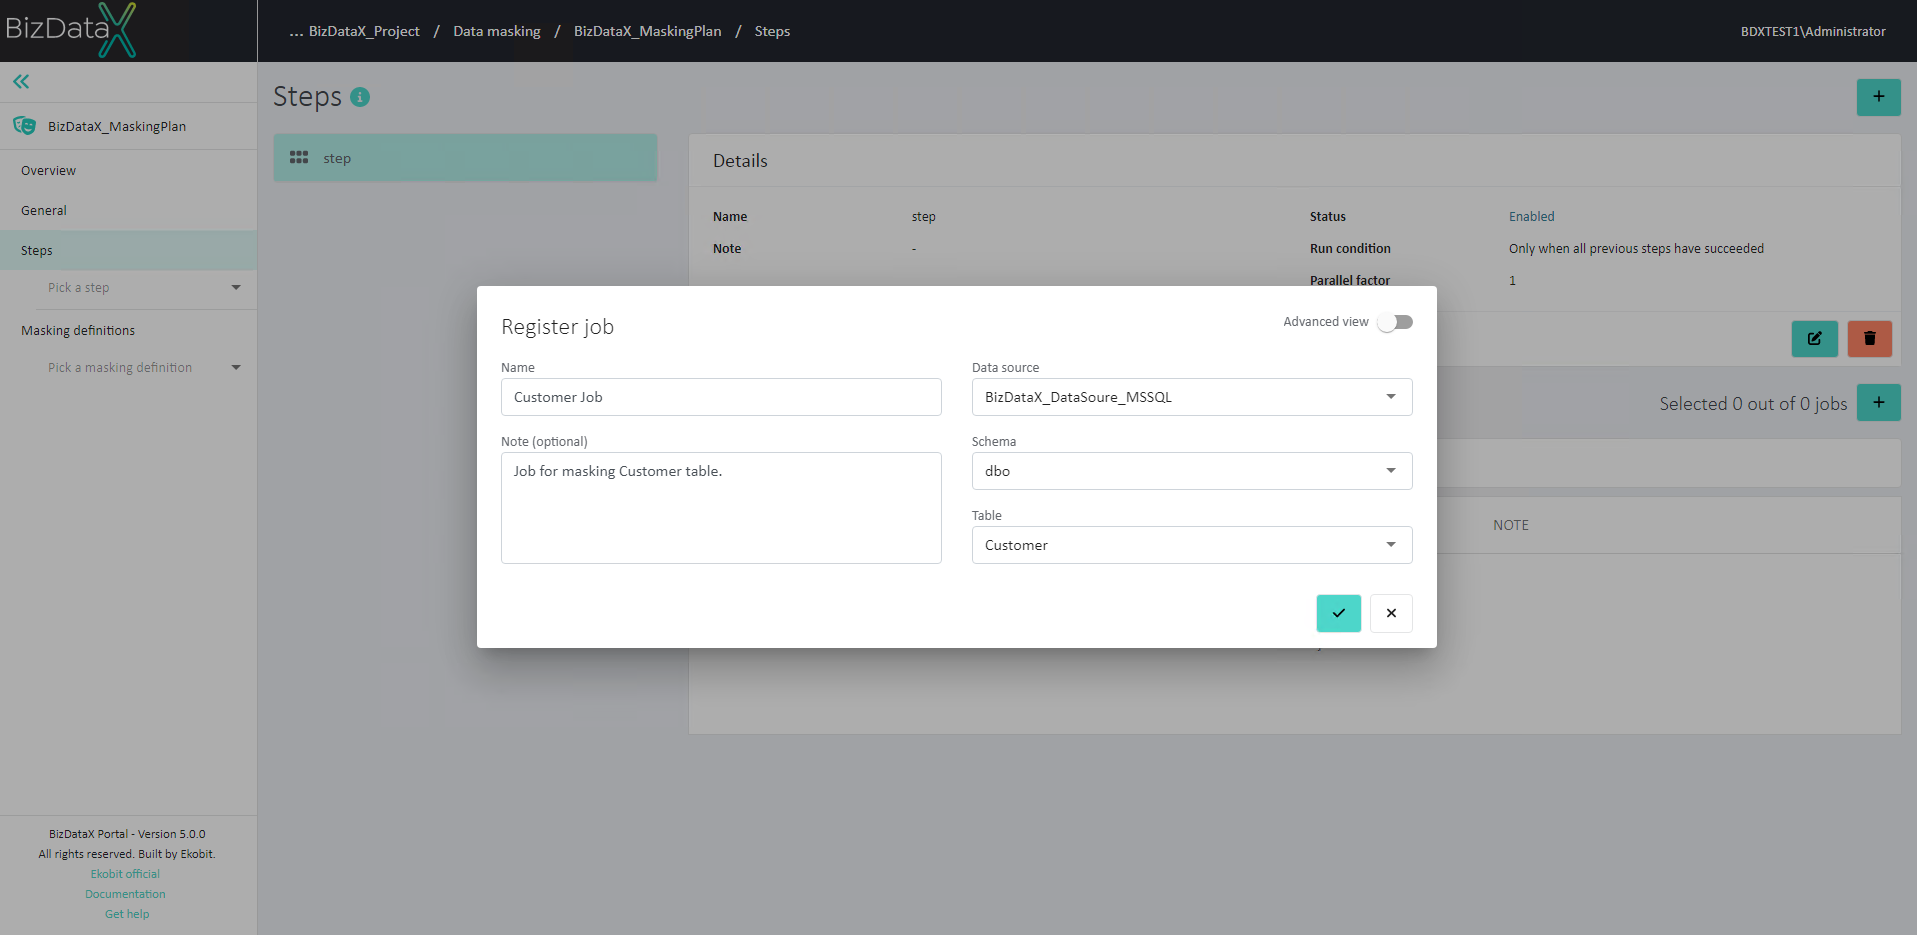 Figure 12: Register Job
Register Masking tasks
Masking tasks are used for fetching data that was generated through the Masking definition.
Masking tasks can be registered on the 'Jobs' page.
After creating a new Job, the 'Steps' page is displayed. Open the table menu for the Job and select 'View job details'.
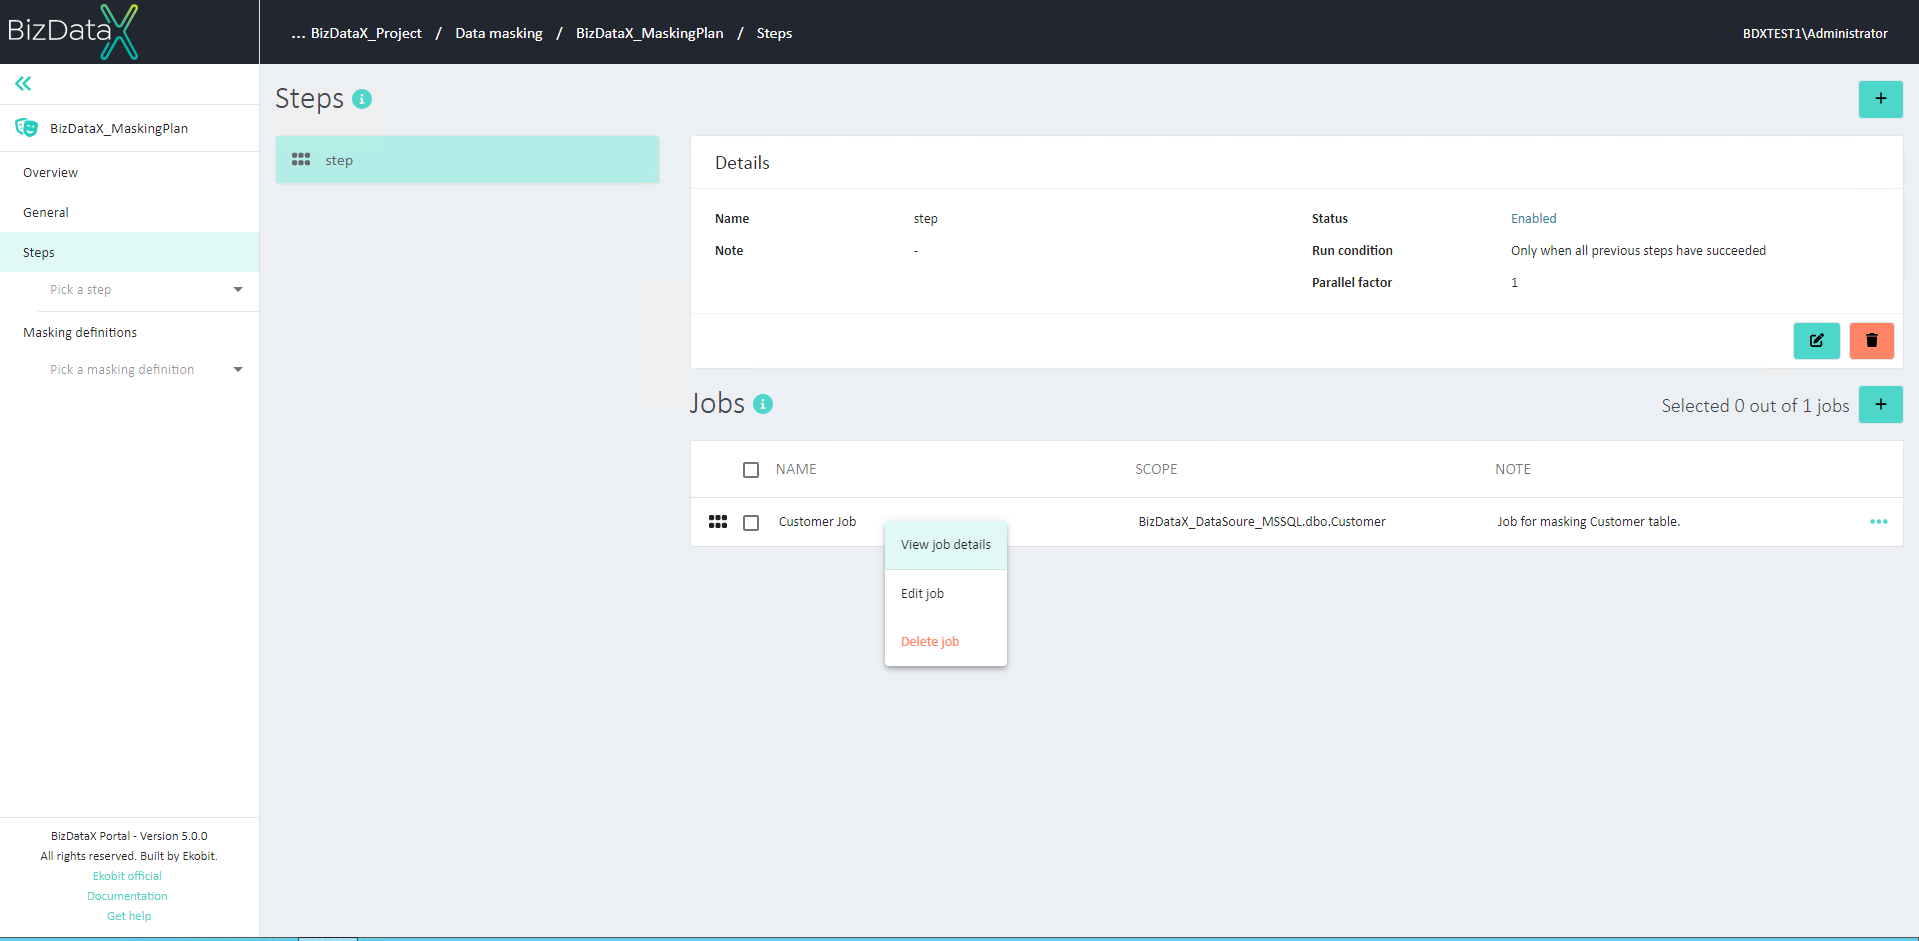 Figure 13: Steps page
To register a new Masking task, click on the ‘Register masking task' button in the upper right corner of the section. It opens a pop-up window.
Choose a unique name and write a description in the Note field (optional). As 'Masking definition', select the Masking definition created in previous step.
Inputs of the chosen Masking definition are displayed. They are used to pass values from Tables to Masking definitions so they can be used for Repeaters. Configure inputs following these instructions:
| Input | Input category | Input value |
|---|---|---|
| First name | Table columns | FirstName (Customer) |
| Last name | Table columns | LastName (Customer) |
| Country | Table columns | Country (Customer) |
| Gender | Table columns | Gender (Customer) |
Once the inputs are configured according to the instructions, click the 'Confirm' button to finish registering the Masking task.
Repeat this process for all created Jobs.
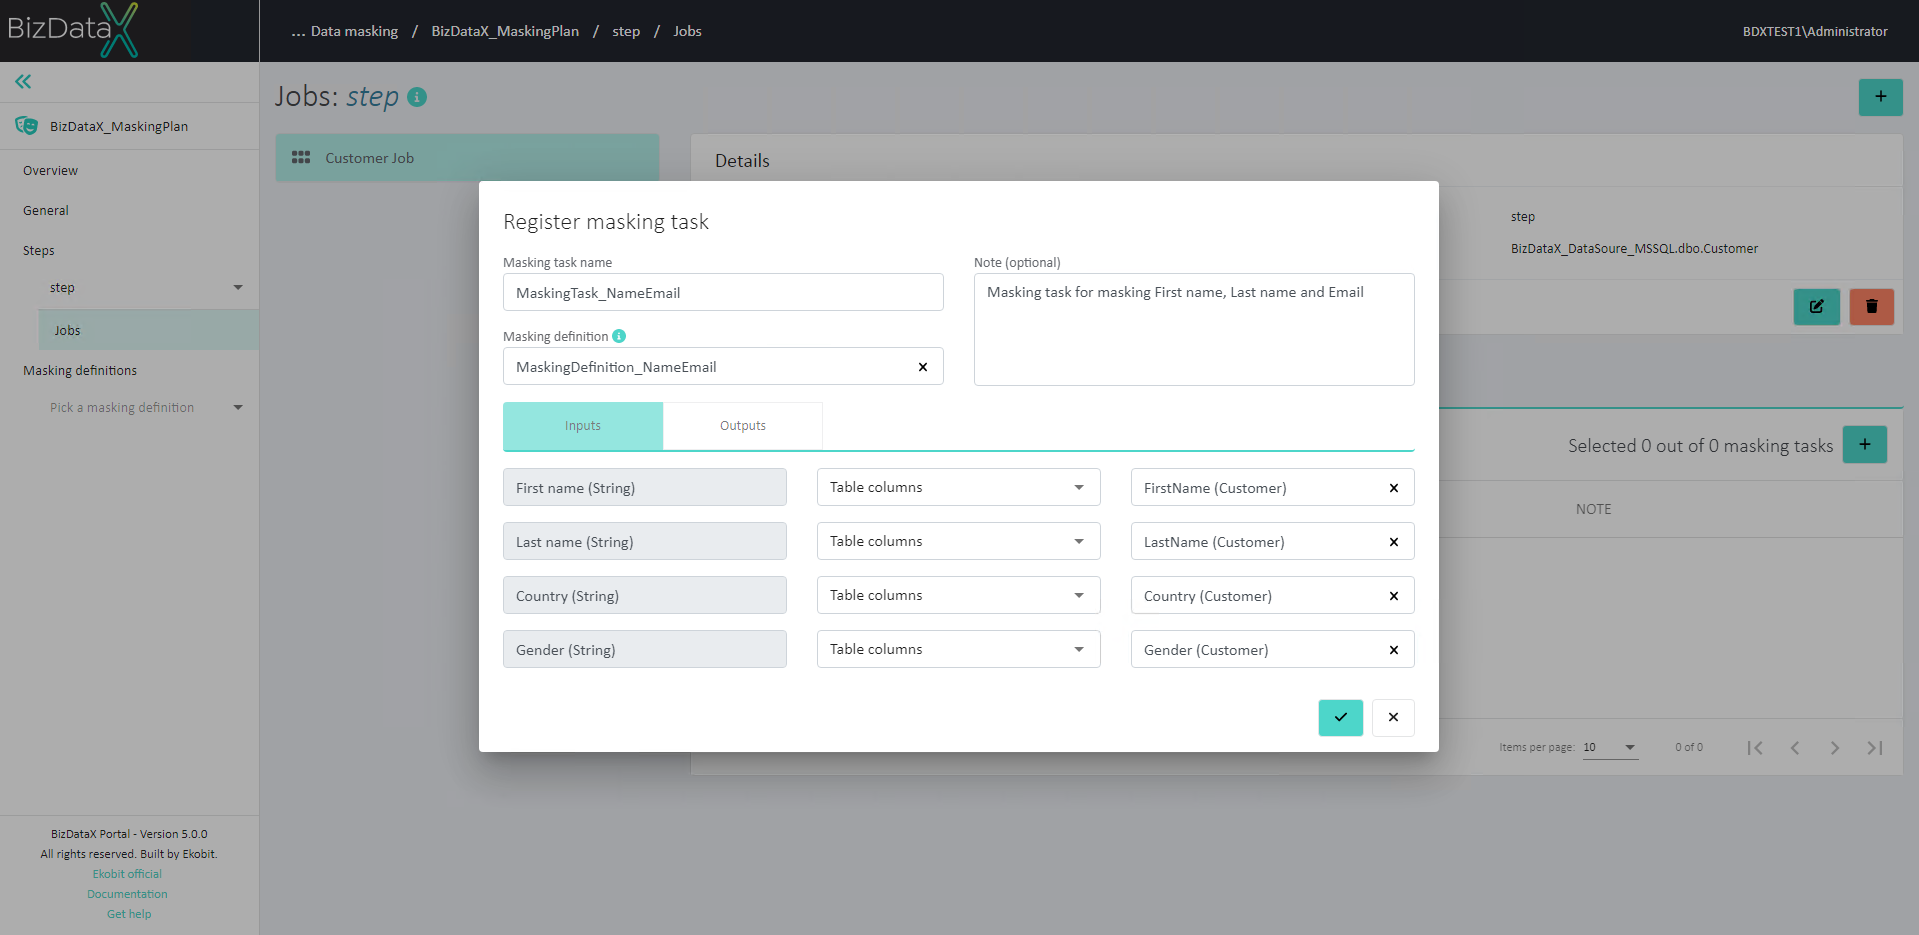 Figure 14: Register Masking task
Design assignments for Jobs
Design assignments for a Table job is an action of linking masked data with Columns of the Data source. More about designing assignments for Jobs can be found here.
To design assignments, open the 'Assignments' tab on the Jobs page and click the 'Edit assignments' button.
Edit assignments following these instructions:
| Columns | Masking category | Masking value |
|---|---|---|
| FirstName | Masking task outputs | First name |
| LastName | Masking task outputs | Last name |
| Masking task outputs |
Repeat this process for all created Jobs.
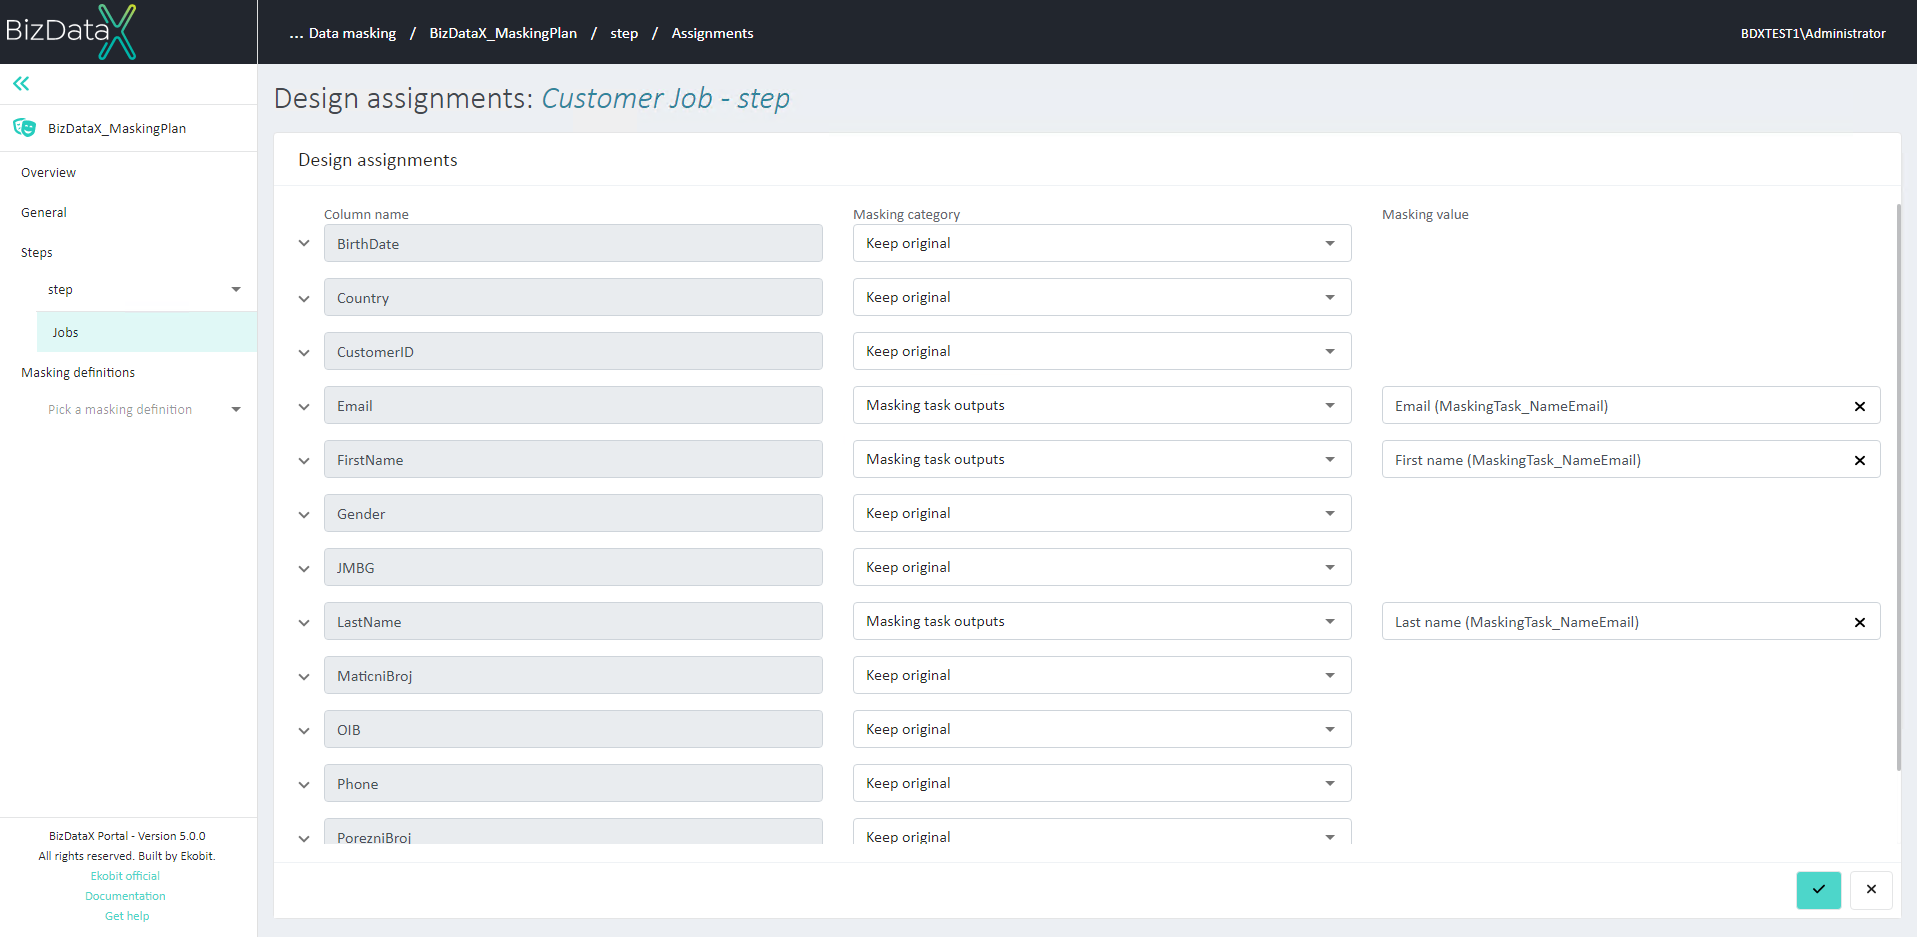 Figure 15: Design assignments for Job
Publish Masking plan
To finish designing the Data masking plan, navigate to the 'Overview' page, where you can review all configurations for your masking in this Masking plan.
Click the 'Publish' button and a pop-up for publishing a Masking plan will be displayed. Choose the version number and confirm publishing.
 Figure 16: Publish Masking plan
The system redirects to 'Plan publish details' page where you can follow the process of publishing and review any errors if they occur.
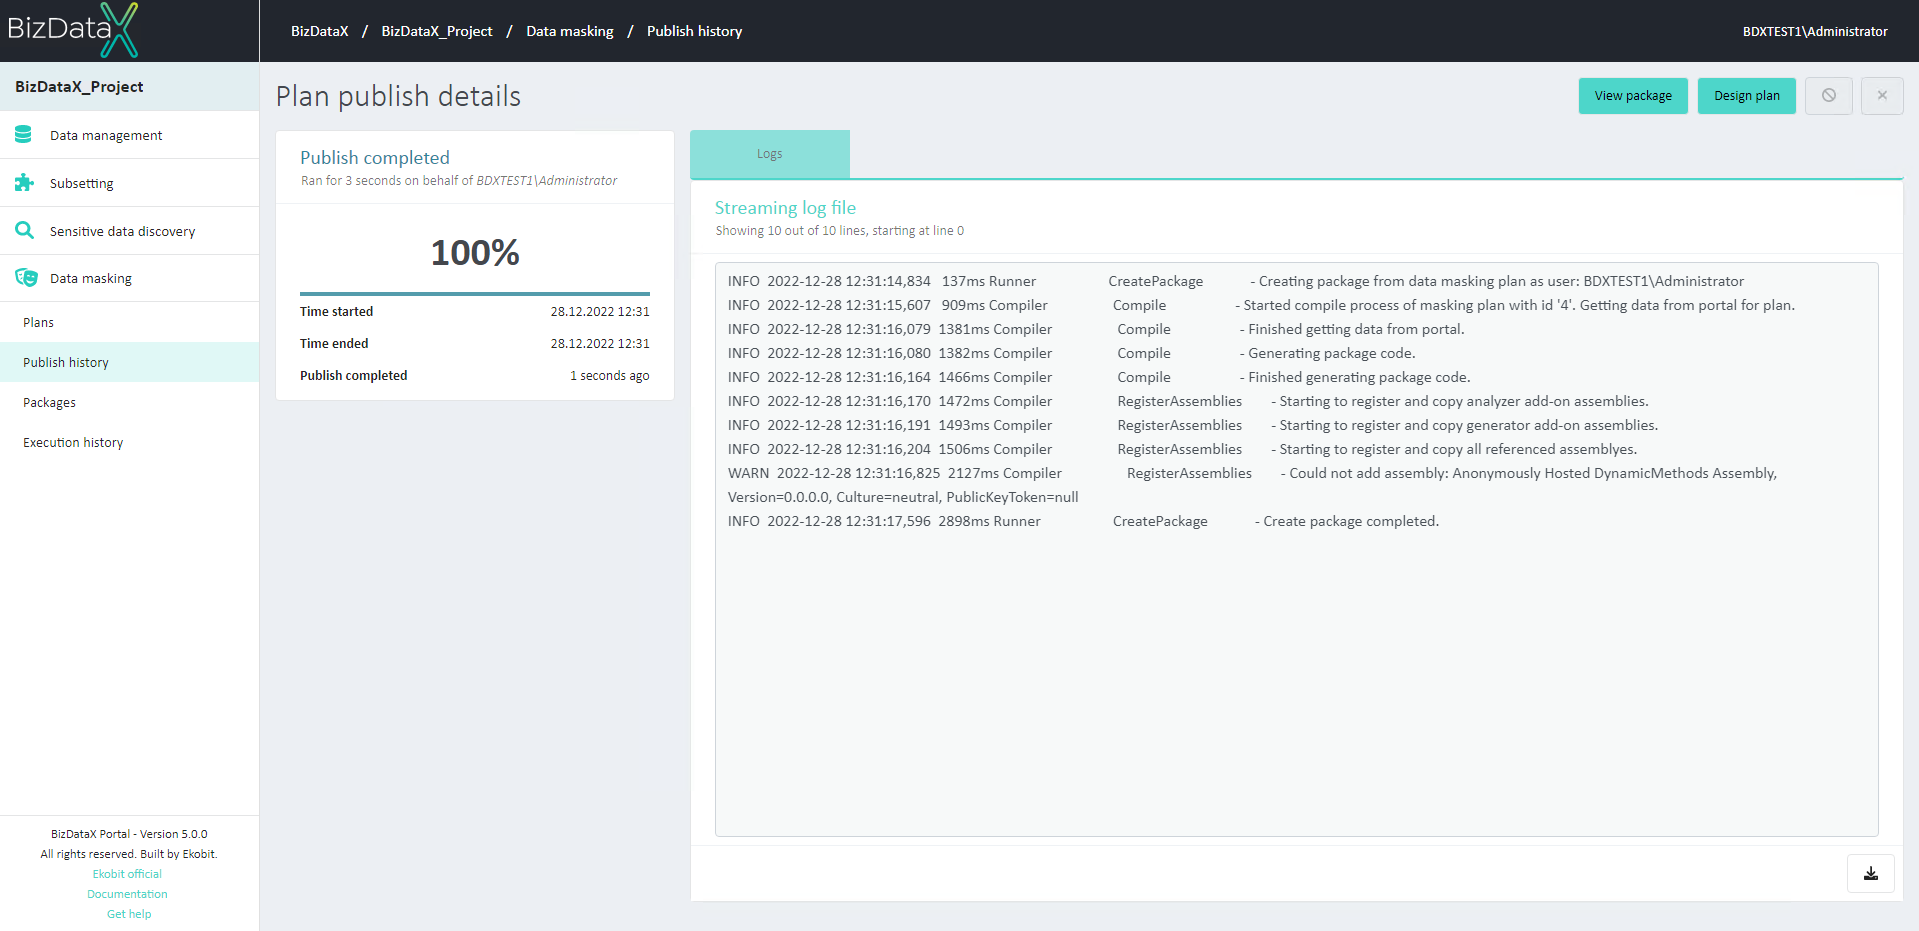 Figure 17: Plan publish details
If the publishing process is completed successfully, the Package is created automatically. Click the 'View package' button.
Execute package
On the 'Package details page, details about the created Package can be reviewed.
To start the execution of the Package, click the 'Execute package' button. A pop-up for configuring for which Environment to execute the package and Restartability will be displayed.
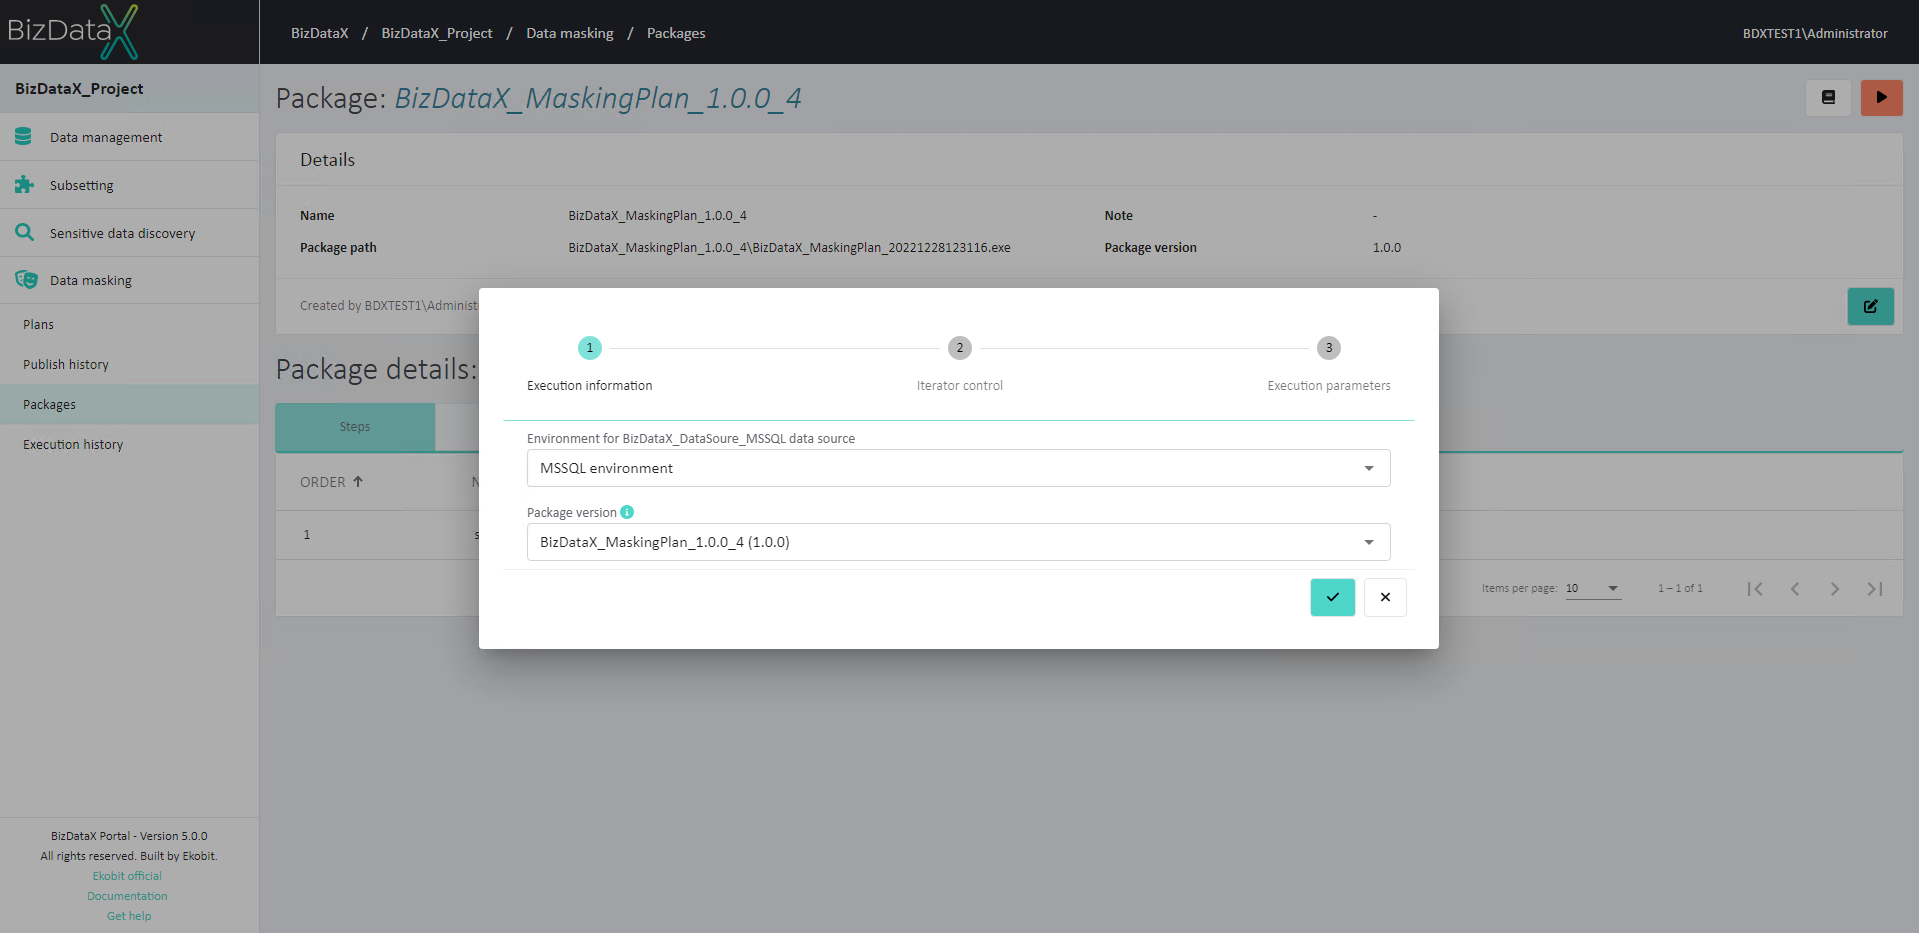 Figure 18: Package details
The system redirects to the 'Package execution details page where you can follow the process of execution and review any errors if they occur.
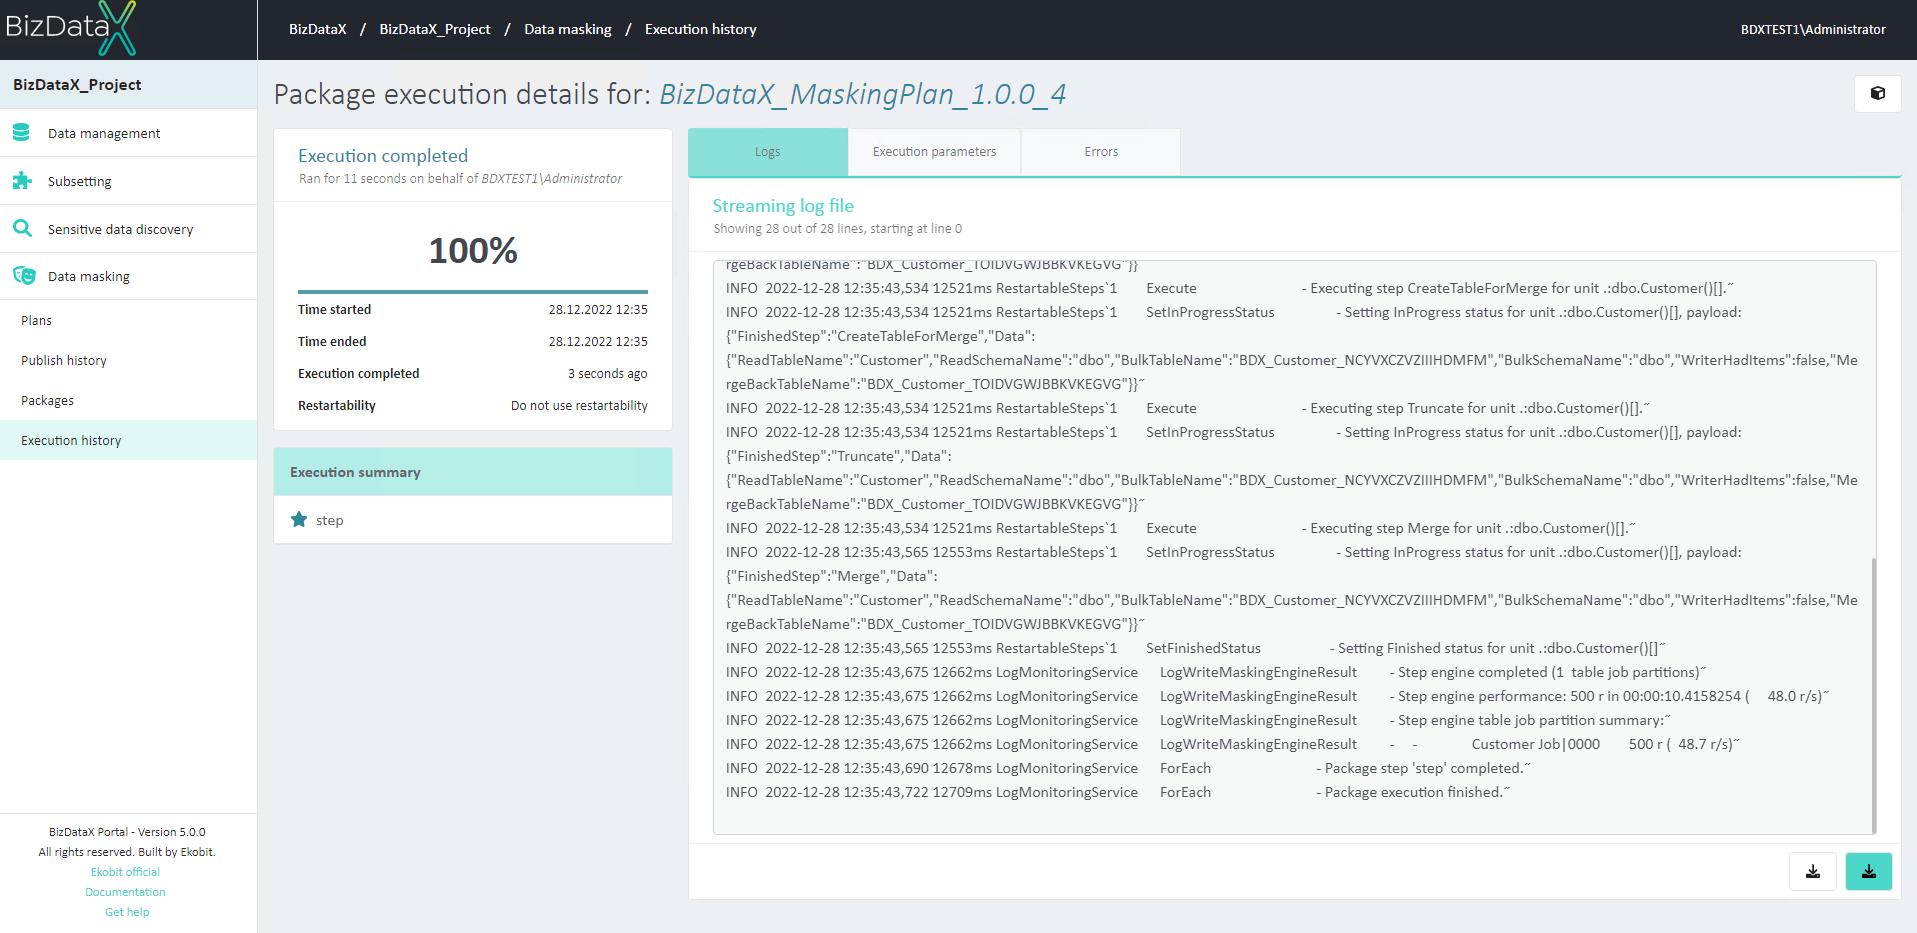 Figure 19: Package execution details
If the execution process is completed successfully, the masking of your data should be complete.