Environments
Environment metadata import is the 4-step process of analyzing a data source using a BizDataX data source analyzer to read and save the database metadata.
| Table of contents |
|---|
| Create an environment |
| Import schemas |
| Import tables |
| Import columns |
| List of environments |
Create an environment
This step creates environment that will contain the data that we want to import. You can also create multiple environments and compare them to each other to see differences in the data they contain.
To create a new environment, click the Create environment button in the upper-right corner.
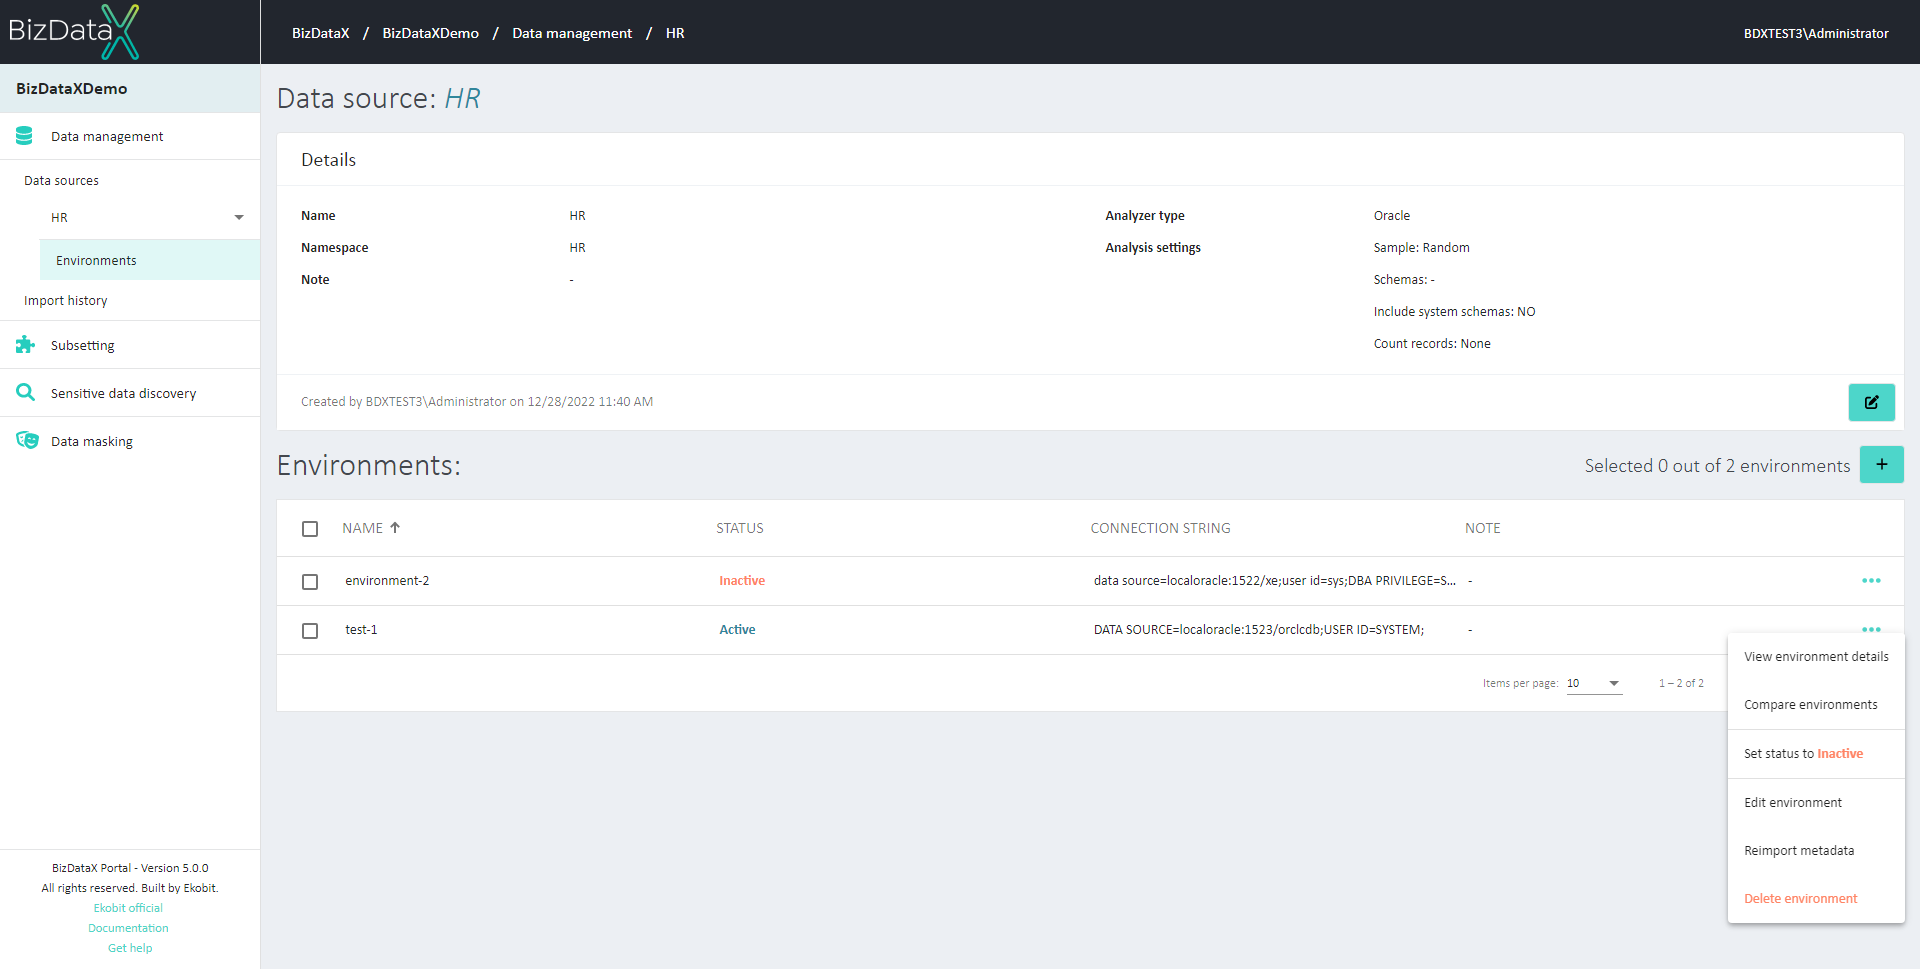 Figure 1: Data source details
Creating an environment starts with the following:
- Name - Unique Environment name
- Connection string - database-specific connection string used to connect to the database.
Connection strings contain database-specific details related to database server names/connection points, database names, users, and passwords. The standard ADO.Net connection string format is used to fill this field. The connection string has to be complete and contain appropriate user information. Sensitive information like passwords are encrypted before being saved. For security reasons, you will have to enter the password again if you are changing the connection string of an already existing environment. If you are changing any other data source value or just reimporting metadata, the password doesn't have to be entered again.
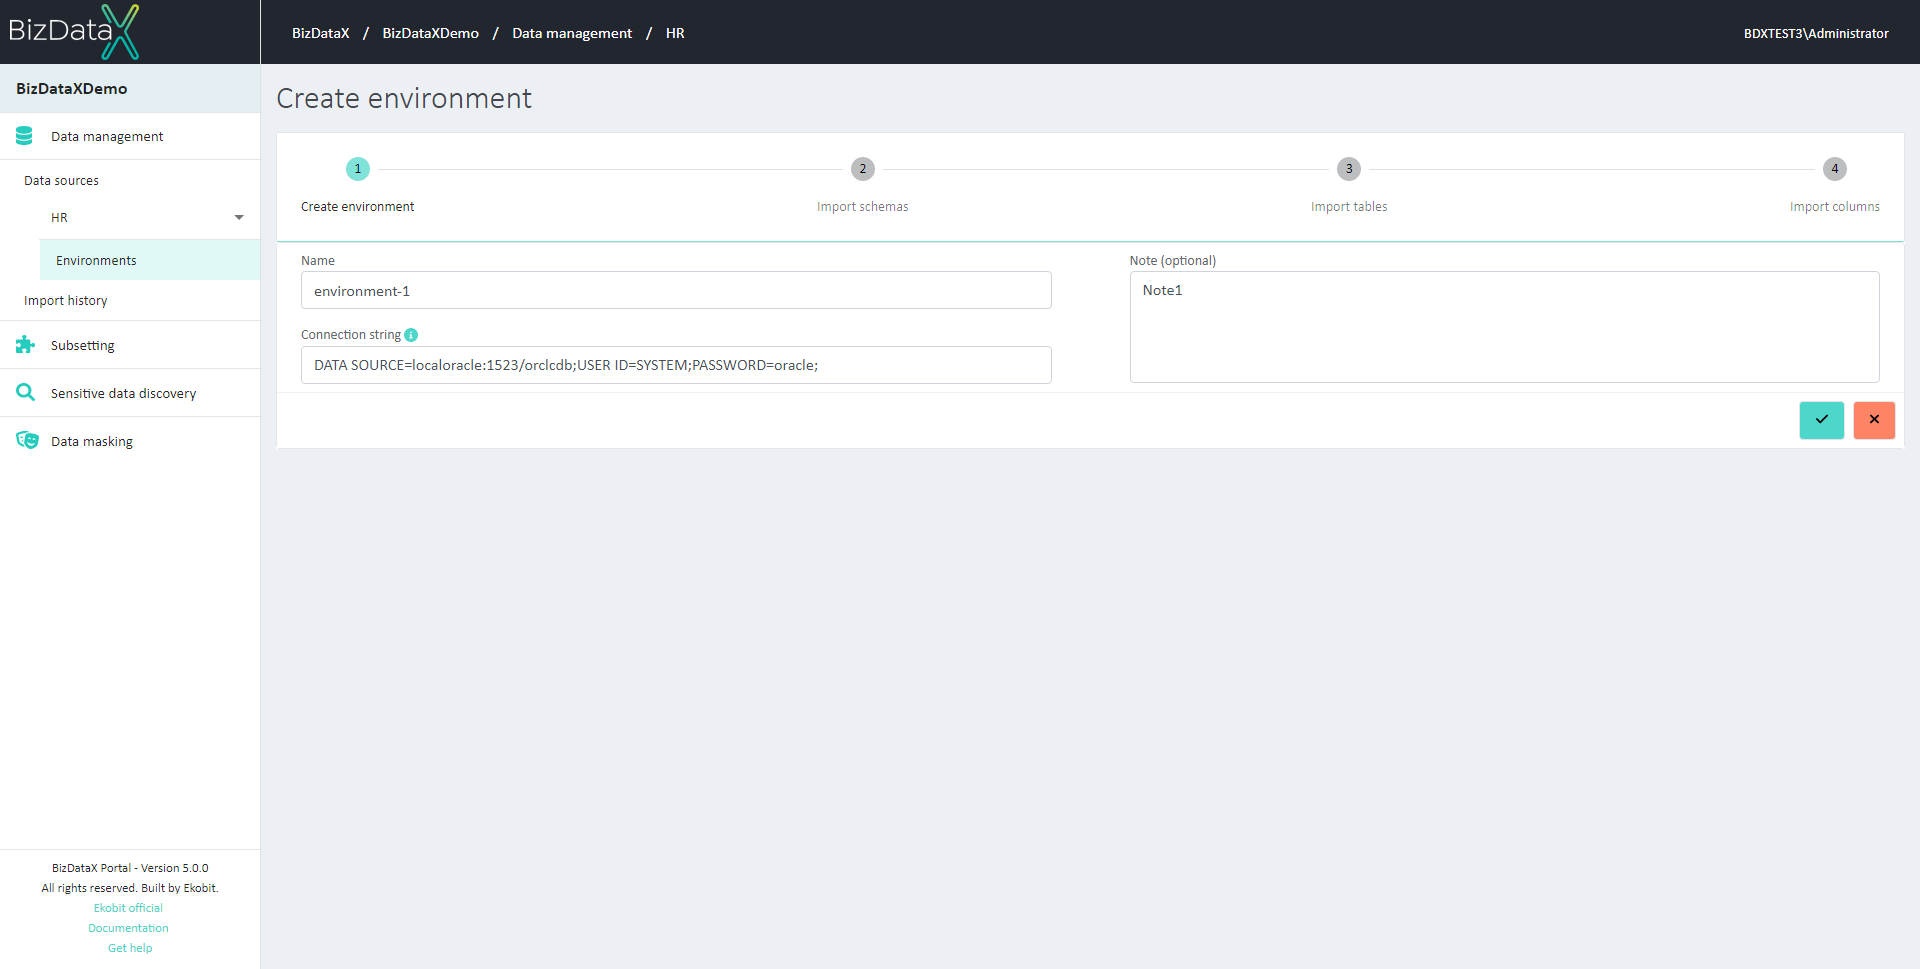 Figure 2: Create environment
Import schemas
The Import schemas step imports the schema information during creating or editing the data source. Based on the selected data source analyzer type and provided connection string, BizDataX will fetch the schema information from the database and list the available schemas. The progress of retrieving the schemas can be tracked in the form of a progress bar.
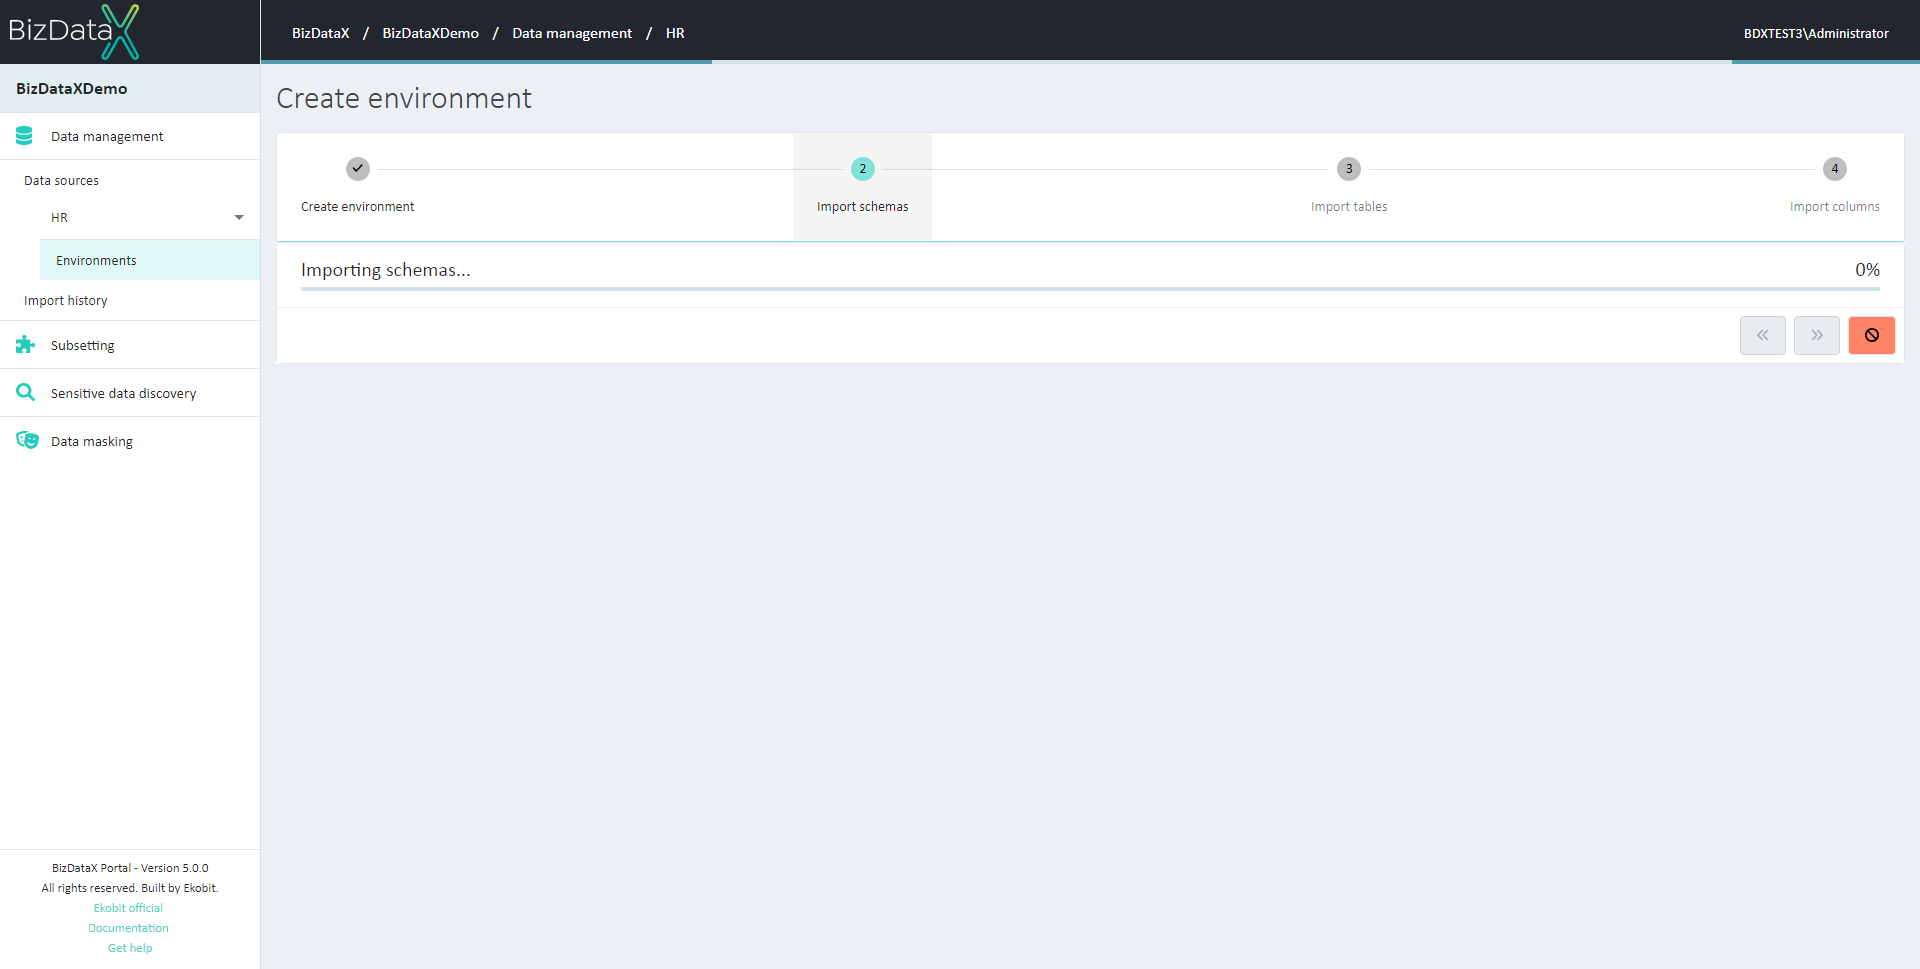 Figure 3: The progress of retrieving the schemas
While process of retrieving the schemas is running, back and forward buttons are disabled.
Available schemas are listed in the table. User can select which schemas will be imported. If editing the data source, the BizDataX Portal displays all available schemas and preselects the schemas that were previously imported.
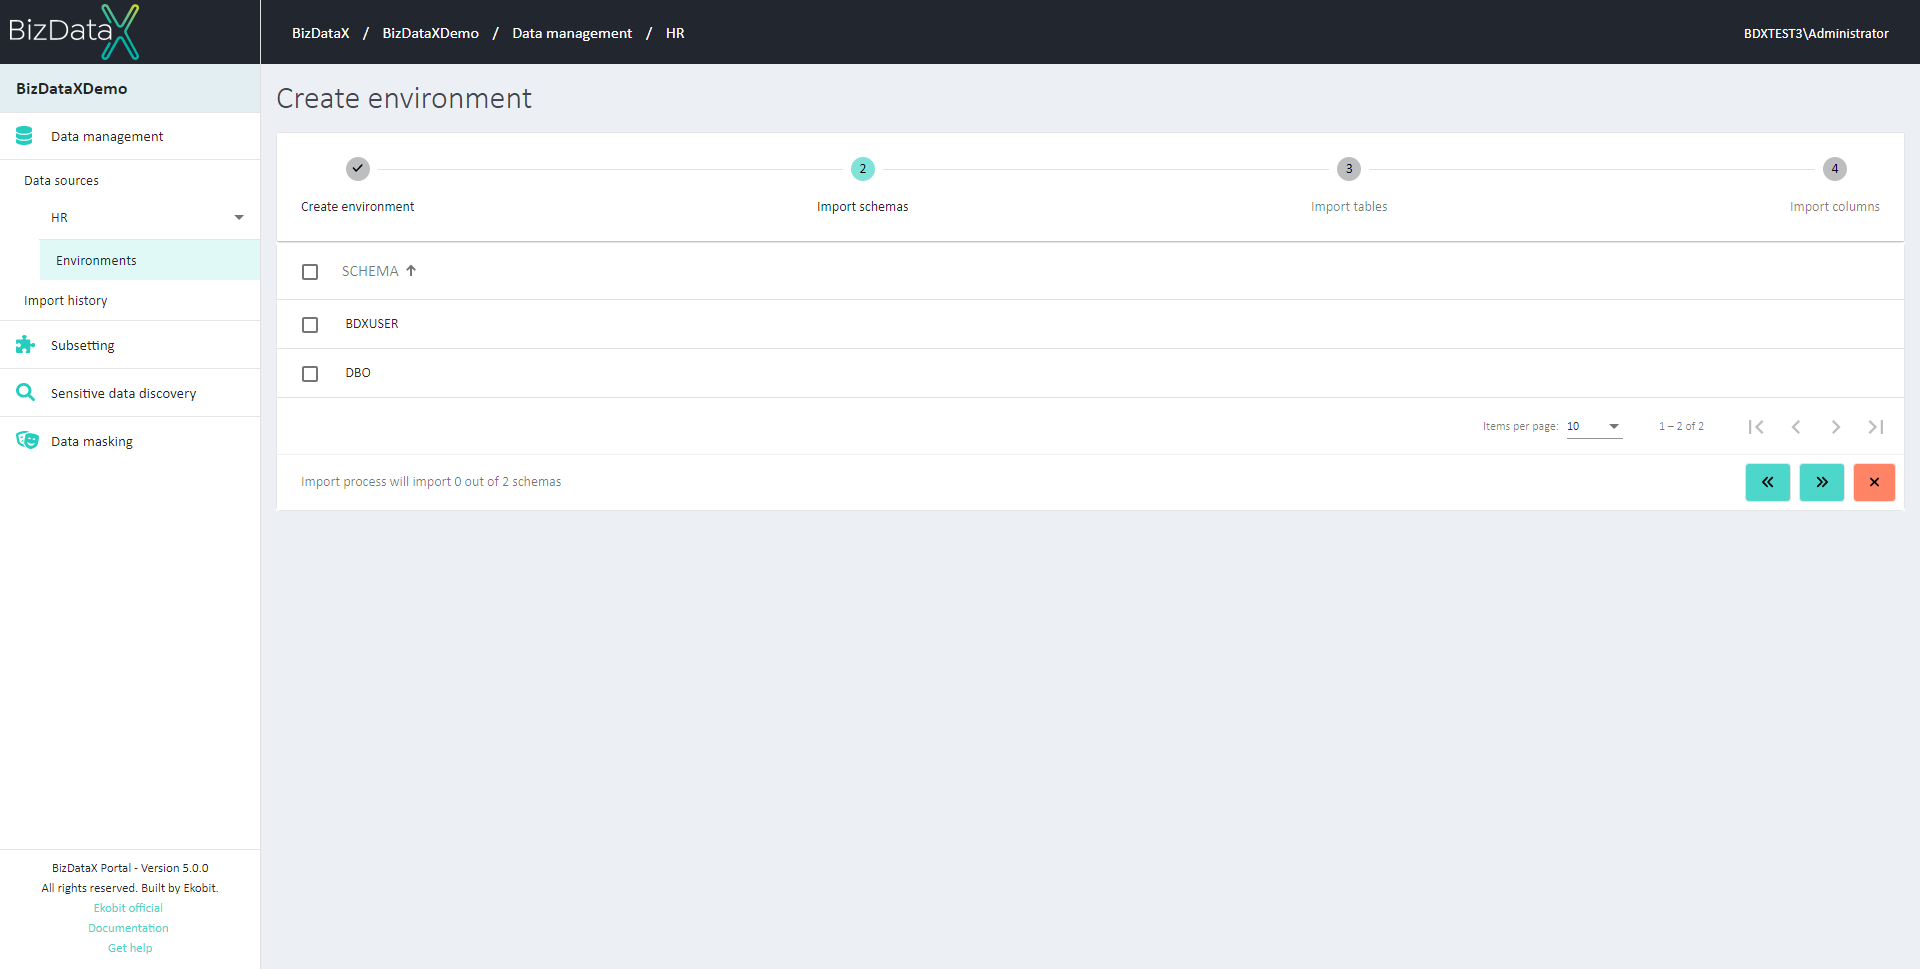 Figure 4: Importing schemas
You can select individual schemas by clicking on their respective checkboxes on the left side of the table. If you want to select or deselect every schema, click on the master checkbox on the top of the table.
After selecting the schemas that are relevant and need to be imported, click the Next button to confirm your selection and move to the next step in the import process or click the Back button to go one step back.
Import tables
The Import tables step imports the names of tables that belong to schemas you selected during the previous step. The progress of retrieving the tables can be tracked in the form of a progress bar.
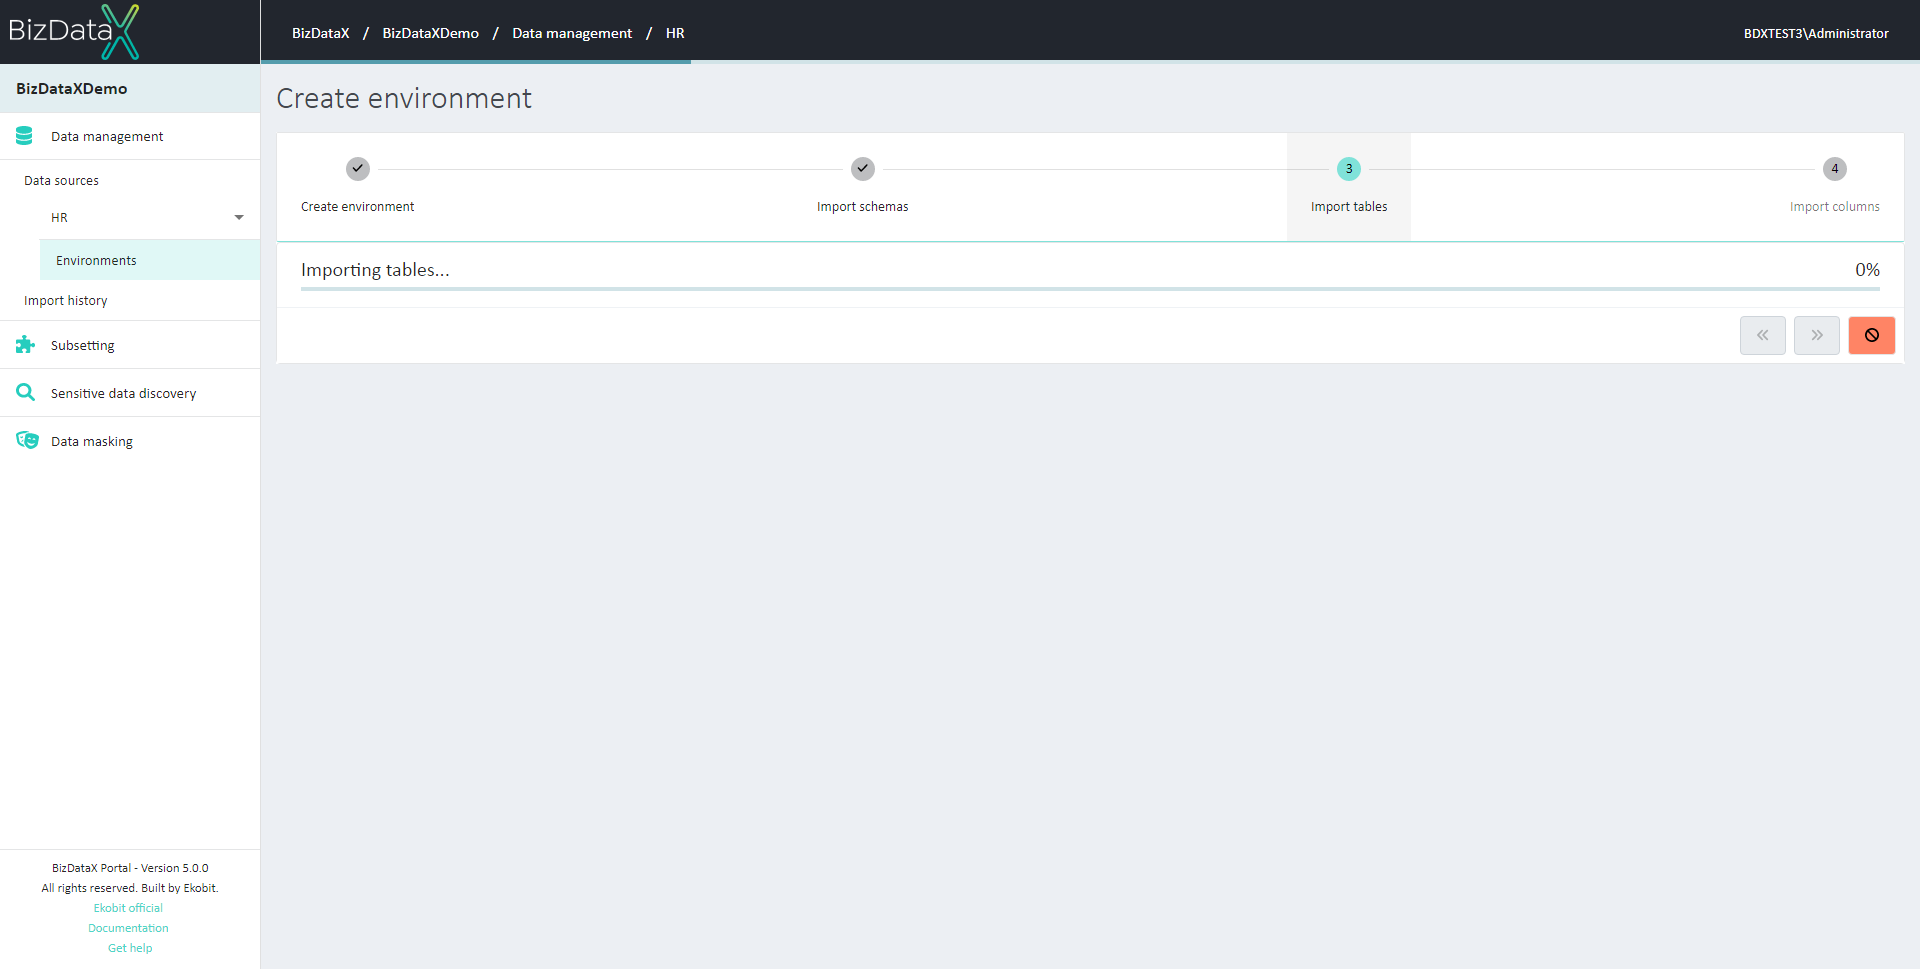 Figure 5: The progress of retrieving tables
While process of retrieving tables is running, back and forward buttons are disabled.
Tables are grouped by their schema names. Tables for import can be selected using checkboxes.
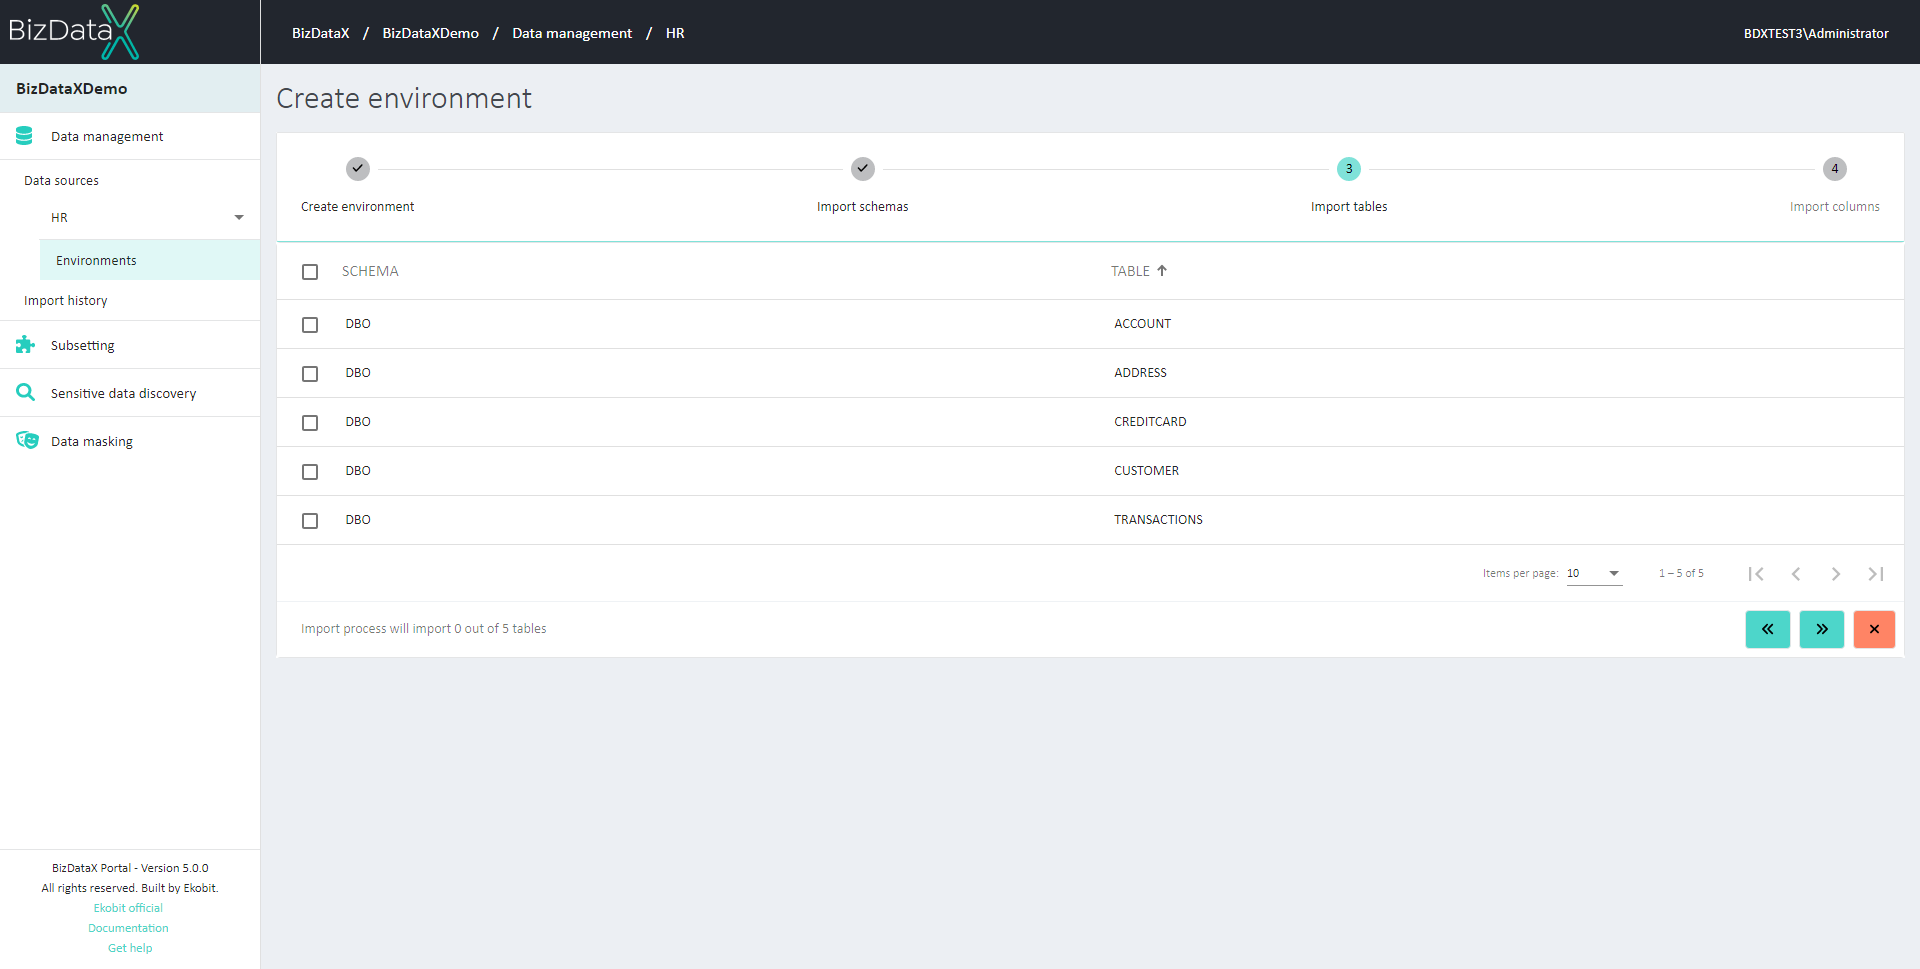 Figure 6: Importing tables
To select a single table, click on the checkbox next to that table. To select every table in a schema, click the checkbox next to the schema name.
After selecting the tables that are relevant for importing metadata, click on the Next button in the bottom right part of the page or click the Back button to go one step back.
Import columns
The Import columns step imports column metadata for tables that were selected during the previous step. You can track the progress of this process by looking at the progress bar.
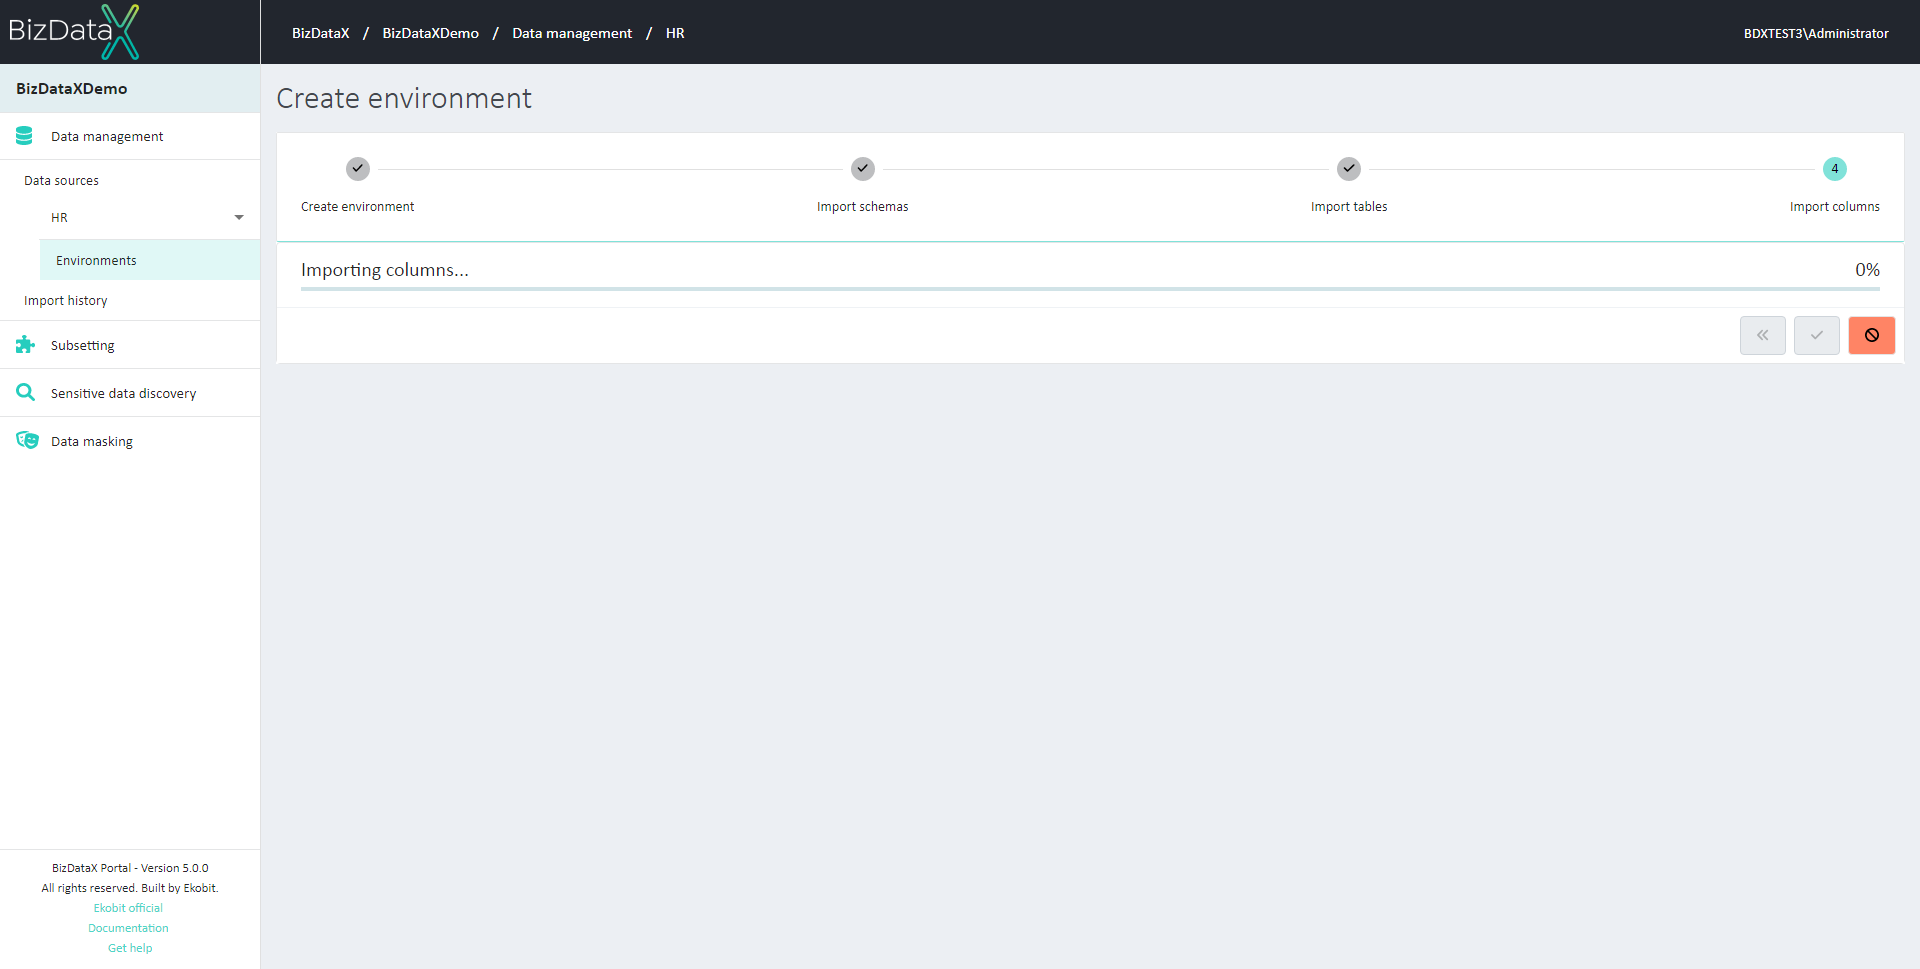 Figure 7: Track the progress of importing columns
User can stop the process at any time by clicking on the Cancel button in the bottom right part of the page. While process of importing columns is running, back button is disabled.
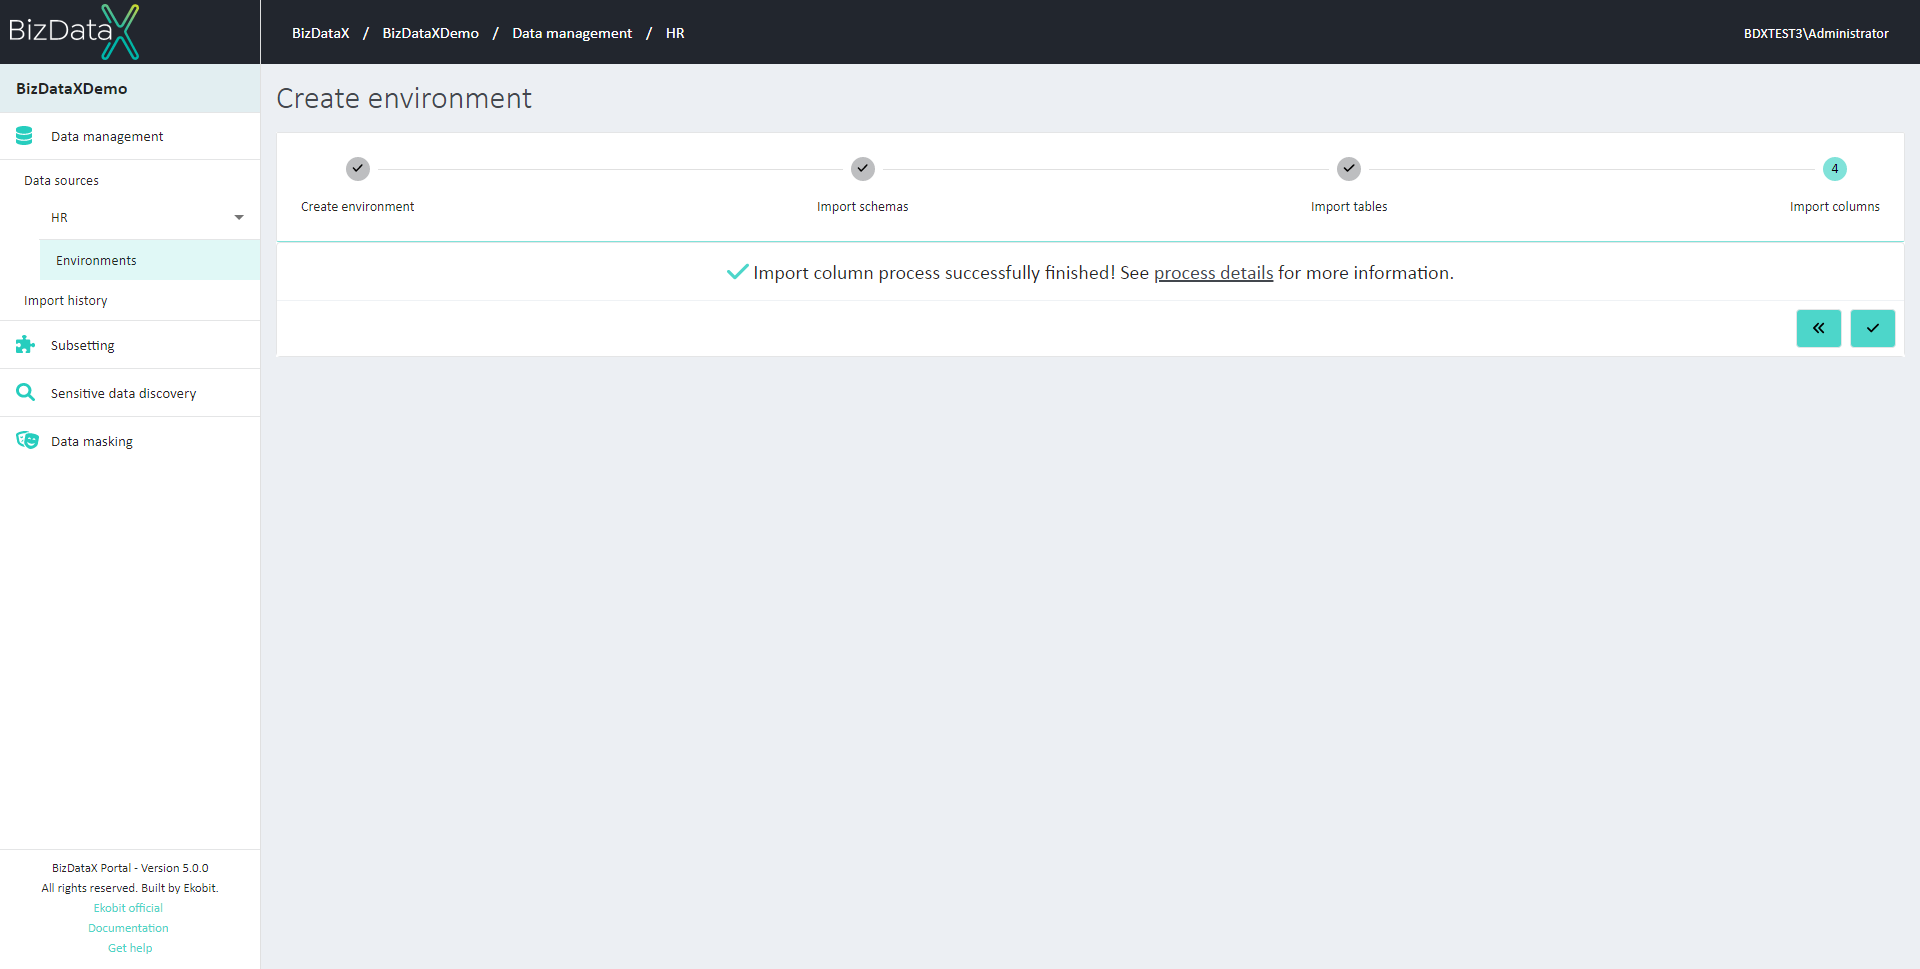 Figure 8: Importing columns
Once the import columns process completes, the entire import environment process is complete and you can see details of the import columns step by clicking on main menu Import history option. Import consists of three processes, and all can be found on the Import history overview list.
List of environments
All created environments are visible on this screen.
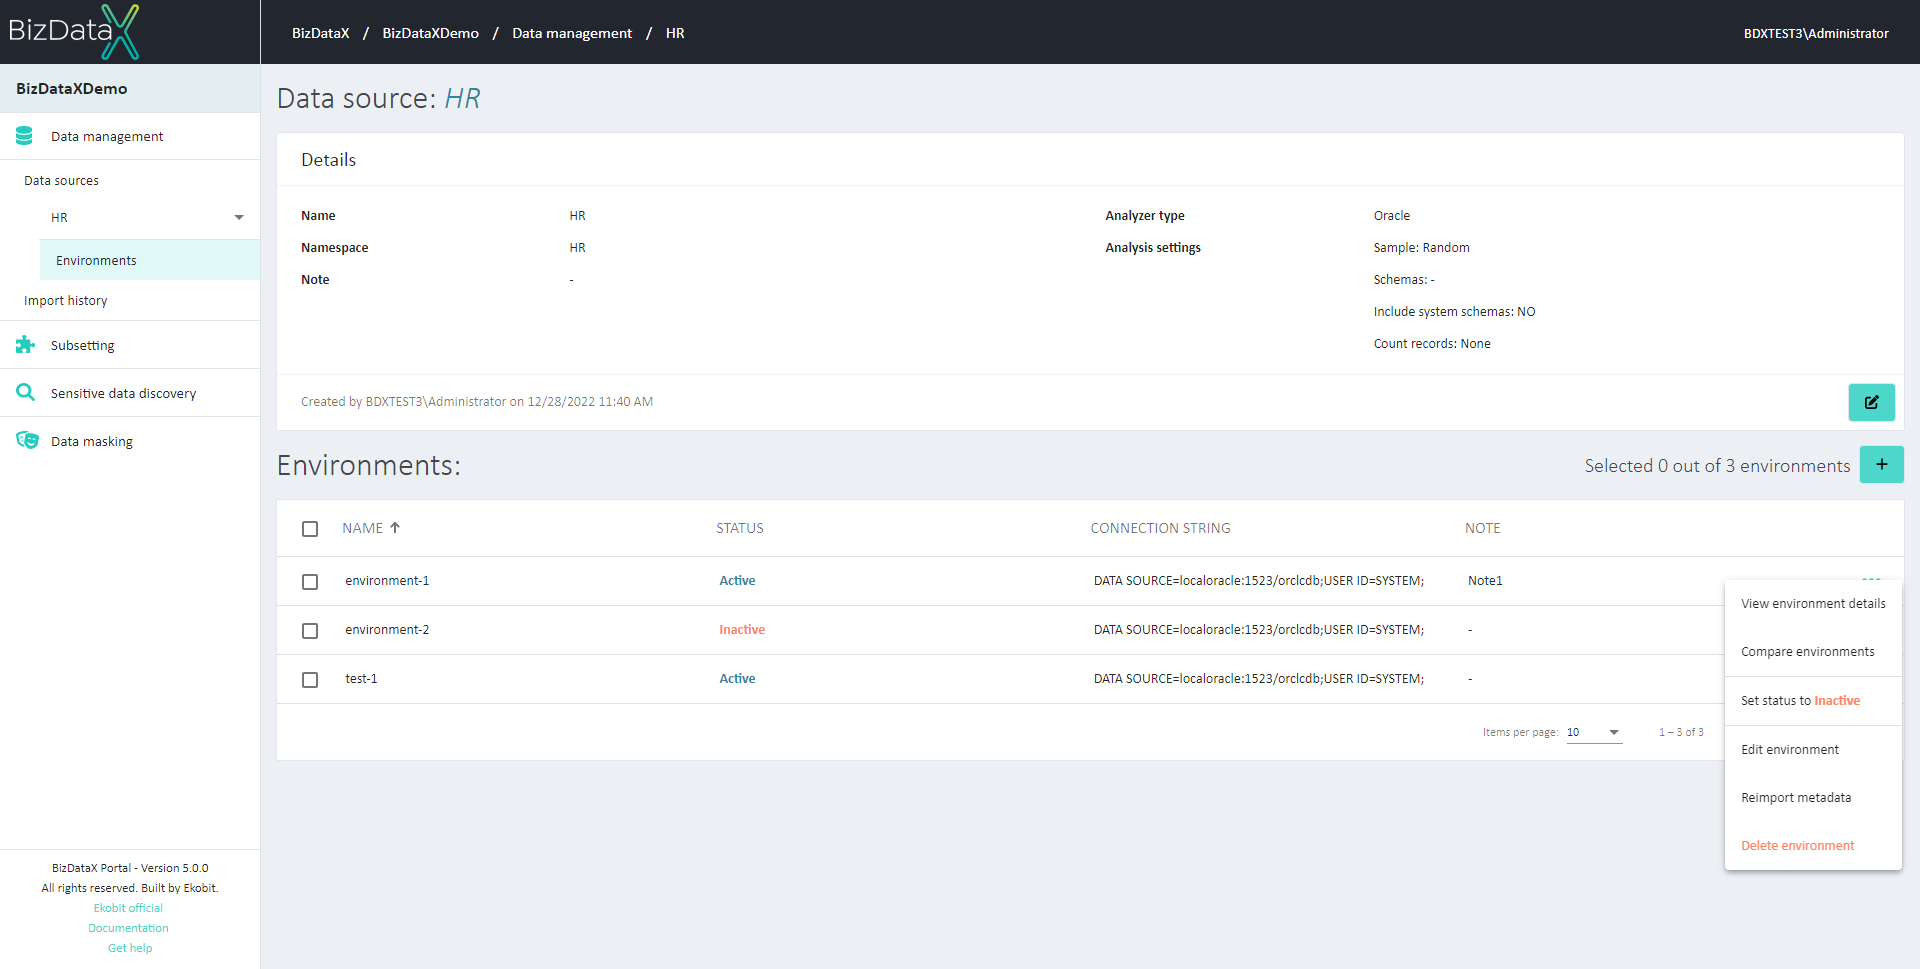 Figure 9: List of environments
Inactive environment cannot be used in discovery rules and is ignored in process of creating a data model in BizDataX Designer.
Depending on whether the environment is default or not, different options are available for each environment.
Options for default environment:
Options for the non-default environment: